Today I'm sharing my Mini Easter Carrots Crochet Pattern, a set of tiny crocheted carrots that are perfect for Easter baskets, spring tablescapes, or just a little seasonal something to tuck into a vase on your counter.

Jump to:
The Inspiration
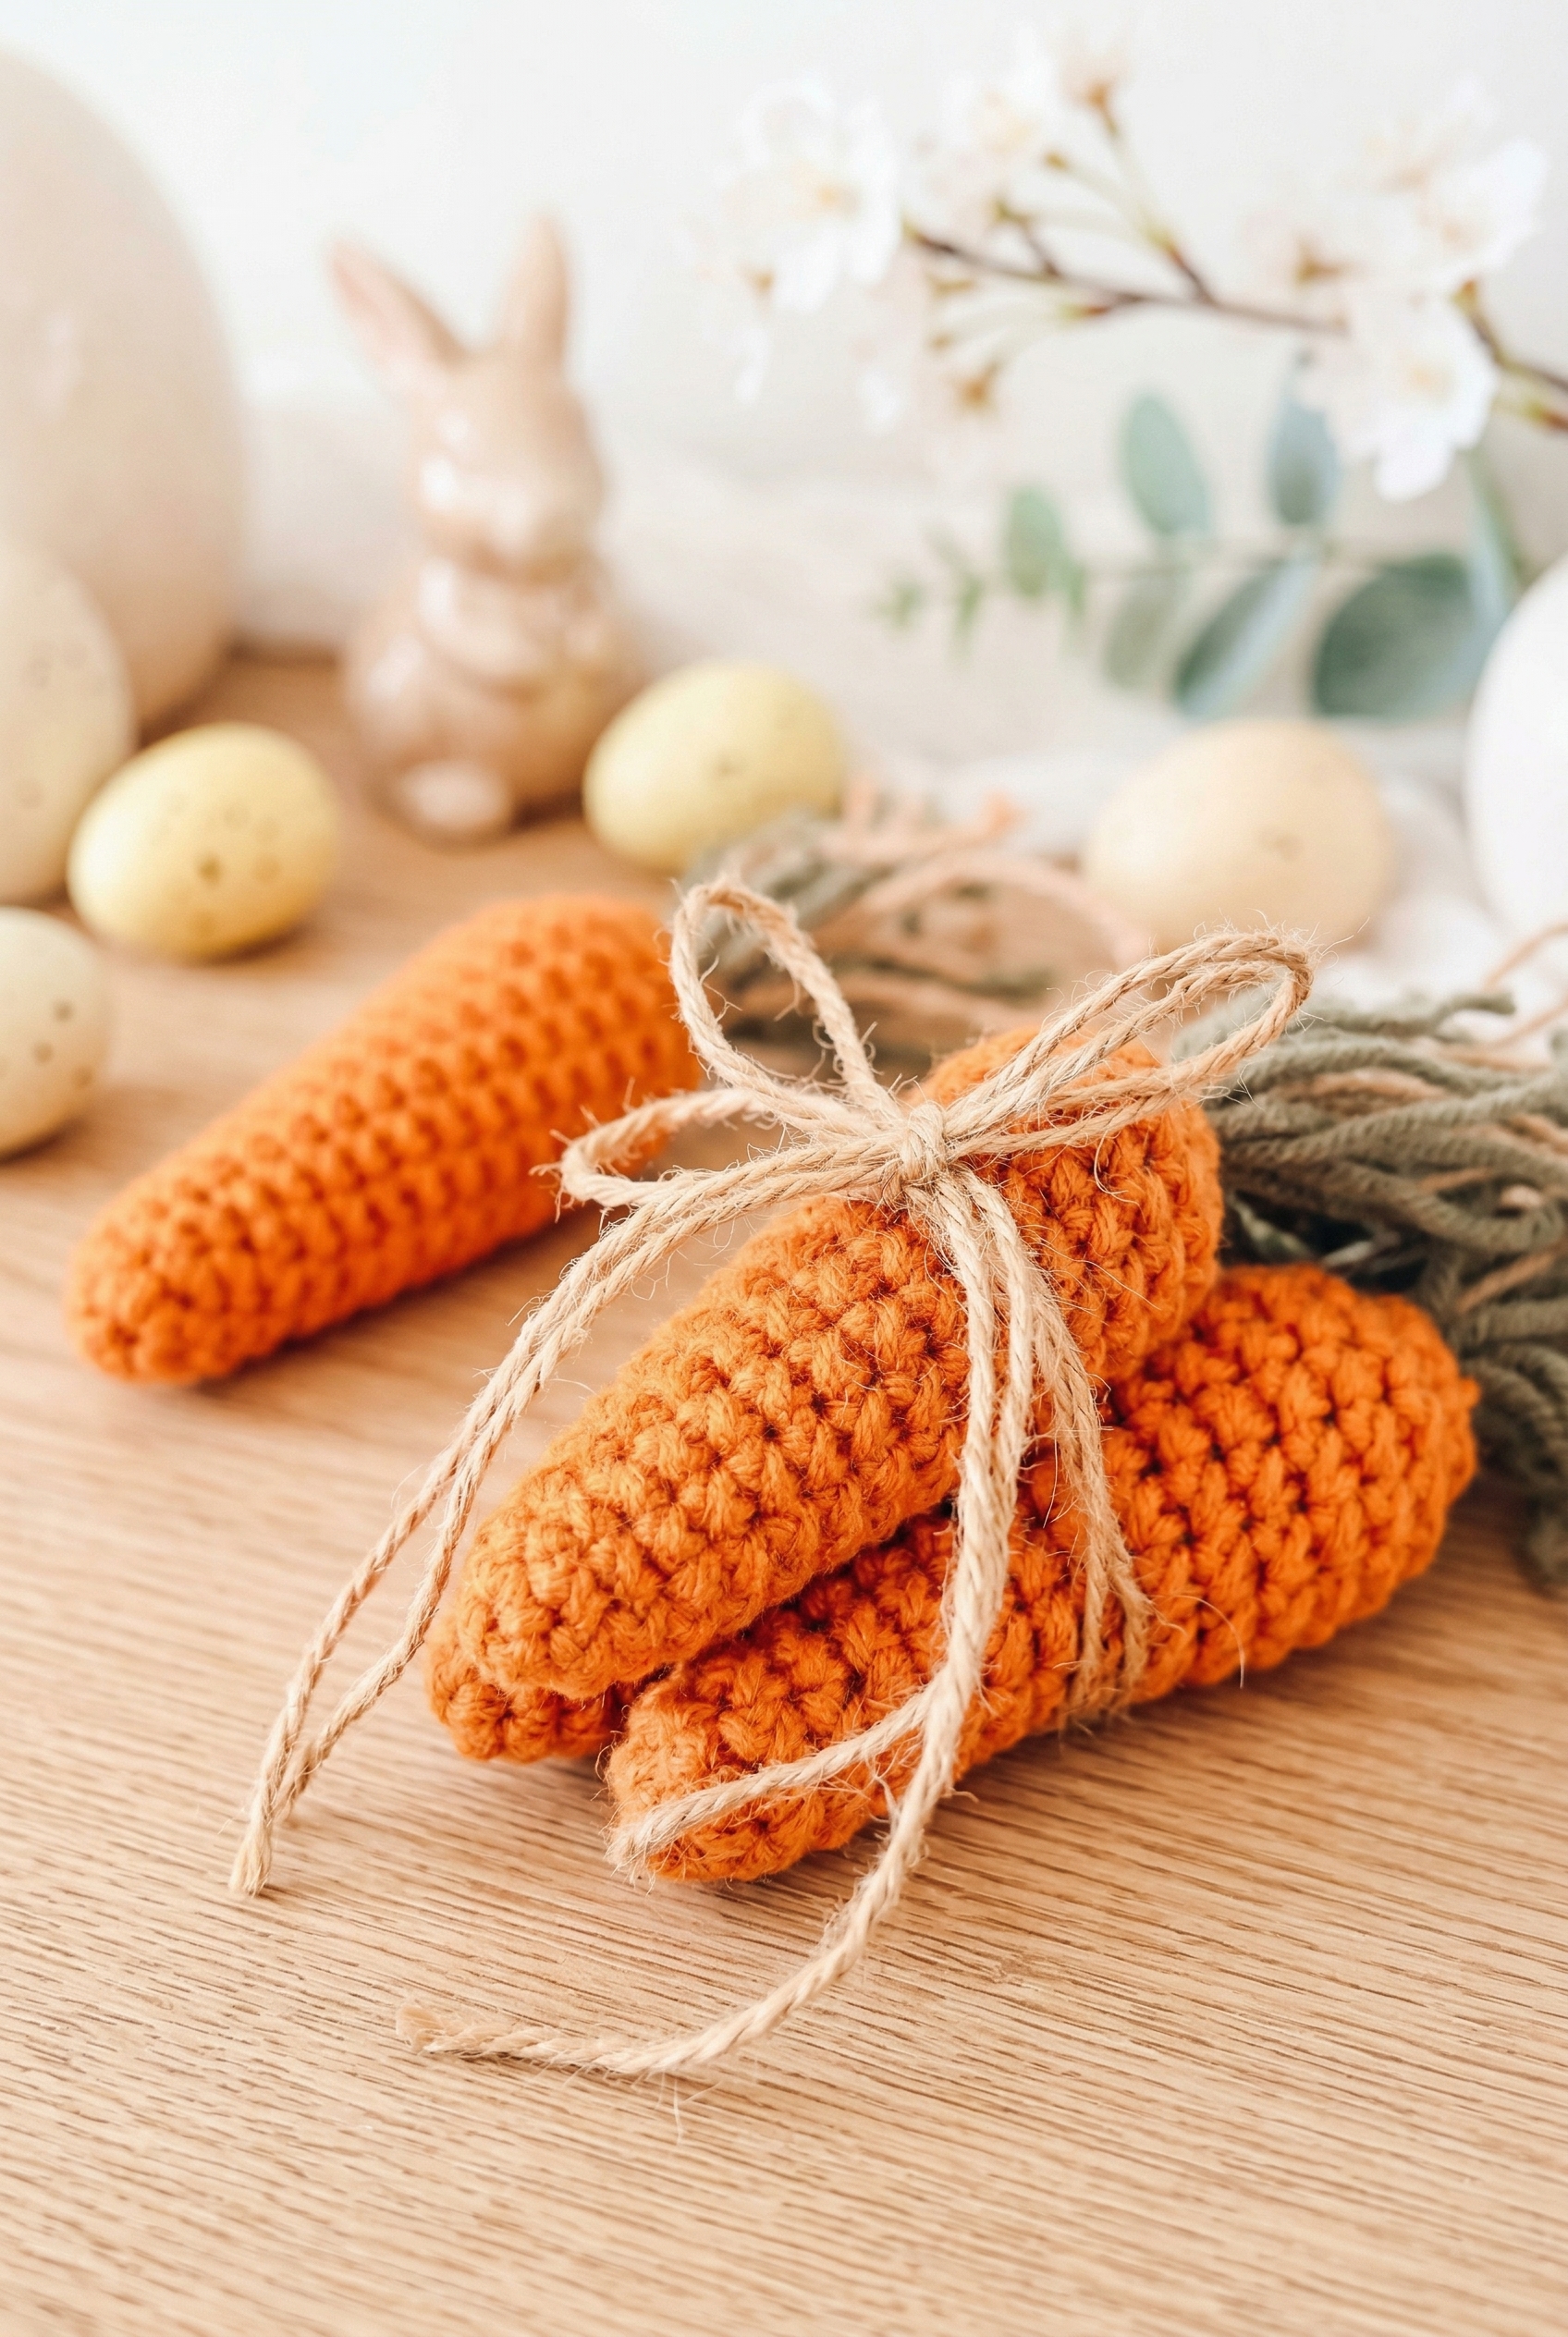
I wanted something small and seasonal that didn't take a whole weekend to finish. These little carrots came together really fast, and I'm pretty pleased with how they turned out. Each one is a tapered orange shape, textured from the yarn itself, coming to a soft rounded point at the bottom. At the top, I added long looping strands for the greens, mostly a muted gray-green with a few tan strands mixed in. No faces, no fuss. Just three little carrots clustered together looking exactly like the kind of thing you'd find at a farmhouse market, I think.
And if you want a bunny friend to go with your carrots, check out our Easter bunny crochet pattern — they make the perfect pair.
Why This Pattern Stands Out
These mini carrots are a quick, satisfying make you can finish in one sitting.
- Fast to finish: Each carrot is small enough that you can knock out all three in an afternoon without losing steam.
- Minimal materials: You only need small amounts of yarn, so this is a great stash-buster for any orange or green scraps you have sitting around.
- Versatile display: They work as bowl fillers, basket accents, or a simple spring decoration on their own, so you'll actually use them once they're done.
What You'll Need
Each carrot only uses about 20 yards of orange, so this is a genuinely good project for using up scraps.
- Worsted Weight Acrylic Yarn (Color: Orange, plus Green for tops): For this kind of small amigurumi-style project, I reach for a worsted weight acrylic every time. It holds its shape well when stuffed, which matters here since the carrot body needs to look firm and tidy rather than floppy. You need about 20 yards per carrot in orange, and the green tops are just 6 to 7 short strands cut to around 6 inches long, so a small scrap will cover it no trouble at all. The pattern is also shown in Chestnut and Olive if you want a more muted, earthy look instead of the classic orange and green.
- US G (4.0 mm) and US H (5.0 mm) Crochet Hooks: Two hook sizes are used here. The smaller G hook gives you a tighter fabric for the carrot body so the stuffing doesn't peek through, and the H hook is there for any looser sections where you want a bit more drape or ease.
- Fiberfill Stuffing: You only need a small amount per carrot. Stuff as you go before the opening gets too small to work with.
- Wood Ring Variety / Large Wooden Rings: These are what the finished carrots attach to for display. The variety pack gives you options for sizing the garland however you like, so it's worth grabbing a mix rather than all one size.
- Twine Rope and Twine String: Two different weights of twine are used. The rope is for the main hanging cord and the string is for attaching or wrapping details. They're not interchangeable, so make sure you have both on hand.
- Removable Stitch Marker: A cat-style removable marker works well here since you'll be moving it frequently as you work in the round.
- Also needed: scissors, yarn needle
Project Summary
Everything you need to know before you pick up your hook.
| Skill Level | Level 2 — Easy |
| Pattern Gauge | Gauge is not critical for this project. Use a hook size that creates a tight, firm fabric so stuffing does not show through. |
| Finished Size | One size: 4" x 1.5" |
| Yarn Weight | 4 Medium / Worsted |
| Fiber | 100% Acrylic |
| Terminology | US |
Abbreviations & Stitches Used
Keep this list open while you work.
- blo = back loop only
- ch = chain
- fsc = foundation single crochet
- MC = magic circle
- sc = single crochet
- sc2tog = single crochet 2 together
- sl st = slip stitch
- st(s) = stitch(es)
Special Stitches
- Foundation single crochet (fsc): Ch 2, insert hook into first ch under 2 loops, yo and pull up a loop, yo and pull through 1 loop, yo and pull through 2 loops.
- Invisible sc2tog: Insert hook into front loop of first st, insert hook into front loop of second st (3 loops on hook), yo and pull through both front loops (2 loops on hook), yo and pull through remaining 2 loops.
Pattern Notes
I work this carrot in continuous rounds. Don't join at the end of each round unless the instructions specifically say to. A stitch marker in the first stitch of the round will save you a lot of counting headaches. The ch 1 at the beginning of any row is not counted as a stitch. As you work down the body, start adding fiberfill every few rounds rather than waiting until the end. It's much easier to get an even shape that way, and you won't be fighting to stuff a nearly closed opening. Go easy on the filling though. Overstuffing will stretch the fabric and the stuffing will start to show through the stitches.
Let's Make the Mini Easter Carrots Crochet Pattern
Here's how I work through each piece of this mini Easter carrots crochet pattern, from the tip of the carrot up to the finished top.
Crocheting the Carrot Body
Work this section with your US G (4.0 mm) hook and orange yarn. The carrot is worked in continuous rounds from the tip upward, gradually widening with evenly spaced increases every few rounds to build that classic tapered shape.
Round 1: 4 sc in MC; do not join; work continuously. [4] Starting into a magic circle gives you a tight, clean tip with no hole at the point. Mark your first stitch so you can track where each round begins.
Round 2: 2 sc in each st around. [8]
Rounds 3-4: sc in each st around. [8] These two plain rounds let the tube settle before the next increase round.
Round 5: *2 sc in next st, sc in next 3 sts; repeat from * around. [10]
Rounds 6-7: sc in each st around. [10]
Round 8: *2 sc in next st, sc in next 4 sts; repeat from * around. [12] You'll notice the pattern here: each increase round adds one more plain stitch between the increases, which is what keeps the widening gradual rather than sudden.
Rounds 9-10: sc in each st around. [12]
Round 11: *2 sc in next st, sc in next 5 sts; repeat from * around. [14]
Rounds 12-13: sc in each st around. [14]
Round 14: *2 sc in next st, sc in next 6 sts; repeat from * around. [16]
Rounds 15-16: sc in each st around. [16] This is a good point to add your stuffing if you haven't started yet. Getting some fiberfill in now, before the top closes up, is much easier than trying to stuff through a narrow opening later.
Round 17: blo sc2tog around. [8] Working into the back loops only here leaves the front loops free, and those are what you'll use to close the top and anchor the green stems in the finishing step.
Fasten off, leaving a long tail, and finish stuffing.
Assembling the Carrot Top
This section is worked as a single finishing sequence rather than crocheted rounds, so I'll walk through it as one continuous process.
Cut 6-7 strands of green yarn (add twine for a rustic look), approx. 6 inches long. Holding the strands together, tie a knot in the center. Place the knot inside the carrot top, with the strands sticking out. The knot anchors everything in place once you pull the opening closed, so make sure it's sitting inside the body before you move on.
Using your yarn needle and tail end, weave through the front loop of each remaining st, pull closed, and weave in the end. Those front loops from Round 17 are exactly what you saved for this moment. Pull firmly and evenly so the top closes flat around the stems without puckering. For a softer, fluffier carrot top, untwist and separate the strands. Weave in any stray ends, then fluff and shape.
Fasten off, weave in ends.
Final Touches
Once the carrot body is closed and the stems are secured, the last bit of work is mostly about tidying and shaping. I give the green strands a good fluff by separating each individual ply, which makes the top look fuller and more feathery. If the stems are uneven in length, a small trim with scissors evens them out without losing much volume. Give the whole carrot a gentle squeeze and roll between your palms to coax it into a smooth, slightly tapered shape. Any remaining yarn tails get woven in along the inside of the body where they won't show. That's really it.
If you haven't tried our Easter egg crochet pattern yet, it's another quick and satisfying make that pairs perfectly with these little carrots.
Baby & Child Safety Notes
These carrots are small and made entirely of yarn and fiberfill, so there are no hard safety eyes or attached small parts to worry about. That said, the green stem strands are loose lengths of yarn, and for children under three I'd either skip the stems entirely or secure them very firmly with an extra pass of the needle through the closed top. Check that all tail ends are woven in completely and won't pull free with handling. For decorative use only around very young children, so there's that to keep in mind.

Frequently Asked Questions
What hook size do I use for these mini carrots?
I use both a US G (4.0 mm) and a US H (5.0 mm) hook for this project. The two sizes help shape the carrot body the way I want it, so keep both nearby before you start.
How big do the finished carrots turn out?
Each one comes out at 4 inches tall and 1.5 inches wide. They're genuinely little, which is part of the charm for Easter decor and tiered tray styling.
What weight yarn works best for this pattern?
Worsted weight (size 4 medium) is what I reach for here. It works up at the right density to hold the carrot shape without the finished piece looking floppy or overstuffed.
Is this pattern suitable for a beginner?
It sits at a Level 2, so there's a little more going on than a basic swatch, but nothing that should stop someone who's comfortable with single crochets and simple shaping. If you've finished a small amigurumi before, you'll be fine.
Can I make a bunch of these for a bowl or basket display?
That's actually how I use mine. Because they're small and quick, making five or six for a bowl doesn't take long at all. I'd say a set of six is a solid afternoon project, so there's that.
Happy Crocheting
I hope these little carrots find a spot on your Easter table, your tiered tray, or honestly just a bowl on the counter because they're too cute to put away. If you make a set, I'd love to see them. Tag me on social media or drop a photo in the comments below. And if you want to save this for later, pinning it to your Easter or spring crochet board is always a good call. I'm curious: are you making just a few, or going full garden and crocheting a whole basket of them?
🥕 Complete the Easter set! These carrots are perfect alongside the Baby Chick, Easter Bunny, and Easter Egg in a spring gift basket.


Leave a Reply