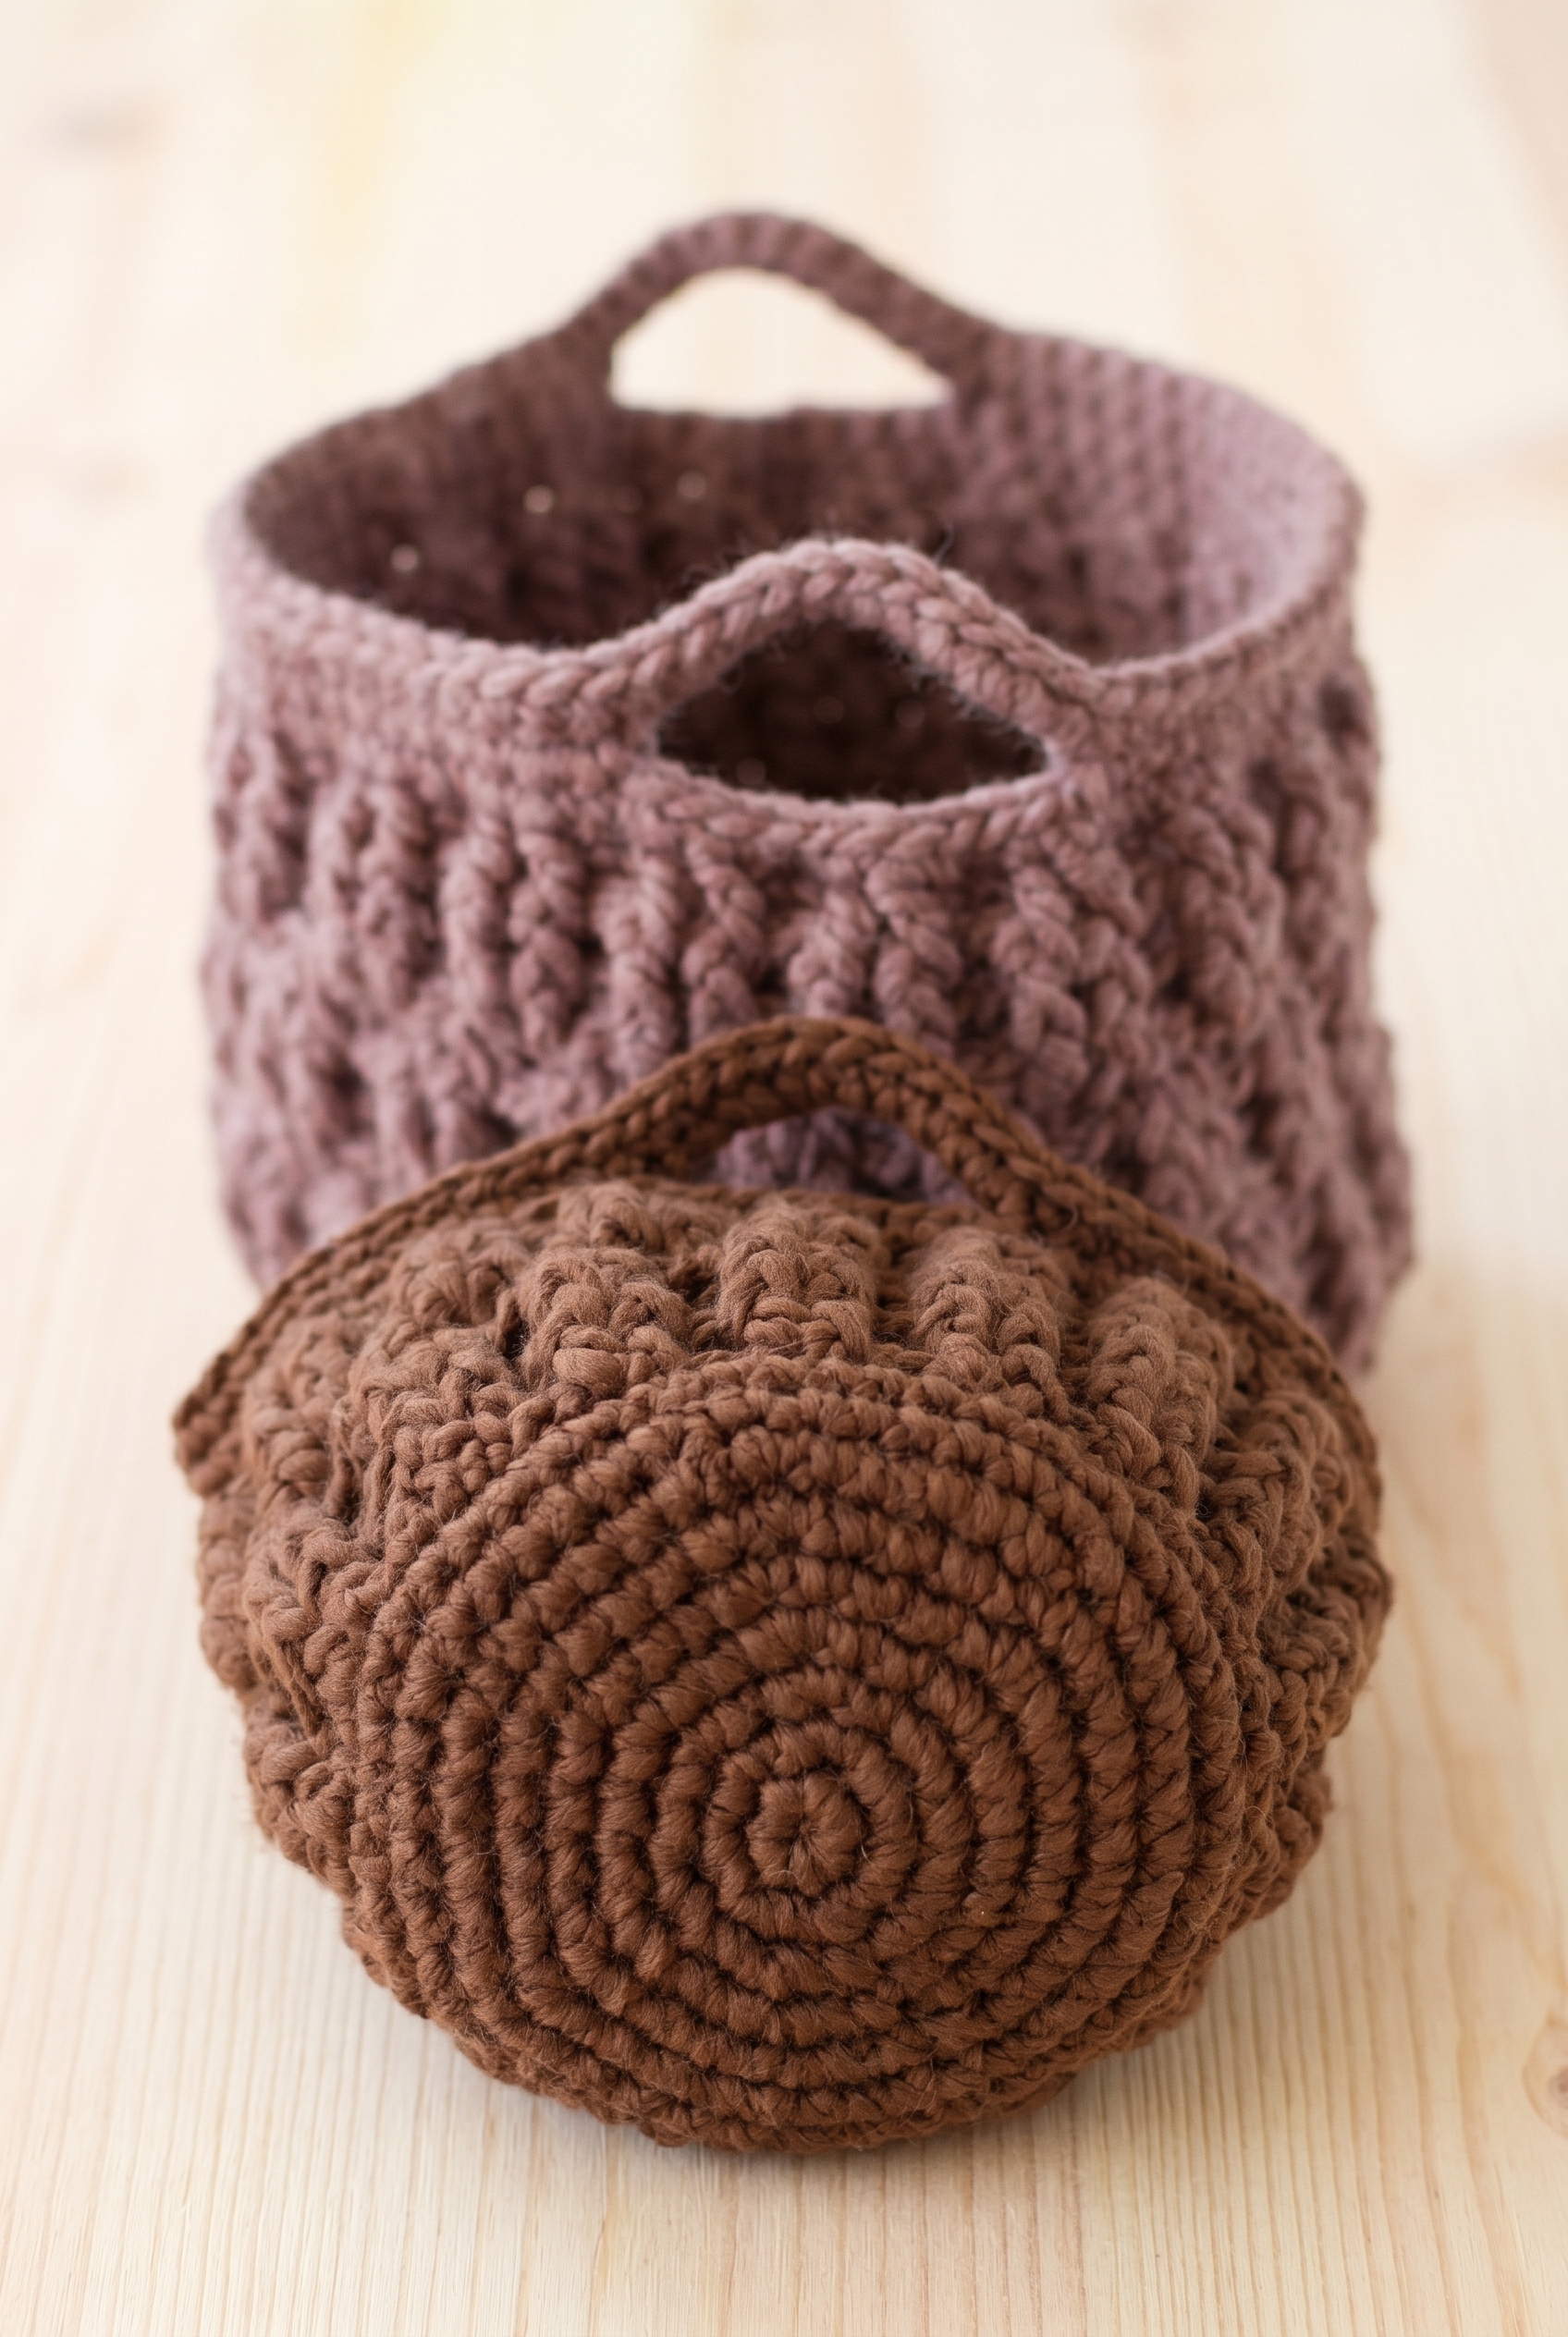
I've been on a real storage kick lately, and this Pantry Basket with Handle Crochet Pattern has been one of the most satisfying things to work up. It's a compact little basket with a sturdy handle on each side, and it works up faster than you'd expect for something that actually holds its shape and looks put-together. I make these in two sizes so you've got options depending on what you need to corral around the house.

Jump to:
The Inspiration
Honestly, the whole thing started because I kept reaching for small containers around the kitchen and bathroom and coming up empty. I wanted something that felt intentional. Not just a random bin, but something that looked like I put thought into it. The handles were the part I kept coming back to during the design process. They make the basket so much more functional, and they give it a finished look that I find really satisfying. You can actually pick it up and move it without fumbling, which sounds like a small thing until you're doing it every day.
I also love that this one works as a gift. A set of two sizes, maybe filled with something small, is the kind of handmade present that people actually use. It doesn't sit on a shelf looking decorative. It gets used, and that's what I want from something I spend time making.
Why You Need This on Your Hook
A sturdy, handled basket you'll actually reach for every single day.
- Two sizes included: You get a small and a large version in one pattern, so you can make a matching set or pick the size that suits your space.
- Intermediate skill level: There's enough going on to keep it interesting, but nothing so complicated that you'll stall out mid-project.
- Built-in handles: The side handles are worked right into the construction, so there's no awkward sewing-on at the end.
- Great for gifting: A set of two makes a really thoughtful handmade gift, especially for a housewarming or hostess situation.
- Practical every day: These aren't decorative pieces that just sit there. They're made to be used, moved around, and actually loaded up with stuff.
What You'll Need
Two colors, one hook, and you're basically set.
- Bulky Weight 100% Wool Yarn: Wool is the right call for baskets like these. It has enough body to hold its shape once the rounds stack up, and bulky weight means the fabric comes together with real structure rather than flopping around. For the small basket you'll need 100 g, and the large basket takes 150 g, so grab your toffee and clay accordingly before you start.
- 5 mm (US 8) Crochet Hook: This size pairs well with bulky wool and gives you a fabric that's firm without being a fight to work through. Worth noting: if your tension runs tight or loose, don't be afraid to size up or down. The stitch count over 10 cm is what matters, not the number on the hook.
- Also needed: scissors, tapestry needle
Yarn Substitutes
Pure wool is ideal here, but if you need to swap it out, look for something with at least some natural fiber content. A wool blend will still give you decent stiffness and structure as long as the weight stays at bulky.
- Bulky weight wool-acrylic blend: Usually around 100–130 m per 100 g. The acrylic content softens the fabric slightly, but the baskets will still hold their shape well enough for everyday use.
- Bulky weight cotton: Heavier and less stretchy than wool, so your tension may feel a bit different. It works, and it's a good option if you need something washable, just be aware it won't have the same give in the stitches.
Color Sequence & Yarn Changes
Each basket is worked in a single color all the way through, so there are no mid-round color changes to manage. Toffee is for the small basket and clay is for the large one. Keep them separate from the start and you won't have to think about it again.
Project Summary
Two sizes of textured wool baskets worked in the round, with a basket-stitch pattern built from front and back post doubles.
| Skill Level | Intermediate |
| Pattern Gauge | 14 sc in width and 17 rows vertically = 10 x 10 cm = 4" x 4" 14 dc in width and 8.5 rows vertically with basket pattern = 10 x 10 cm = 4" x 4" |
| Finished Size | Small basket: Diameter = 11 cm = 4⅜" | Height = 10 cm = 4" Large basket: Diameter = 15 cm = 6" | Height = 14 cm = 5½" |
| Yarn Weight | 5 Bulky |
| Fiber | 100% Wool |
| Terminology | US |
Abbreviations & Stitches Used
Short list — you've likely used all of these before.
- ch = chain
- sc = single crochet
- dc = double crochet
- sl st = slip stitch
- RS = right side
- FPdc = front post double crochet
- BPdc = back post double crochet
Special Stitches
- FPdc (front post double crochet): Yarn over, insert hook from front to back to front around post of indicated stitch, yarn over and pull up a loop, yarn over and pull through 2 loops, yarn over and pull through last 2 loops.
- BPdc (back post double crochet): Yarn over, insert hook from back to front to back around post of indicated stitch, yarn over and pull up a loop, yarn over and pull through 2 loops, yarn over and pull through last 2 loops.
Helpful Tips
Both baskets are worked in the round, starting at the center of the base and spiraling outward and then upward. The basket-stitch section uses FPdc and BPdc to create the woven texture on the sides.
For rounds worked in sc: at the beginning of the round, work ch 1 (this does not replace the first sc), then finish the round with a sl st into that ch 1. For rounds worked in dc: start with ch 3 (again, not a replacement for the first dc), and close with a sl st into the 3rd ch. This applies everywhere except Rounds 2 through 7 of the basket pattern section, which follow their own joining logic as written.
One thing worth paying attention to: chain stitches have a tendency to come out too tight if you're working right at the tip of the hook. Each ch should be roughly the same width as one sc or dc. If yours are pulling in, move the stitch back along the hook shaft while you form it.
On gauge: hook size is a starting point, not a rule. If your 10 cm swatch has too many stitches, go up a hook size. Too few, go down. Get the gauge right before you start, especially since these baskets have specific finished dimensions and the fabric needs enough body to hold its shape.
Crochet Instructions
Both baskets are worked in the round from the bottom up, starting with a flat circle base and building into the basket weave sides and handles.
Small Basket: Building the Base
Begin with a 5 mm (US 8) hook and color toffee in DROPS Snow. These first rounds build the flat circular base of the small basket, increasing steadily until you have enough width to start the sides.
Round 1: Ch 2. Read Crochet information, then work 6 sc in 2nd ch from hook. [6 sc]
Round 2: 2 sc in each sc around. [12 sc]
Round 3: *1 sc in next sc, 2 sc in next sc* repeat around. [18 sc]
Round 4: *1 sc in each of next 2 sc, 2 sc in next sc* repeat around. [24 sc]
Round 5: *1 sc in each of next 3 sc, 2 sc in next sc* repeat around. [30 sc]
Rounds 6–9: Continue to increase 6 sc on every round by working 1 sc more before every increase. [54 sc on round] Each round adds one more plain sc before the increase point. By round 9 you'll have 8 sc before each increase, and the base will be complete at 54 stitches.
Small Basket: Basket Weave Sides
Edge in basket pattern: This section transitions the basket from its flat base into the textured woven sides using front and back post double crochets. The alternating FPdc and BPdc columns are what create that classic basket weave look.
Round 1: Remember Crochet information and work 1 dc in each sc around, increasing 2 dc evenly on round (increase 1 dc by working 2 dc in same stitch). [56 dc] The slight increase here brings the stitch count to a number that divides evenly into groups of 4, which is what the basket pattern needs.
Rounds 2–4: Ch 1, *FPdc around each of next 2 dc, BPdc around each of next 2 dc* repeat around. [56 dc]
Rounds 5–7: Ch 1, *BPdc around each of next 2 dc, FPdc around each of next 2 dc* repeat around. Basket pattern is now done. [56 dc] Swapping which posts you work front and back on is what shifts the texture and completes the woven effect.
Small Basket: Finishing Edge and Handles
Finishing edge: These final rounds clean up the top of the basket and add the two handles. The chains that form the handles are worked right into the round, so there's no separate construction needed.
Round 1: Remember Crochet information, work 1 sc in each dc around. [56 sc]
Round 2: 1 sc in each of first 10 sc, ch 9 (handle), skip next 8 sc, 1 sc in each of next 20 sc, ch 9 (handle), skip next 8 sc, 1 sc in each of last 10 sc. [56 sc] The skipped stitches underneath each chain are what create the handle opening.
Round 3: 1 sc in each stitch around; over ch sts, work around ch sts instead of in the sts. Cut and fasten off. [56 sc] Working around the chain rather than into individual chain stitches reinforces the handle and gives it a clean, sturdy finish.
Cut and fasten off.
Large Basket: Building the Base
Begin with a 5 mm (US 8) hook and color clay in DROPS Snow. The large basket follows the same construction logic as the small one, just with more increase rounds to build a wider base before the sides begin.
Round 1: Ch 2. Read Crochet information, then work 6 sc in 2nd ch from hook. [6 sc]
Round 2: 2 sc in each sc around. [12 sc]
Round 3: *1 sc in next sc, 2 sc in next sc* repeat around. [18 sc]
Round 4: *1 sc in each of next 2 sc, 2 sc in next sc* repeat around. [24 sc]
Round 5: *1 sc in each of next 3 sc, 2 sc in next sc* repeat around. [30 sc]
Rounds 6–12: Continue to increase 6 sc on every round by working 1 sc more before every increase. [72 sc on round] That's 7 rounds of shaping, each one adding a plain sc before the increase point. The base finishes at 72 stitches.
Large Basket: Basket Weave Sides
Edge in basket pattern: The large basket gets an extra set of basket weave rounds compared to the small one, giving the sides more height. The pattern follows the same FPdc and BPdc alternation, just with an additional repeat block at the end.
Round 1: Remember Crochet information, work 1 dc in each sc around. [72 dc] At 72 stitches, the count already divides evenly into groups of 4, so no adjustment is needed here.
Rounds 2–4: Ch 1, *FPdc around each of next 2 dc, BPdc around each of next 2 dc* repeat around. [72 dc]
Rounds 5–7: Ch 1, *BPdc around each of next 2 dc, FPdc around each of next 2 dc* repeat around. [72 dc]
Rounds 8–10: Repeat Rounds 2-4 once more. Basket pattern is now done. [72 dc] This third block returns to the original FPdc/BPdc orientation, completing the full weave sequence.
Large Basket: Finishing Edge and Handles
Finishing edge: The handles on the large basket are a little longer and span more stitches than the small version, proportioned to the wider basket. Same technique, just scaled up.
Round 1: Remember Crochet information, work 1 sc in each dc around. [72 sc]
Round 2: 1 sc in each of first 13 sc, ch 11 (handle), skip next 10 sc, 1 sc in each of next 26 sc, ch 11 (handle), skip next 10 sc, 1 sc in each of last 13 sc. [72 sc]
Round 3: 1 sc in each stitch around; over ch sts, work around ch sts instead of in the sts. Cut and fasten off. [72 sc]
Cut and fasten off.
Care Instructions
These baskets are 100% wool, so hand washing in cool water is the way to go. Wool felts fast if you agitate it or hit it with hot water, and that's not something you can undo. Squeeze out the excess water gently and reshape the basket while it's still damp, then let it dry upright so the sides hold their form. The handles especially benefit from being coaxed back into shape before drying.
Frequently Asked Questions
What is the basket pattern stitch, and is it difficult to work?
The basket pattern is a ribbed texture made by alternating front post and back post double crochets in pairs. You work two rounds in one direction, then two in the other, which shifts the texture and creates that woven look. If you've done post stitches before, this will feel familiar. If you haven't, it takes a round or two to get the hang of which post you're working around, but it clicks quickly.
How are the handles made? Are they a separate piece?
The handles are crocheted right into the finishing edge, no separate pieces involved. You work a chain of 9 stitches for the small basket or 11 for the large, skipping the stitches underneath, and then on the next round you crochet around the chain rather than into it. That wraps the chain and gives the handle its body. Simple, and it means no sewing.
The pattern says ch 1 at the beginning of a round doesn't replace the first sc. What does that mean in practice?
It means you work the ch 1 just to get your hook up to the right height, then you still work your first single crochet into the same stitch. At the end of the round, you slip stitch into that ch 1, not into the first sc. It keeps the round join tidy. This rule applies throughout except for Rounds 2 through 7 of the basket, which are worked differently.
Do I need to hit a specific gauge, or is the hook size flexible?
The 5 mm hook is a starting point, not a hard rule. If you count too many stitches across 10 cm, go up a hook size. Too few, go down. The finished dimensions are given, so use those as your guide. Wool can vary a lot between brands and dye lots, so it's worth checking before you get into the basket pattern section.
How much yarn do I actually need if I want to make both baskets?
The small basket in toffee uses 100 g and the large in clay uses 150 g, so you'd need 250 g total across both colorways. If you're buying DROPS Snow for this, one skein is typically 50 g, so plan for two skeins per basket with a little buffer. Better to have a partial skein left over than run short mid-handle.
Final Thoughts
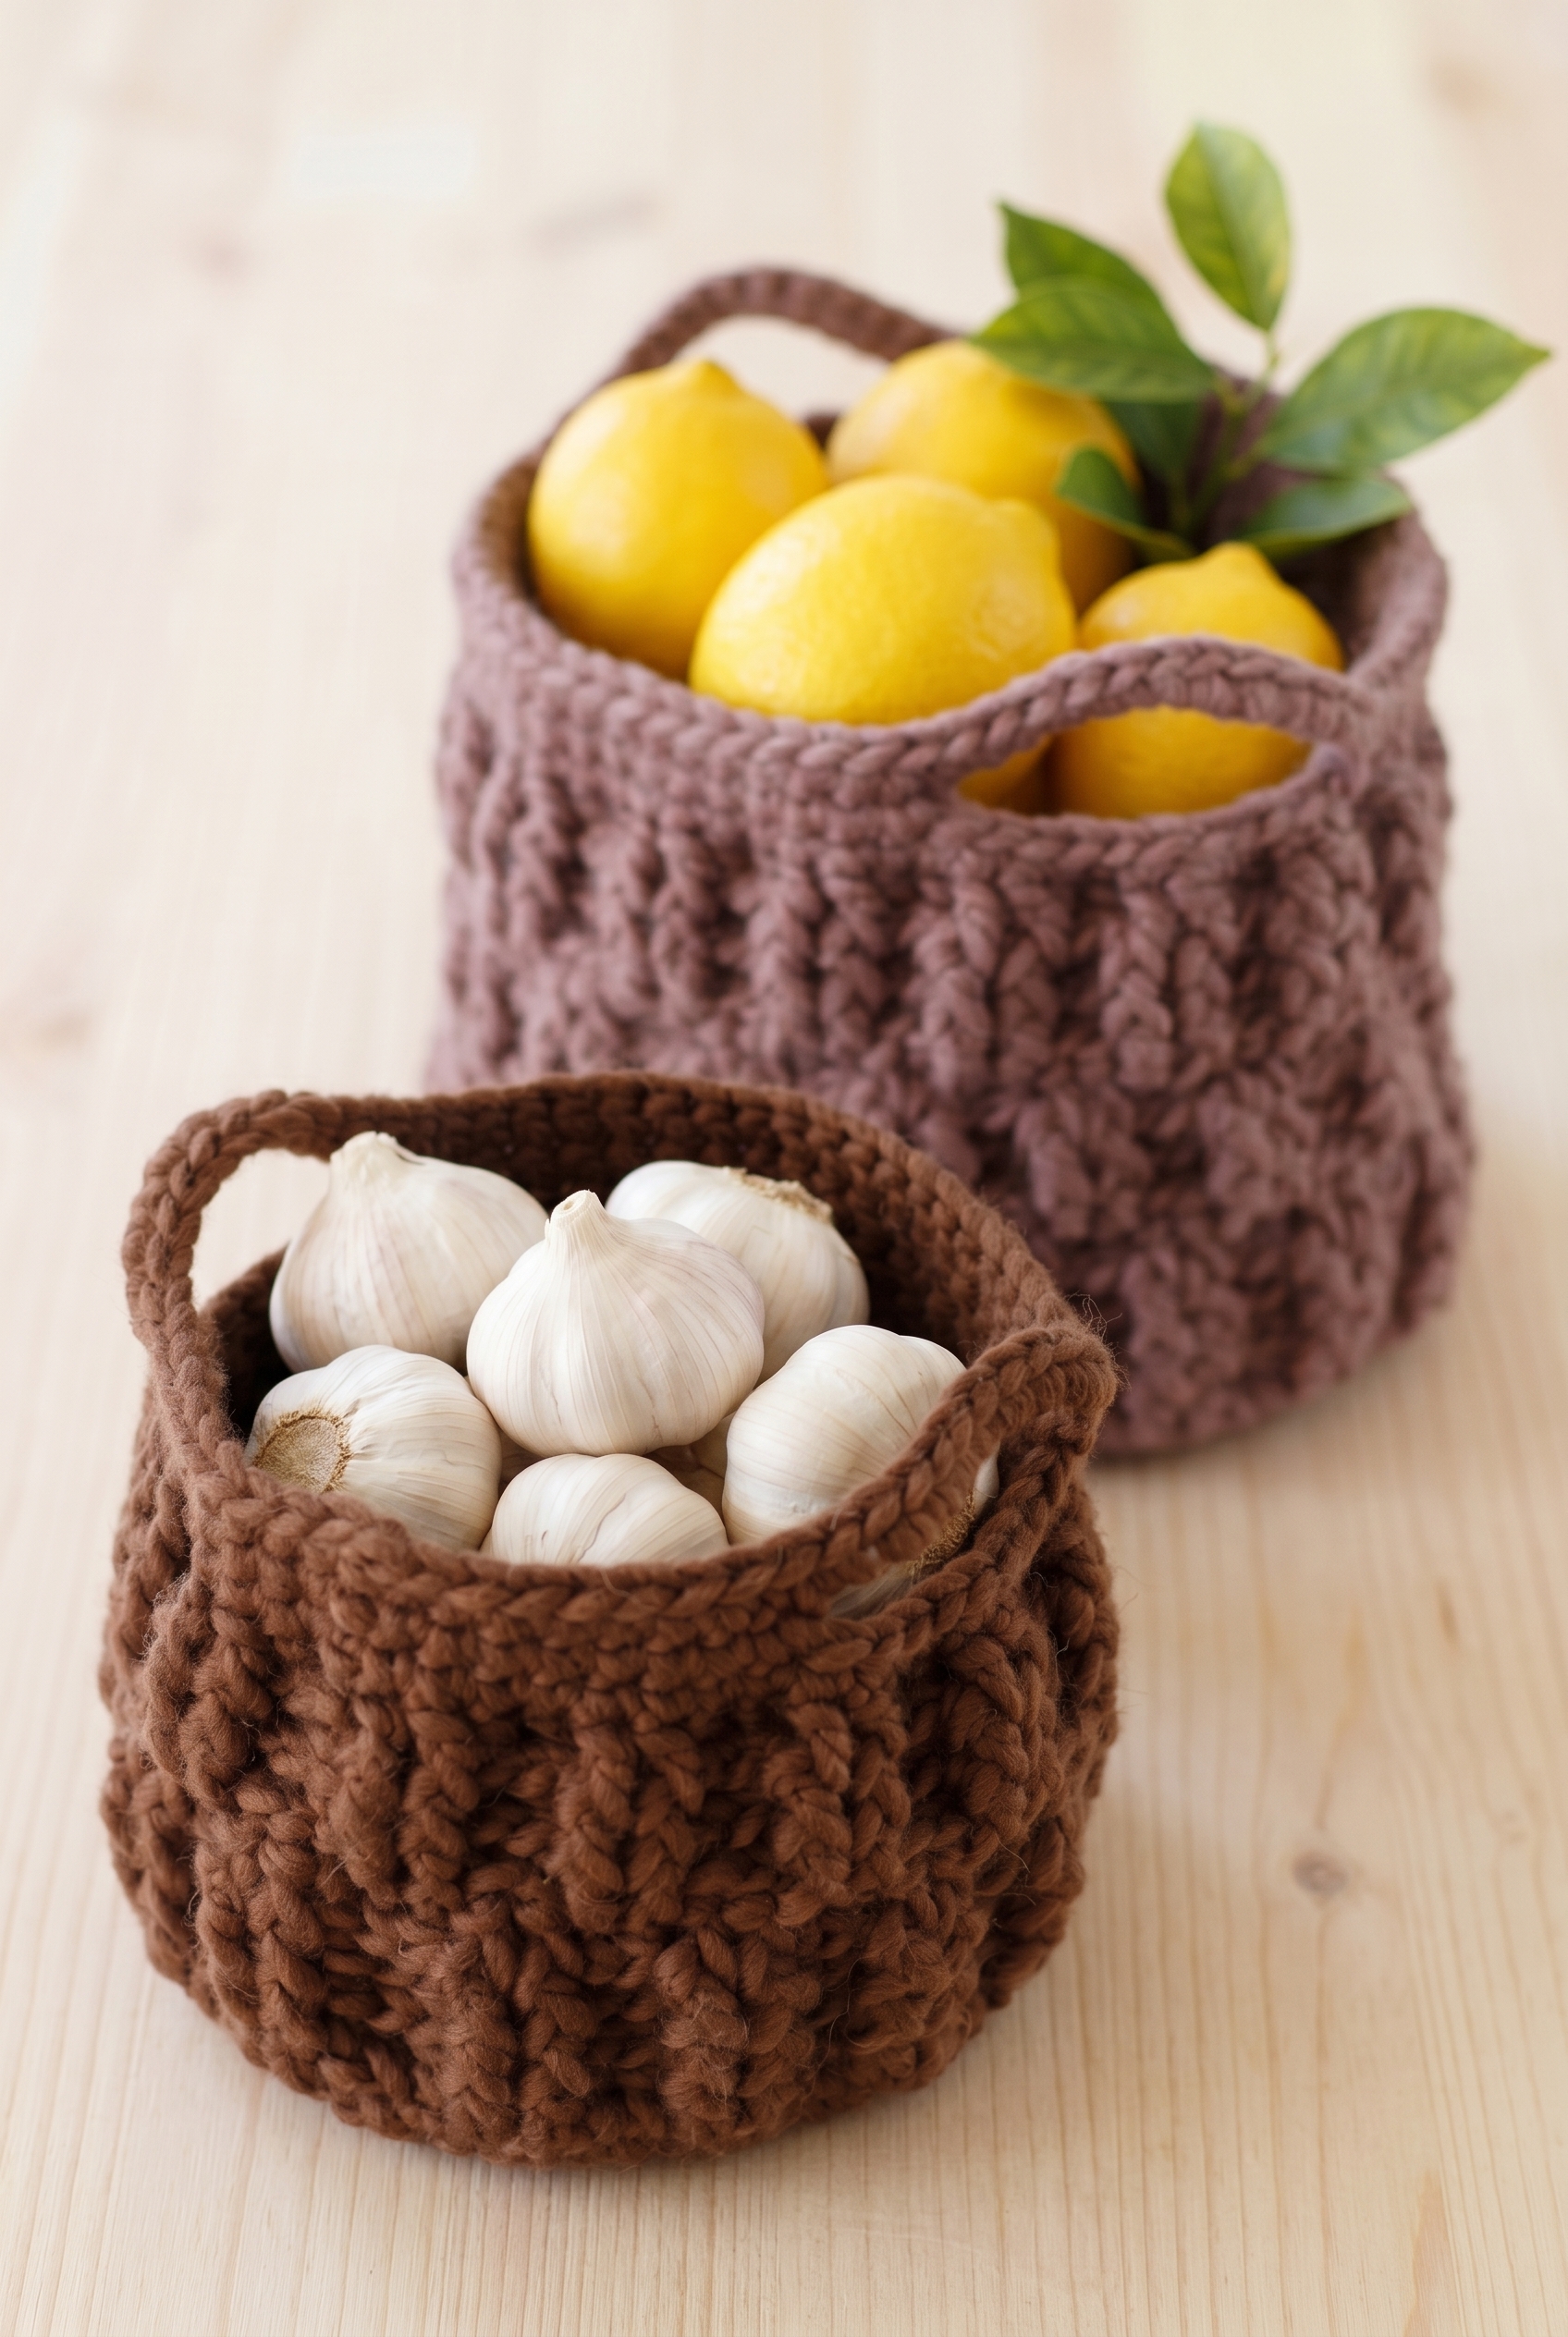
These little baskets are the kind of project I keep coming back to because they're useful in every room of the house, and they look SO much more considered than a plain storage bin. I have the large one on my kitchen counter holding garlic and a few loose onions, and the small one lives on my desk catching all the things that would otherwise just disappear. If you make yours, I'd love to see them. Tag me on Instagram or drop a photo in the comments, because I genuinely want to see what colors people are reaching for. And if you're saving this for later, pinning it to your crochet home decor board is a good move so you don't lose it in the scroll.
🧺 More kitchen crochet: The Small Storage Basket and Fruit & Vegetable Bag make a coordinated kitchen set alongside this pantry basket.


Leave a Reply