
Okay so I have been absolutely obsessed with capybaras lately, and when I decided to sit down and make one, I knew it had to be small, sweet, and holding something seasonal. This Mini Capybara Crochet Pattern is genuinely one of my favorite things I've made recently, and I think once you finish yours you'll feel the same way.

Jump to:
About This Project
What I love about this one is that it's not just a plain animal figure sitting there. There's a little prop involved, which adds a whole extra layer of charm and gives you something fun to assemble at the end. It really does feel like a complete scene rather than just a single piece, and that's what makes it so satisfying to finish.
I'd make this for literally anyone. It works as a desk buddy, a gift for a kid, a seasonal decoration, or just something to make because you saw a capybara meme and felt called to act on it. No shame. That's exactly what happened to me.
Why You'll Want to Make This
This tiny amigurumi packs serious personality into a surprisingly quick, rewarding make.
- Intermediate skill level: You'll need to be comfortable with basic amigurumi construction, but nothing here is going to stop you in your tracks.
- Mini size payoff: The finished piece is small enough to work up fast, which makes it a great project when you want a win without a huge time commitment.
- Seasonal gifting potential: That little pumpkin prop makes this especially perfect for fall gifting or autumn-themed displays.
- Great technique practice: Surface embroidery details for the face are part of this one, so it's a nice low-stakes way to build that skill.
- Multi-piece construction: You're assembling several separate components, which is a good stepping stone if you want to get more comfortable with more complex amigurumi builds down the road.
Your Supply List
Five colors sounds like a lot, but most of them are just small accent amounts.
- Sport Weight Yarn (5 colors: cream, brown, black, orange, and green): Sport weight is the right call for a small amigurumi like this. It gives you enough stitch definition to keep the stripe markings clean and crisp, without the fabric getting too stiff or too loose. The yardage isn't specified in the original pattern, but for a project this size you're probably looking at roughly 50 to 80 meters of cream for the body, and just a few meters each of brown, black, orange, and green. Check your stash first. Those accent colors really do use almost nothing. As for fiber, the pattern doesn't specify, so go with what you have. A smooth, non-fuzzy yarn will make the stripe details in rounds 2, 8, and 13 read more clearly.
- 3.00 mm Crochet Hook: This size pairs well with sport weight to give you a tight enough fabric that the stuffing won't show through, which matters a lot with amigurumi.
- Stuffing: A small amount is all you need here. The pattern asks you to stuff the body before completing round 15, so have it within reach before you get to that point rather than scrambling for it mid-round.
- Also needed: yarn needle, scissors
Color Sequence & Yarn Changes
The brown yarn comes in at rounds 2, 8, and 13 as surface stripe markings, and then again for the nose base. Worth winding a small separate bobbin of brown so you're not cutting and rejoining from your main ball every time. The orange and green are only for the yuzu accessory, so those can stay set aside until the body is completely finished.
Project Info
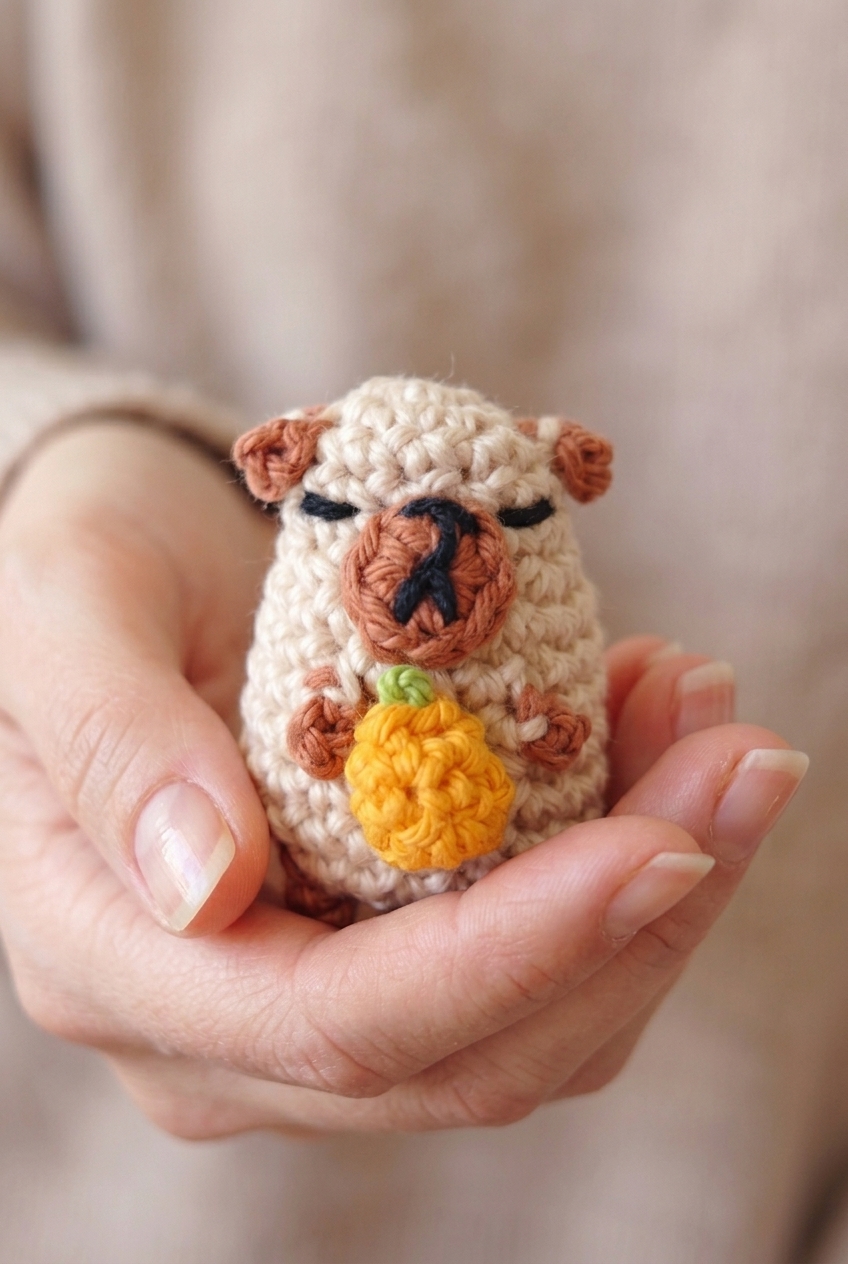
A tiny striped amigurumi worked in sport weight yarn, coming in at about 4 inches tall.
| Skill Level | Intermediate |
| Pattern Gauge | Gauge is not critical for this project. Use a hook size that creates a tight, firm fabric so stuffing does not show through |
| Finished Size | Approx. 4 in (10 cm) tall |
| Yarn Weight | 2 Fine / Sport |
| Terminology | US |
Stitches & Abbreviations
Pretty standard list — nothing unusual here.
- B = brown
- Bl = black
- C = cream
- ch = chain
- G = green
- O = orange
- sc = single crochet
- sc2tog = single crochet 2 together (decrease)
- sl st = slip stitch
- st(s) = stitch(es)
- * * = repeat between asterisks as stated
Pattern Notes
Rounds are worked continuously. Don't join at the end of each round and don't turn. A stitch marker in the first stitch of each round will save you a lot of confusion as you go.
The ch4 and sl st sections in Rounds 2, 8, and 13 create the stripe markings on the body. These are surface details only, not structural stitches. Skip them when you're counting stitches and when you continue working the round.
Stuff the body before completing Round 15. Don't wait until the opening is fully closed — it gets awkward fast. Very little sewing is required in this pattern overall, so don't let the color changes put you off.
Fiber content isn't specified for this pattern, so check your yarn label before you start. Whatever you use, the hook size matters more than the gauge number here. You want a firm, tight fabric so the stuffing doesn't peek through. If you can see daylight between your stitches, go down a hook size.
The Mini Capybara Crochet Pattern Steps
Here's how I work through each piece of this mini capybara, from the body to the little yuzu sitting on top.
Body
The body is worked in continuous rounds — don't join at the end of each round, just keep going. The color B chain loops you'll add in rounds 2, 8, and 13 are the texture details that give this capybara its character, and they're easier than they look once you've done the first one.
Round 1: With C, ch 4, sl st in first ch to form a loop, 7 sc in center of loop. [7 sc] Do not join rounds.
Round 2: 2 sc in next st, joining B in end of last sc, ch 4, sl st in same st as previous sc, re-joining C, 2 sc in next 3 sts, re-joining B in end of last sc, ch 4, sl st in same st as previous sc, re-joining C, 2 sc in last 3 sts. [14 sc] (not including chs and sl sts) The ch-4 loops are worked right into the increase stitches — you're not adding extra stitches to your count, just the decorative chain. Keep your tension relaxed when you make the loop so it sits on the surface rather than pulling tight.
Round 3: Sc in each st around, skipping chs and sl sts. [14 sc] Pass right over those chain loops as if they aren't there — they'll pop to the outside on their own.
Round 4: Sc in each st around. [14 sc]
Round 5: Sc in each st around. [14 sc]
Round 6: *1 sc in next st, 2 sc in next st* repeat around. [21 sc]
Round 7: Sc in each st around. [21 sc]
Round 8: Sc in next 7 sts, joining B in end of last sc, ch 4, sl st in same st as previous sc, re-joining C, sc in next 4 sts, re-joining B in end of last sc, ch 4, sl st in same st as previous sc, re-joining C, sc in last 10 sts. [21 sc] (not including chs and sl sts)
Round 9: Sc in each st around, skipping chs and sl sts. [21 sc]
Round 10: Sc in each st around. [21 sc]
Round 11: Sc in each st around. [21 sc]
Round 12: Sc in each st around. [21 sc]
Round 13: Sc in next 7 sts, joining B in end of last sc, ch 4, sl st in same st as previous sc, re-joining C, sc in next 6 sts, re-joining B in end of last sc, ch 4, sl st in same st as previous sc, re-joining C, sc in last 8 sts. [21 sc] (not including chs and sl sts)
Round 14: *1 sc in next st, sc2tog* repeat around, skipping chs and sl sts. [14 sc] Stuff now.
Stuff now.
Round 15: Sc2tog until end. [7 sc] Fasten off and sew remaining hole closed.
Fasten off and sew remaining hole closed.
Nose
The nose is a small flat circle worked in B, with a few hand-sewn details added in Bl before it goes onto the face.
Step 1: With B, ch 4, sl st in first ch to form a loop, 6 sc in center of loop, sl st in first sc to join. [6 sc] Fasten off. This round does join — unlike the body, you're closing the circle here before fastening off.
Step 2: With Bl, sew on nose details. Hide ends at back and sew nose onto face.
Eyes
The eyes are purely embroidered — no crocheted pieces, just a needle and some Bl yarn.
With Bl, sew on eyes using 2 simple horizontal stitches. I place these by eye (no pun intended) before committing the needle, just to make sure they're level and spaced where I want them.
Yuzu / Mandarin Accessory
This tiny orange is worked in continuous rounds in O, with a little green leaf sewn on at the end. Don't join rounds.
Round 1: With O, ch 4, sl st in first ch to form a loop, 6 sc in center of loop. [6 sc] Do not join rounds.
Round 2: Sc in each st around. [6 sc]
Round 3: Sc in each st around. [6 sc] Fasten off and sew remaining hole closed.
Finishing: With G, sew a tiny loop on top to create a leaf. Sew mandarin onto capybara.
Finishing & Assembly
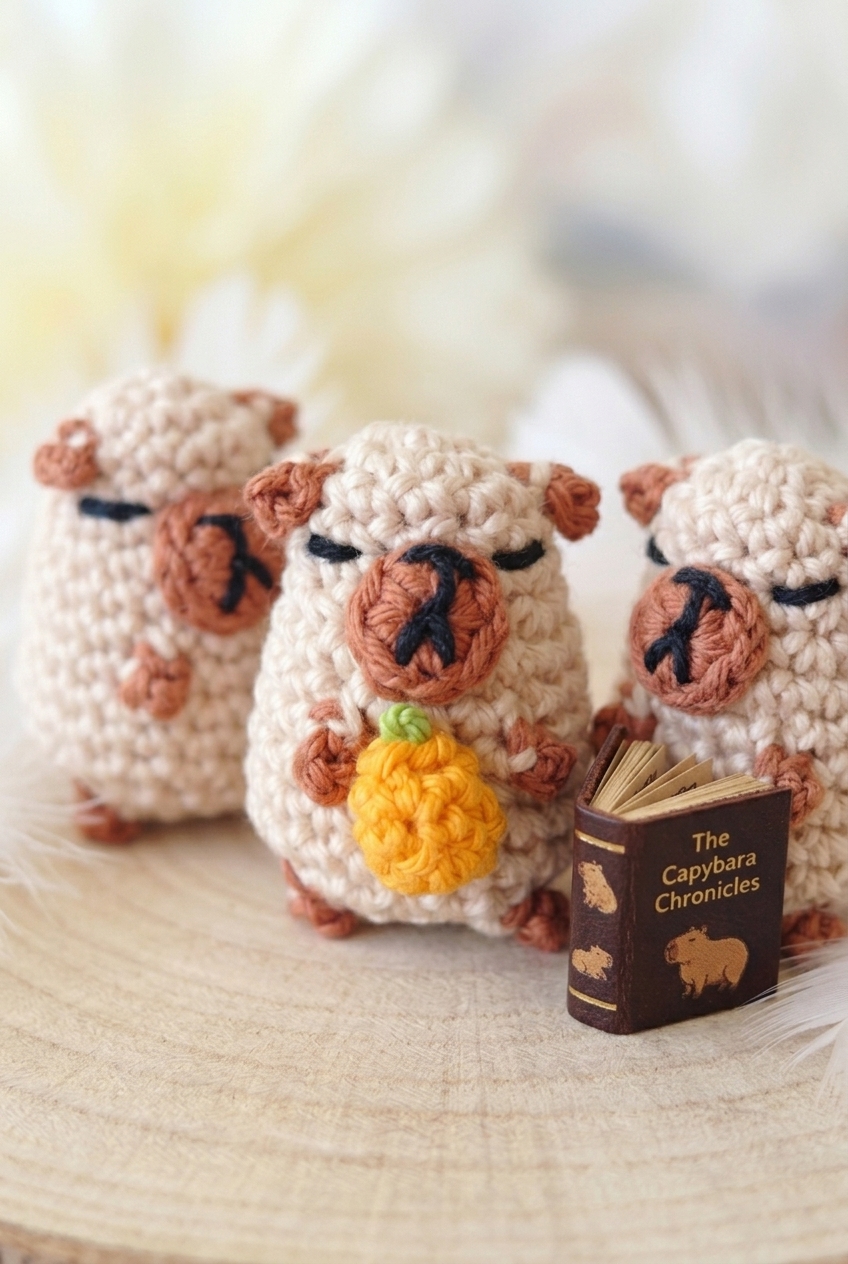
Once all the pieces are done, it's just a matter of putting the capybara together. I sew the nose onto the face first, hiding the yarn ends at the back of the piece before it goes on so there's nothing to deal with later. Then the mandarin gets sewn onto the capybara wherever it looks right to you — the top of the head is the classic spot. Use the yarn tails left from fastening off to anchor everything down, and weave in any remaining ends once you're happy with the placement.
Frequently Asked Questions
What are the brown stripe markings, and do I count them as stitches?
The stripe markings in Rounds 2, 8, and 13 are surface details created with chain-4 and slip stitch sections worked in brown. They sit on top of the body and don't count toward your stitch total. Skip right over them when you're counting stitches or continuing the round in cream.
When do I stuff the body?
Stuff before you finish Round 15. Round 14 brings you down to 14 stitches, and that's the point to add your stuffing. Once you're into Round 15 with the sc2tog decreases, the opening closes up fast, so don't wait until the end.
How are the eyes made? Do I need safety eyes for this?
The eyes are sewn on using two simple horizontal stitches in black yarn. No safety eyes needed at all. It's a fully embroidered finish, which keeps the whole project yarn-only.
How is the nose attached?
The nose is crocheted separately as a small 6-stitch circle in brown, then the black nose details are embroidered on top. Once that's done, you hide the ends at the back and sew the whole nose piece onto the face. There's very little sewing involved overall.
How is the little mandarin made and attached?
The mandarin is crocheted in orange over three rounds starting from a 6-stitch loop, then closed off and finished with a tiny green loop sewn on top to suggest a leaf. Once it's done, you sew it directly onto the capybara. Small and quick to make.
Do I join rounds when crocheting the body?
No. The body is worked in continuous rounds without joining. Keep going in a spiral and use a stitch marker to track the start of each round. The mandarin accessory is also worked the same way.
Happy Crocheting
I hope your mini capybara turns out exactly as round and squishy as mine did. If you make one, I'd love to see it. Tag me on social media or drop a photo in the comments below. And if you're saving patterns for later, this one pins really well on Pinterest alongside other mini amigurumi projects. Let me know if you run into any trouble with those stripe rounds, because I know they look a little odd the first time you work them.


Leave a Reply