
This Chunky Headband Crochet Pattern has honestly been one of my favorite things to work up. It's the kind of project that comes together fast, looks way more impressive than the effort it takes, and immediately makes you want to make five more for everyone you know.

Jump to:
Behind the Pattern
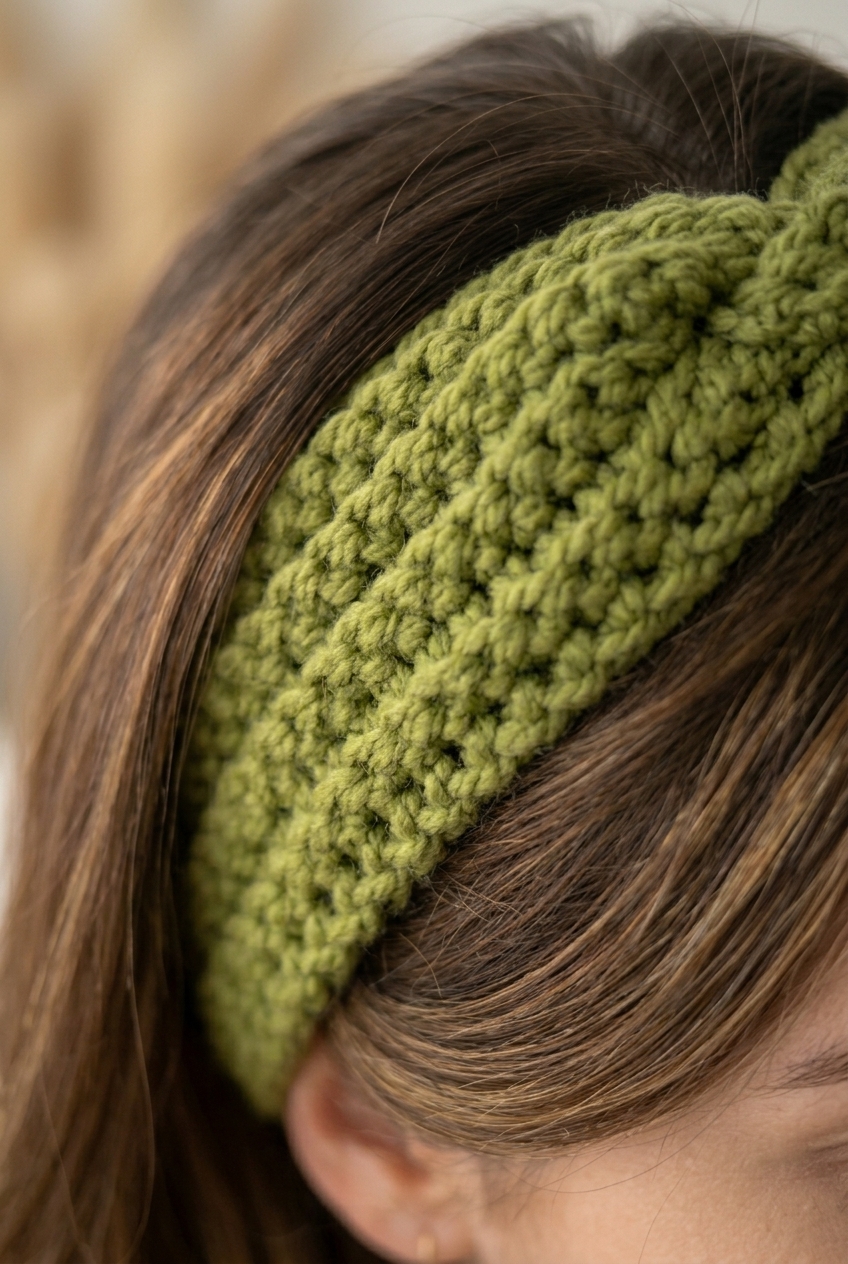
What I love most about this headband is that little center detail. It takes what could be a totally basic rectangle and turns it into something that actually looks intentional and put-together. That's the part I kept coming back to when I was designing this. I wanted something that felt like a real finished accessory, not just a strip of fabric tied around your head.
This one is really good for gifting, too. It's the kind of thing that works for so many people, and because the sizing is adjustable, you're not locked into one fit. I've already made a few of these as last-minute gifts and they went over really well.
Why This Pattern Stands Out
A beginner-friendly build with a center detail that makes it look anything but basic.
- True Beginner Level: No tricky stitches here. If you can work basic rows, you can finish this with no trouble at all.
- Adjustable Sizing: The foundation count and row count are easy to tweak, so you can size this up or down for different people.
- Fast to Finish: This is a great one-sitting project, which makes it perfect when you need something done quickly.
- Gifting Potential: Headbands are universally useful and easy to personalize just by switching up yarn color.
- Technique Value: That center knot detail is a really satisfying little construction trick that you'll probably use again on future projects.
Gather Your Supplies
The supply list here is refreshingly short. A single color, one hook, and not much else.
- Super Bulky Weight Yarn (Weight 6): Super bulky is the right call for a headband. It works up fast and gives you that thick, cozy band that actually stays warm around your ears. For an adult headband, you're looking at somewhere in the range of 20 to 40 yards, though the exact amount will depend on how wide and long you make it. Check your label for fiber content since the pattern doesn't specify, but a soft acrylic or acrylic blend tends to be comfortable against the forehead and holds its shape well after wear.
- 10.0 mm Crochet Hook: This size pairs well with super bulky yarn and keeps the fabric from getting too stiff or too loose. A dense but flexible fabric is what you want here, and a 10.0 mm gets you there without a lot of fuss.
- Also needed: yarn needle, scissors
Project Info
A chunky, quick-to-work accessory sized for an average adult woman, with a stretchy foundation edge that actually stays comfortable all day.
| Skill Level | Beginner |
| Pattern Gauge | Approx. 2 sc x 2 rows = 1 inch with 10.0 mm hook in single crochet (BLO for body). |
| Finished Size | Average female adult (adjust foundation stitch count for length and row count for width) |
| Yarn Weight | 6 Super Bulky |
| Fiber | Not specified — check the yarn label |
| Terminology | US |
Customizing the Size
Length and width are both adjustable. To make it longer, add more foundation single crochet stitches to your starting row. To make it wider, work more rows before finishing off. The gauge is approximate since super bulky yarn can vary quite a bit between brands, so it's worth measuring your swatch before committing to a stitch count.
Stitches & Abbreviations
Short list — just a handful of basics plus one foundation stitch worth learning.
- ch = chain
- sc = single crochet
- st(s) = stitch(es)
- BLO = back loop only
- Fsc = foundation single crochet: ch 2, insert hook in 2nd ch from hook, yarn over, pull up a loop, yarn over, pull through 1 loop (makes ch-1), yarn over, pull through 2 loops (sc made). For next Fsc, insert hook into the ch-1 space of previous stitch and repeat.
Special Stitches
- Foundation single crochet (Fsc): Ch 2, insert hook in 2nd ch from hook, yarn over, pull up a loop, yarn over, pull through 1 loop (makes ch-1), yarn over, pull through 2 loops (sc made). For next Fsc, insert hook into the ch-1 space of previous stitch and repeat.
The Critical Details
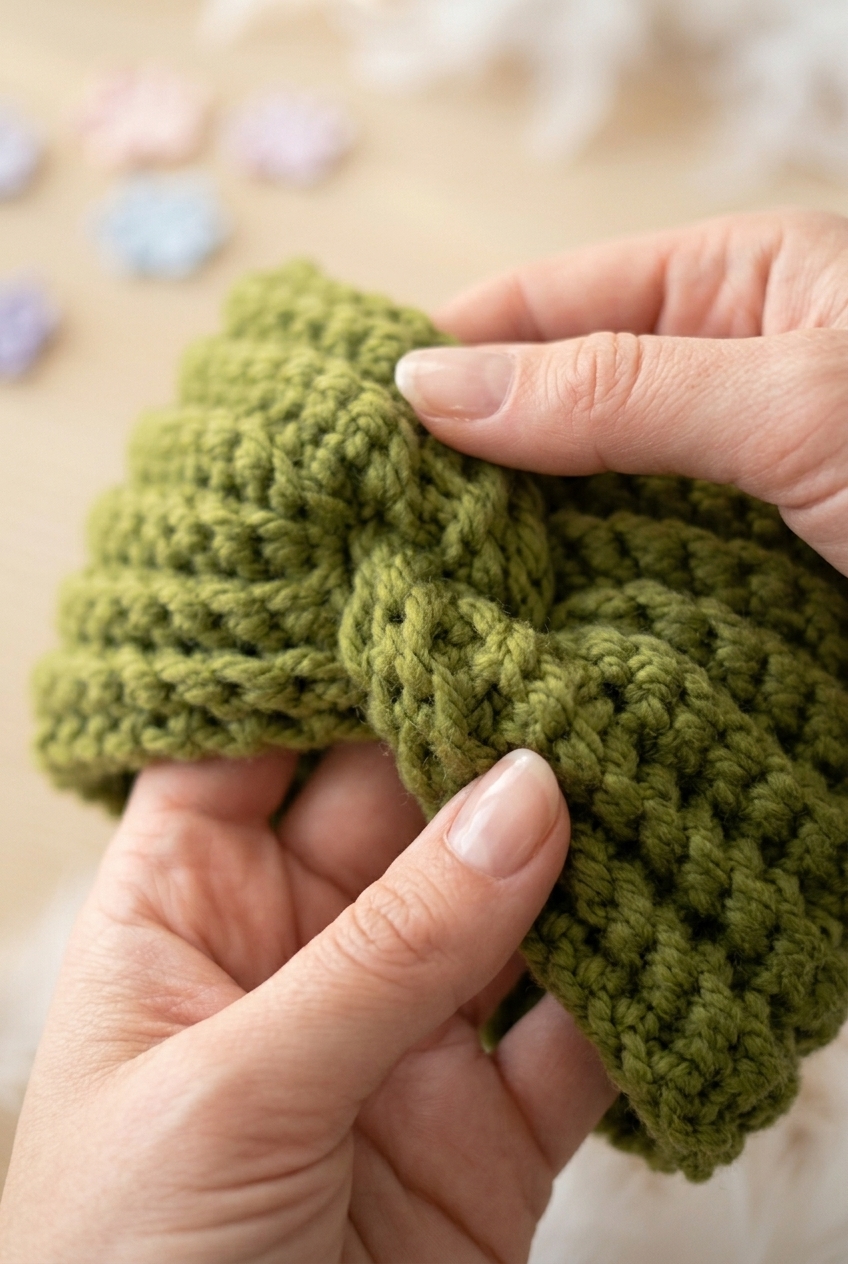
The body is worked in BLO single crochet, which gives it that ridged, ribbed texture. I'd strongly recommend starting with foundation single crochet rather than a standard chain. A regular starting chain in super bulky yarn tends to go stiff and tight at the edge, and on something worn against the neck or wrist, that matters. The Fsc gives you a bottom edge that moves with the fabric instead of fighting it. Gauge here is estimated rather than exact, so if your tension runs loose or tight, adjust your hook size before you get too far in.
Step-by-Step Instructions
Here's how I work this chunky headband crochet pattern from start to finish.
Working the Headband
This section builds the entire body of the headband in rows. It's a straightforward back-loop-only construction that gives the fabric that ridged, textured look once it's assembled.
Row 1: Work 40 Fsc. [40 sc] ch 1, turn. The foundation single crochet combines your starting chain and first row into one pass, which keeps the bottom edge stretchy and even. If you'd rather skip the Fsc, the alternative below works just as well.
Row 1 should measure around your head; work more or fewer foundation stitches as needed.
Row 1 (alternative): ch 41, sc in 2nd ch from hook and in each ch across. [40 sc] ch 1, turn.
Rows 2–14: BLO sc in each st across. [40 sc] ch 1, turn. Working into the back loop only on every row is what creates those raised horizontal ridges across the fabric. Keep your tension consistent here — it makes the ridges look clean all the way through.
Adjust number of rows as needed for desired width.
Fasten off and weave in ends.
Finishing the Headband
These steps shape the flat strip into the knotted headband silhouette. Take your time with the fold — getting the S shape right before you sew makes the whole thing sit properly once it's on.
Step 1: Fold headband in half lengthwise.
Step 2: Bring both ends together and fold them into each other to create an S shape.
Step 3: Sew the S shape in place to secure. A few passes with your yarn needle and a length of the same yarn is enough — just make sure it's tight enough that the knot won't shift during wear.
Step 4: Turn headband inside out to finish. This tucks the sewn join to the inside and gives the front a clean, polished look.
Care Instructions
Because this headband sits close to your head, it picks up oils and product buildup faster than you'd expect. I'd hand wash it in cool water with a little gentle soap, then press out the excess water with a towel. Don't wring it. Lay it flat to dry so the folded S-join keeps its shape and doesn't stretch out. Super bulky yarn can take a while to dry all the way through, so give it a full day before you wear it again.
Frequently Asked Questions
How do I adjust the headband to fit my head?
Start by working your foundation row so it measures around your head before you join anything. The pattern starts with 40 foundation single crochets, but go up or down from there depending on your head size. For width, just add or remove rows. I worked 13 rows for a medium-width band, but anywhere from 10 to 16 rows gives you a noticeably different look.
What does BLO mean and why does this pattern use it?
BLO stands for back loop only. Instead of inserting your hook under both loops of a stitch, you only grab the back loop. Working BLO through rows 2 to 14 creates those raised horizontal ridges along the headband. That texture is the whole visual point of this pattern, so don't skip it.
Can I use a starting chain instead of foundation single crochet?
Yes. The pattern gives you both options. Foundation single crochet gives you a stretchier, softer edge, which works better for something that needs to slip on and off your head. The chain alternative works fine too. Chain 41, then single crochet in the second chain from the hook and across for your 40 stitches.
How does the S-fold finishing actually work?
Once you've fastened off and woven in your ends, fold the headband in half lengthwise. Then bring both short ends together and tuck them into each other so they form an S shape. Sew that join in place, then flip the whole thing inside out. That last step hides the seam and gives you a clean finish on the outside.
How long does this headband take to make?
With a 10 mm hook and super bulky yarn, this works up fast. Most people finish in under an hour, including the finishing steps. It's a solid last-minute project.
Happy Crocheting
I'd love to see how yours turns out, especially if you played around with the row count or tried a fun colorway. Drop a photo in the comments or tag me on social so I can see it. And if you're saving patterns for later, this one pins really well on Pinterest for a quick grab when you need a fast gift or a cold-weather project to knock out in an afternoon.


Leave a Reply