This free Easter Bunny Crochet Coasters Pattern makes the sweetest little flat bunny coasters, and they are exactly the kind of quick, satisfying project to pull out in the weeks leading up to Easter.

Jump to:
The Inspiration
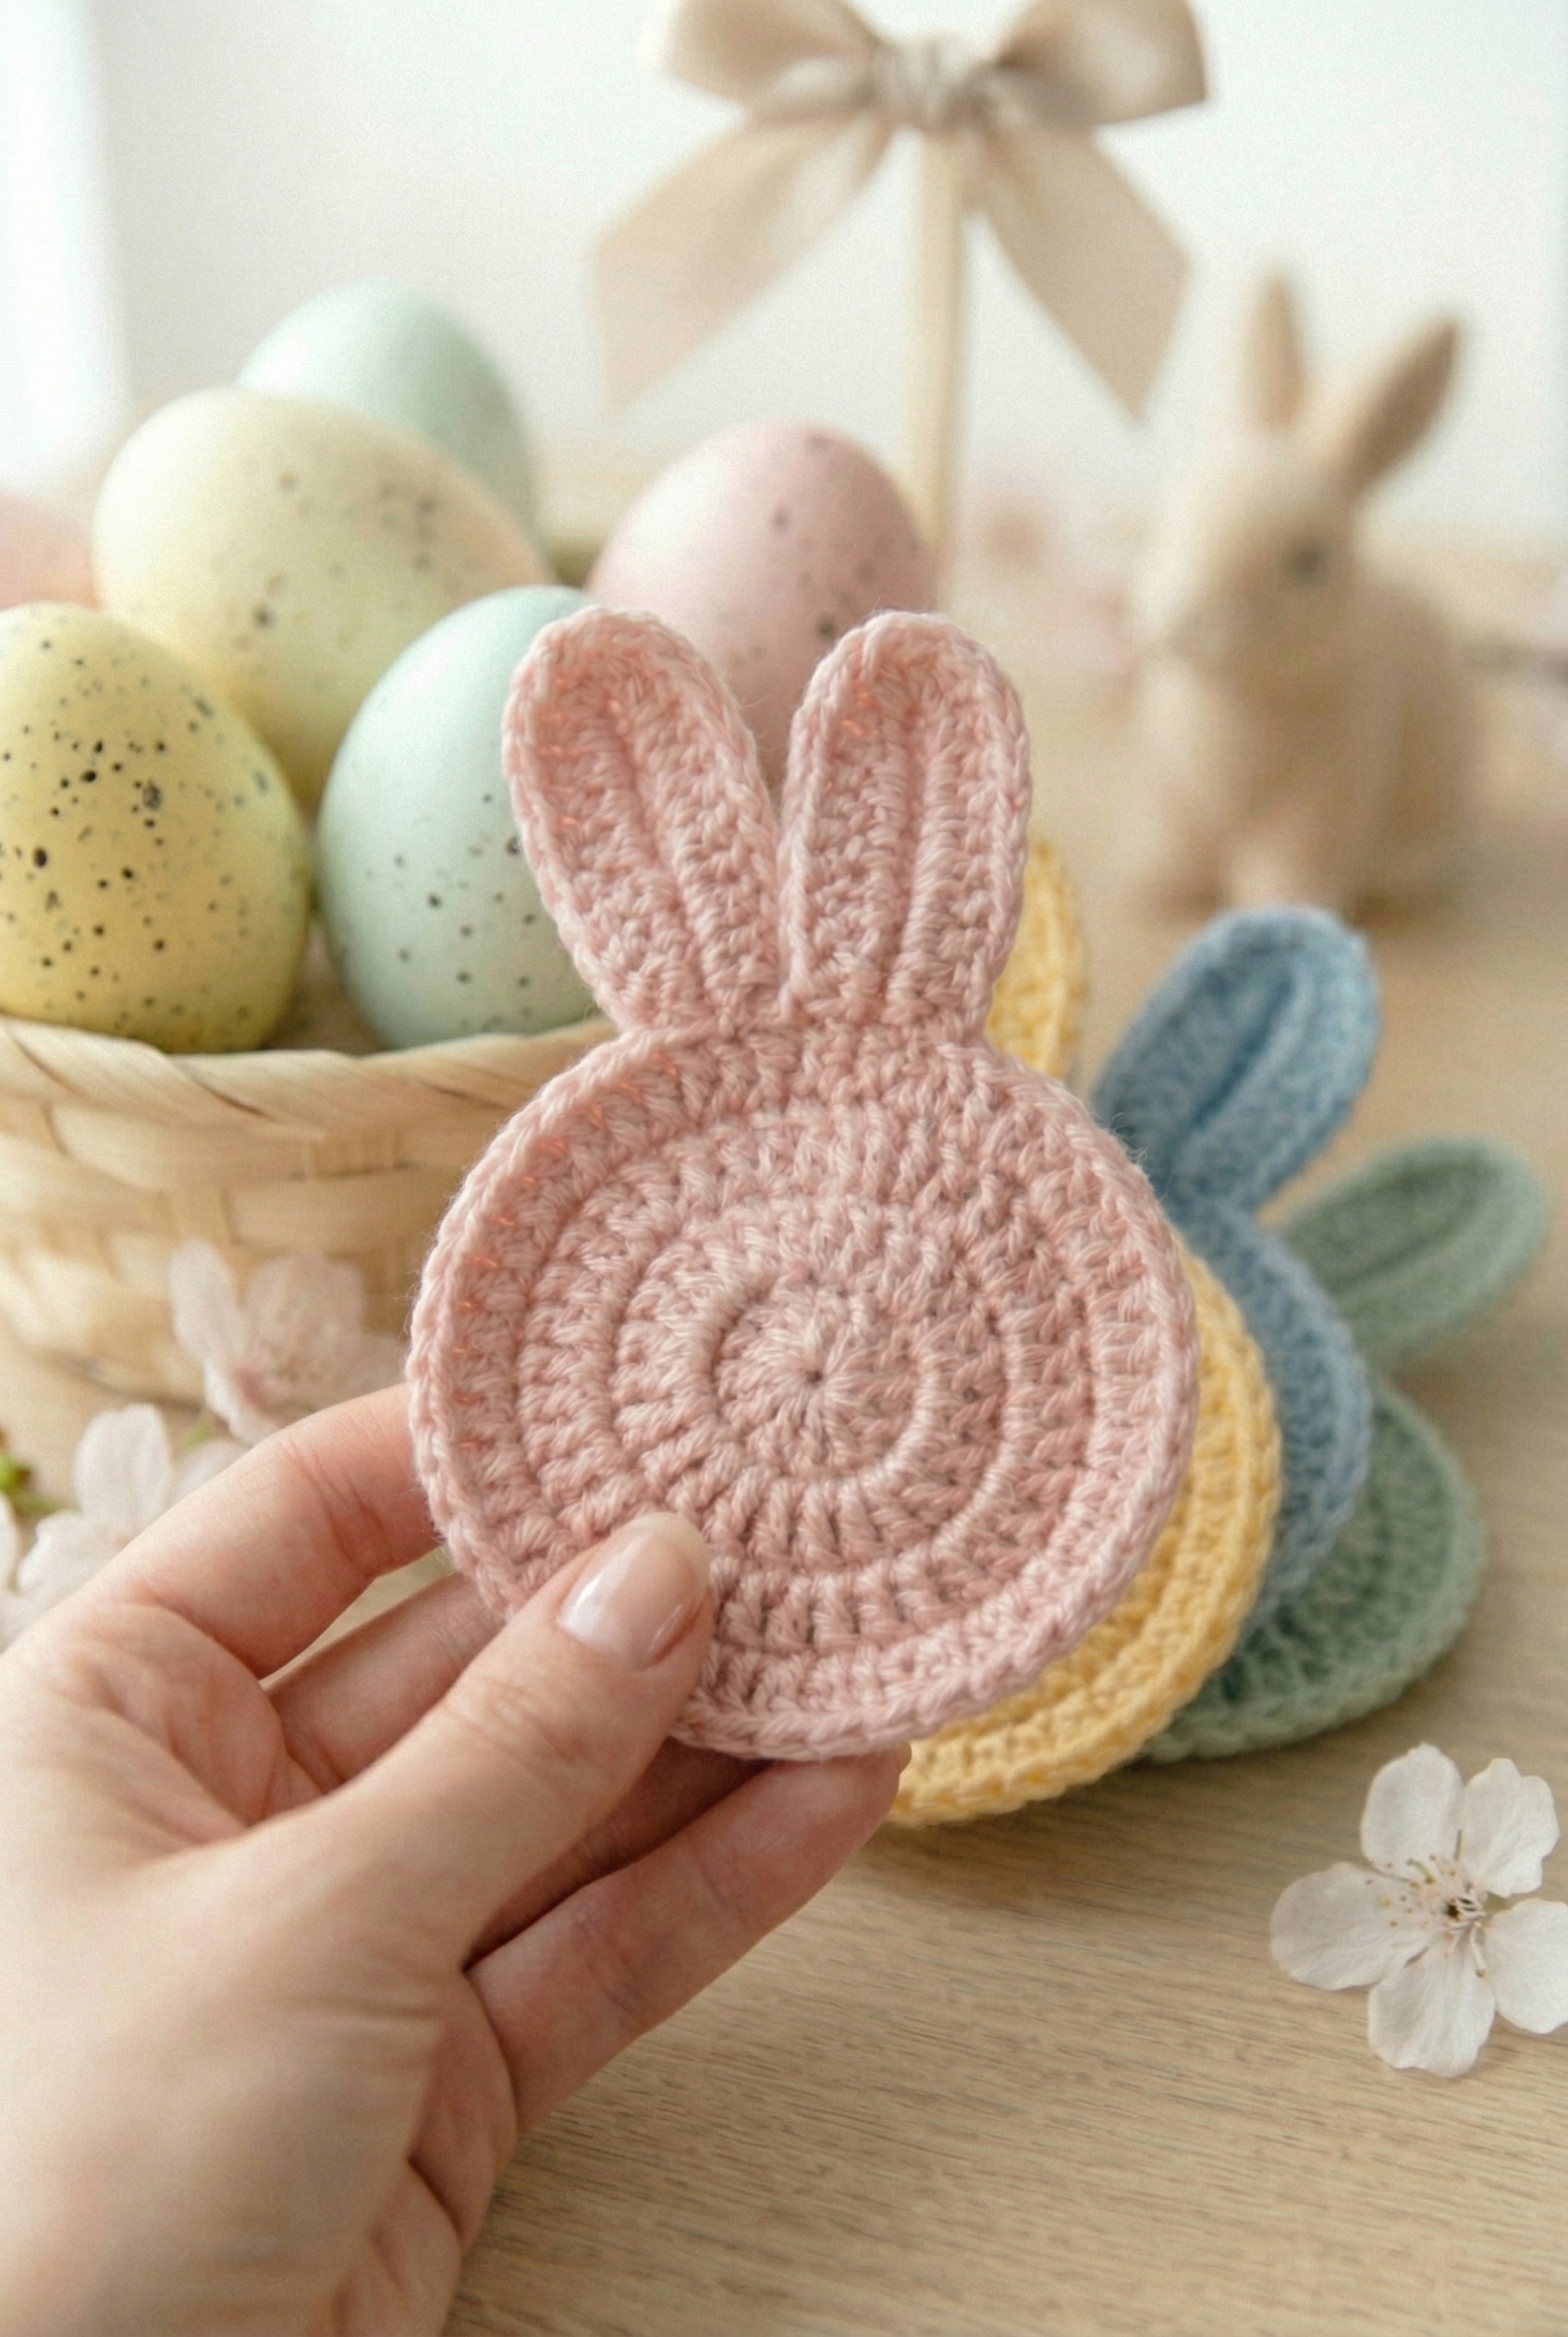
I wanted something that felt Easter without being over the top, so I landed on these little flat bunnies in soft pastels. The body is a simple round worked in tight rows, and two long upright ears sit at the top, giving each one that unmistakable bunny silhouette. No face, no embellishments, just clean shape and color. I think that's actually what I like most about them.
For colors I went with light pink, pale yellow, dusty blue, and sage green. They sit really well together without being too matchy, and the muted tones keep the whole thing feeling modern rather than kitschy. This is a Level 2 Easy pattern, so there's no complicated construction going on here, just solid basic stitches that build into something that looks way more put-together than the effort involved.
Why You'll Love This Pattern
These bunny coasters work up fast and look great in a pastel spring spread.
- Easy skill level: The stitches are straightforward, so you're not fighting the pattern to get a clean result.
- Make a whole set: Each coaster works up quickly, so making four different pastel colorways is no trouble at all.
- Versatile as decor: They work as actual coasters, a table scatter, or a little Easter basket filler, so there's real use in making a batch.
What You'll Need
Each coaster uses about 10g of yarn, so this is a genuinely good use for small leftovers.
- DK weight yarn in yellow, pastel pink, sky blue, and mint green (approx. 10g per color): For coasters I really do prefer a DK weight cotton or cotton blend. It holds its shape flat without curling up on you, and it can handle a bit of moisture from a cold glass without being a disaster. The fiber content isn't specified here, so check your label, but something with at least some cotton in it will serve you better than a pure acrylic for something that's going to sit under drinks.
- 4mm crochet hook: A 4mm pairs well with DK weight and keeps the fabric firm enough that the coaster doesn't flop around. You want a bit of structure here, so don't go up a size just because it feels easier.
- Also needed: scissors, tapestry needle
The Quick Stats
Everything you need to know before you pull out your hook and yarn.
| Skill Level | Level 2 — Easy |
| Pattern Gauge | Gauge is not critical for this project. Use a hook size that creates a neat, even fabric suitable for a coaster. |
| Finished Size | Approx. 4.5 in (11.5 cm) diameter coaster (excluding ears) |
| Yarn Weight | 3 Light / DK |
| Terminology | US |
Stitches & Abbreviations
Keep this list open while you work.
- MR = magic ring
- ch = chain
- dc = double crochet
- inc = increase (work 2 sc in next st unless otherwise specified)
- sc = single crochet
- sl st = slip stitch
- st = stitch
- tog = together
Important Notes
This coaster is worked in the round from the center out, starting with a magic ring. I join at the end of each round with a slip stitch and chain up to begin the next. The ears are worked separately and attached. To make a full set, just repeat the same instructions in each of your different yarn colors. That's really the whole idea: one pattern, several colors, a matching set with minimal extra thinking involved.
How to Make the Easter Bunny Crochet Coasters Pattern
Here's how I work through this Easter bunny crochet pattern, from the flat coaster body out to those folded ears.
Coaster Body: Building the Base in Rounds
The body is a flat circle worked in rounds, and it forms the whole base of the bunny. You're building it up with standard double crochet increases, so by the end of Round 4 you've got a solid 48-stitch disc ready for the ears.
Round 1: 12 dc in MR. [12]
Round 2: 12 inc. [24] Every stitch gets an increase here, so you're doubling the count from Round 1.
Round 3: (inc, dc) x12. [36]
Round 4: (2 dc, inc) x12. [48]
Do not fasten off; continue to Ears.
Ears: Shaping the Bunny's Signature Silhouette
The ears are worked directly off the body, so you're still using the same working yarn when you get here. Each ear is built as a small foundation chain with a double crochet shell at the tip, and then the two ears get joined together at the end. It's a little fiddly the first time through, but the construction makes sense once you're in it.
Round 5: ch 8, 7 sc starting in 2nd ch from hook, sl st in next dc of Round 4. The chain forms the spine of the first ear, and the slip stitch anchors it back down to the body.
Round 6: ch 1, turn, 6 dc, 3 dc in next, 3 dc in next on the other side, 6 dc, skip 1 dc of Round 4 and sl st in next. The two 3-dc clusters at the center create the rounded tip of the ear. Skipping one stitch of Round 4 before the slip stitch keeps the base from puckering.
Round 7: ch 8, 7 sc starting in 2nd ch from hook, sl st in next dc of Round 4. This is the second ear, worked the same way as the first.
Round 8: ch 1, turn, 6 dc, 3 dc in next, 3 dc in next on the other side, 6 dc, sl st in the same st as after the first ear. Note that this slip stitch lands in the same stitch used after the first ear, not the next one along, so both ears share that anchor point at the base.
Round 9: sl st the first 3 dc of each ear together. This step pulls the inner edges of both ears toward each other, giving the bunny that classic pinched-ear look. Work through corresponding stitches from each ear at the same time.
Fasten off, weave in ends.
Final Touches
There are no separate assembly steps for this pattern. Everything, the body and both ears, is worked in one continuous piece, so once you've fastened off and woven in your ends, the bunny coaster is finished. I weave in the magic ring tail on the underside and tuck the fastened-off tail from the ears down between the ear bases so neither end is visible from the front.

Frequently Asked Questions
What yarn weight works best for this bunny coaster?
I use DK weight yarn, which is a light weight 3. It gives the coaster a nice density without being too stiff or too floppy. Going up to worsted might make the finished piece a bit larger than the 4.5 inch diameter, so keep that in mind if you're swapping.
What hook size do I need?
A 4mm hook. That's what I use throughout this pattern, and it pairs well with the DK weight yarn to get that firm, even fabric you want in a coaster.
Is this pattern suitable for beginners?
It's rated Easy, so yes, but I'd say it helps to be comfortable with working in the round before you start. If you've made a basic circle before, you'll be fine. Total beginner? You might want one practice round first, so there's that.
How big does the finished coaster come out?
About 4.5 inches in diameter, and that's not counting the ears. The ears add some height, so the bunny reads taller than a regular round coaster, which is kind of the whole charm of it.
Can I make these as a set for Easter?
That's exactly what I'd do. They work up quickly enough that making four or six for a table setting is very doable in a weekend. You could mix up the colors too, pastel pink ears on one, lavender on another. I think that'd look really sweet on an Easter brunch table.
Before You Go
If you made it this far and your little bunny coaster is sitting on your table looking adorable, I really want to see it. Tag me on Instagram or drop a photo in the comments. And if you're saving this for later, pinning it to your Easter crochet board is a great way to find it again when the season rolls around. I'd also love to know: did you stick with classic white, or did you go full pastel mode? Tell me in the comments below.
🐰 Build a full Easter collection! This coaster pairs beautifully with the Baby Chick, Mini Easter Carrots, and Easter Egg patterns for a complete spring basket display.


Leave a Reply