This Easter Amigurumi Bunny Crochet Pattern gives you a sweet, huggable bunny figure that stands about 15 inches tall and makes the perfect handmade addition to your Easter basket or spring decor.

Jump to:
About the Design
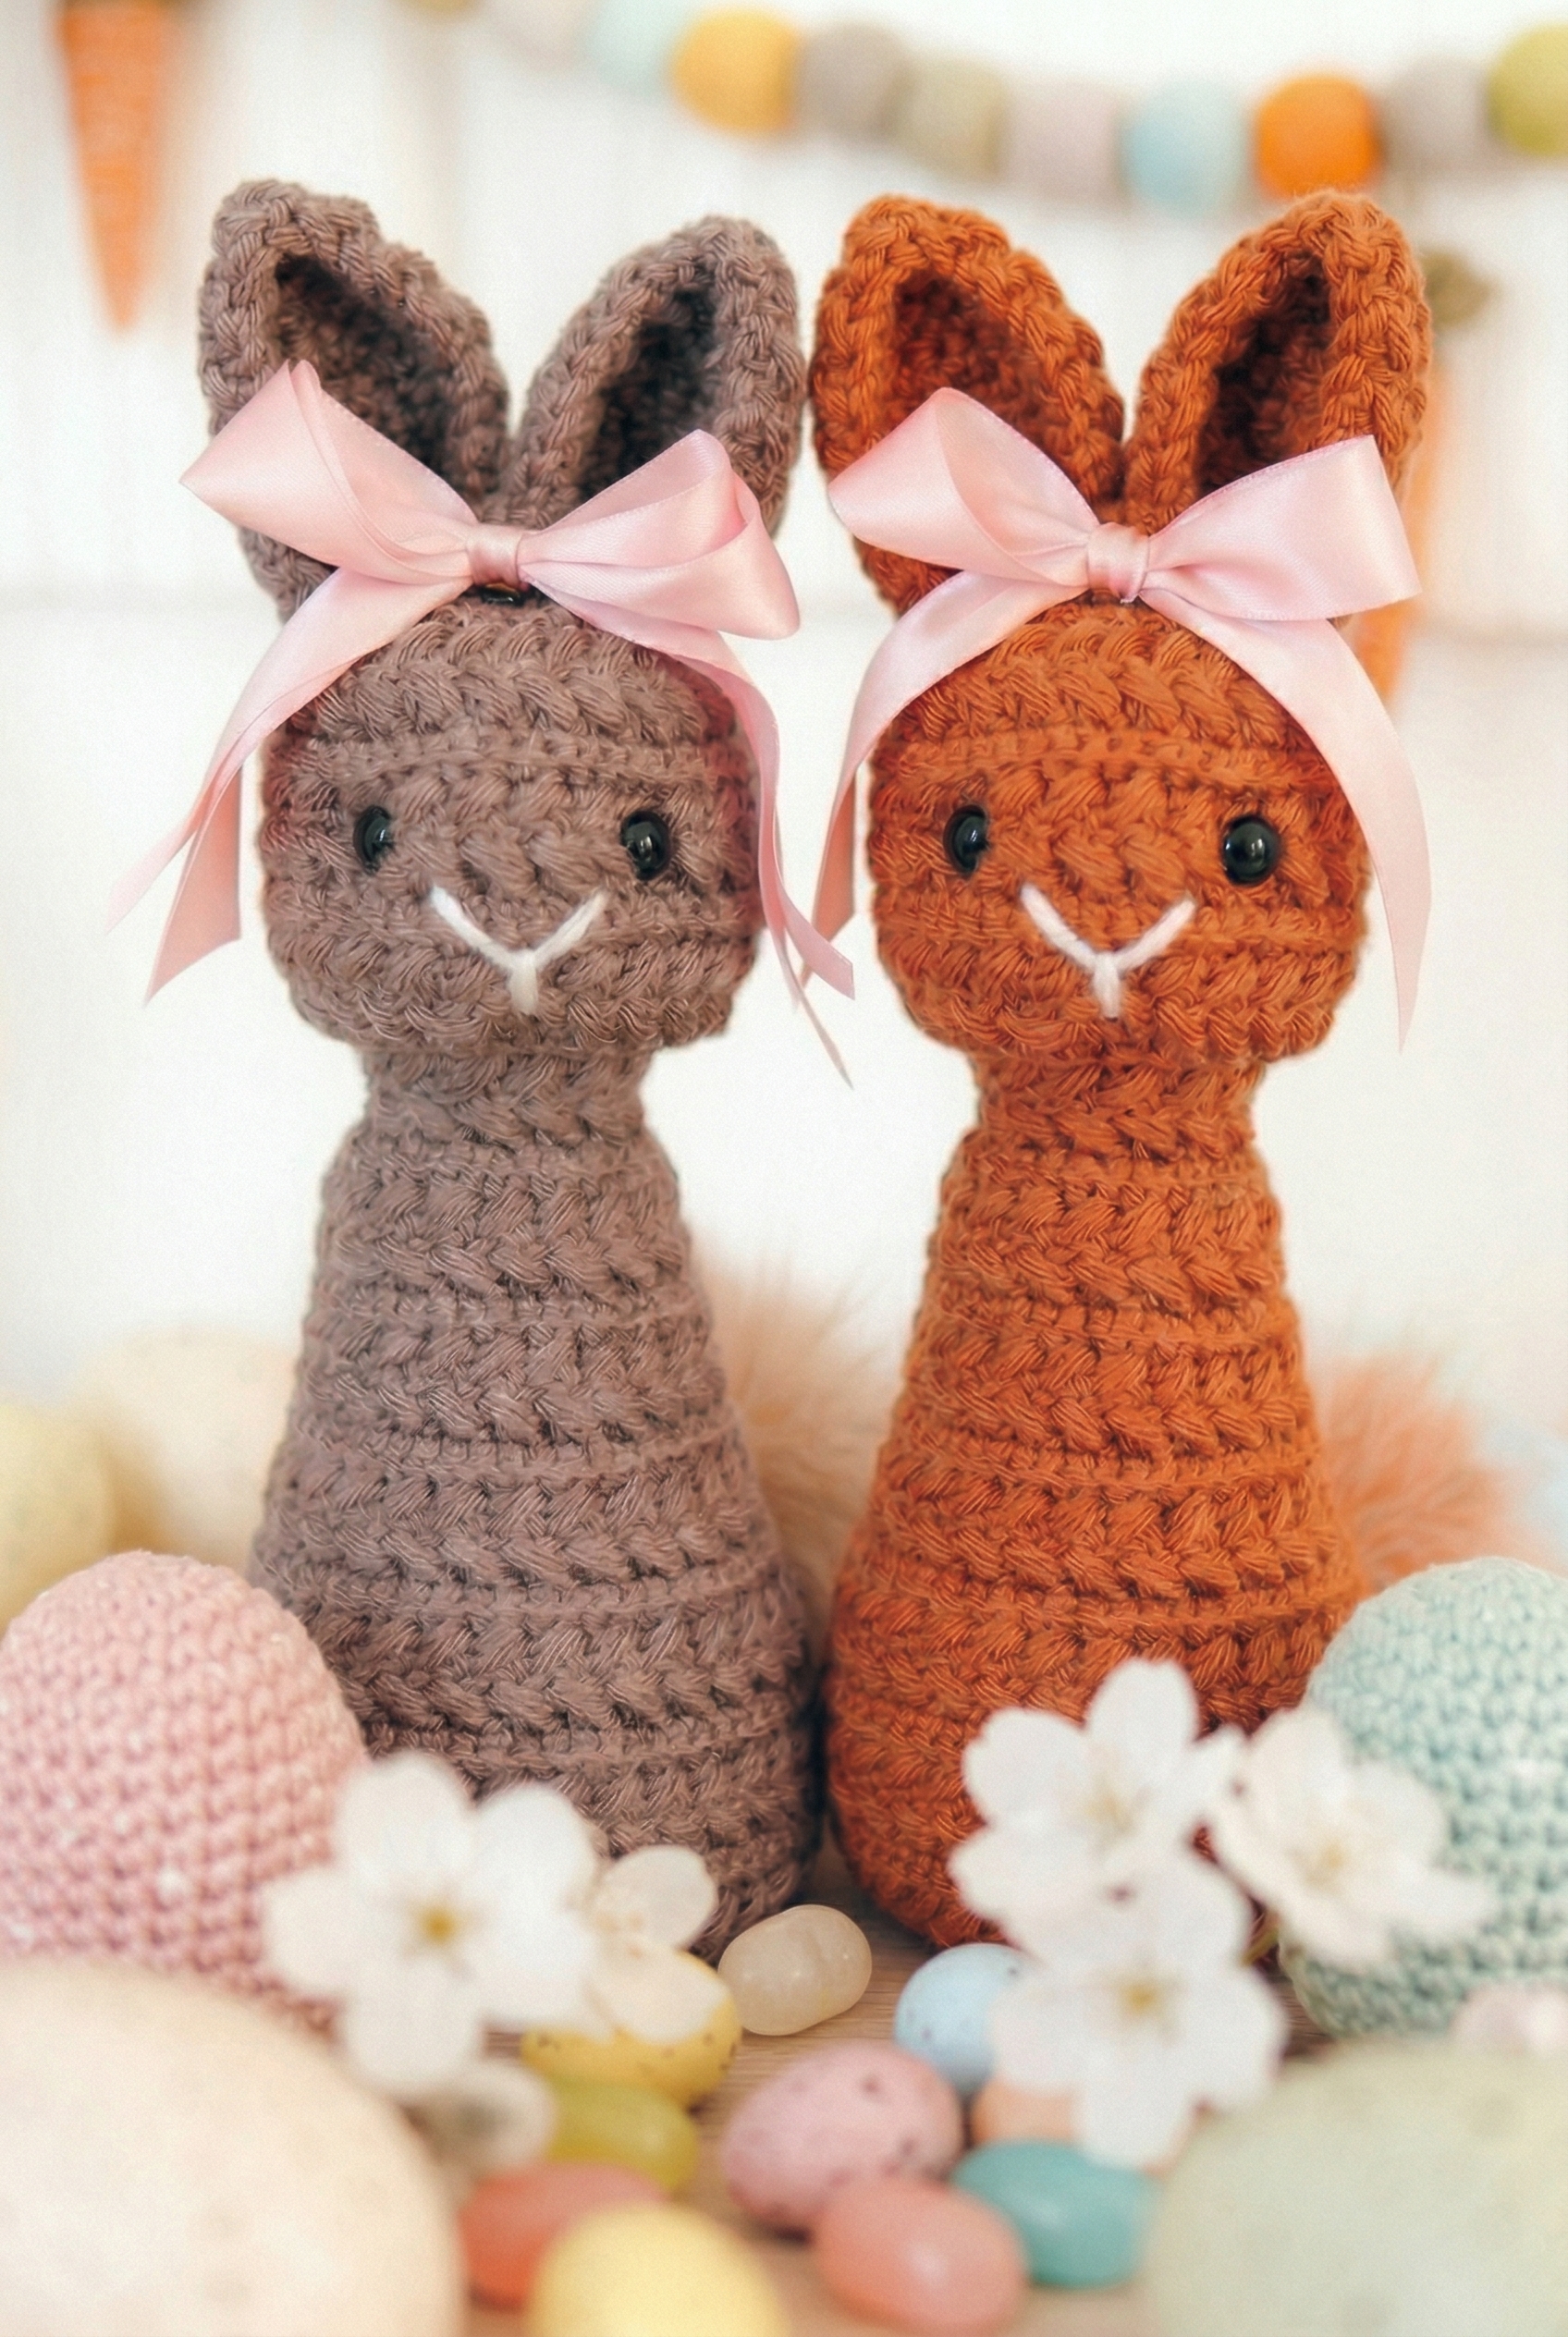
I made this bunny in a warm medium brown yarn, and the finished look is really satisfying. The body is teardrop-shaped and tapers nicely toward the bottom, and the head is round and full with two tall upright ears. Shiny black safety eyes and a simple white stitched nose and mouth keep the face clean and sweet without being fussy. I tied a pink satin ribbon bow between the ears, and that little detail pulls the whole thing together in a way I wasn't expecting. The fluffy pale tan pom-pom tail on the back is probably my favorite part, I think.
The stitch texture on this one is really prominent. You can see those braided-looking rows clearly all over the body, so the construction itself becomes part of the look. This sits at an intermediate skill level, so if you've got a few amigurumi under your belt already, you'll be in good shape.
This amigurumi bunny is one of our most popular Easter makes. Pair it with my mini Easter carrots crochet pattern for an extra-cute display.
Why You'll Love This Pattern
This bunny comes together into a sturdy, charming keepsake you'll want to make every Easter.
- Satisfying size: At 15 inches tall, this bunny is substantial enough to display or gift without feeling like a tiny novelty item.
- Classic look, personal touches: The ribbon bow and pom-pom tail are simple additions that make the finished bunny feel polished and complete.
- Visible stitch texture: The braided stitch rows show up beautifully in medium brown yarn, so the bunny looks detailed without any complicated colorwork.
Materials You'll Need
Two hook sizes are needed here, so grab both before you sit down.
- Worsted Weight Acrylic Yarn (Color 1: Sandstone, Color 2: Warm Brown): For a project like this I reach for a smooth worsted weight acrylic every time. It holds its shape well in amigurumi, the stitches are easy to see, and it washes without any fuss, which matters a lot for something that's probably going to end up as a gift. You don't need huge amounts of either color, so this is a good place to use up what you have sitting around.
- Crochet Hooks: US G (4.0 mm) and US H (5.0 mm): The G hook gives you a tighter fabric for the bunny body so the stuffing doesn't show through. The H comes in where a slightly looser tension works better, so keep both close by rather than hunting for one mid-project.
- Safety Eyes: These get set before you close up the head, so have them out and ready early. Don't skip this step or you'll be picking out stitches later, and nobody wants that.
- Fiberfill Stuffing: You'll stuff the pieces as you go before the openings close up, so have a decent amount on hand. A small bag is usually plenty for a bunny this size.
- Pompom: This is the little tail. You can use a pompom maker or just wrap yarn around your fingers the old-fashioned way, either works fine.
- Ribbon (Hair Tie Ribbons and Chiffon Ribbon): These are for the finishing details on the bunny. The chiffon ribbon in particular makes a nice bow around the neck or ears, so a yard or so is more than enough.
- Removable Stitch Marker (Cat Style or Similar): You need this to track your rounds since the pattern works in continuous rounds. Any removable marker does the job, the cat ones are just more fun to look at, I think.
- Also needed: scissors, yarn needle

Key Information
Everything you need to know before you start your first stitch.
| Skill Level | Level 3 — Intermediate |
| Pattern Gauge | 12 sts and 17 rows = 4" x 4" in stitch pattern repeat; not critical for this pattern. |
| Finished Size | One Size: 15" tall x 6" wide |
| Yarn Weight | 4 Medium / Worsted |
| Fiber | 100% Acrylic |
| Terminology | US |
Stitch Guide & Abbreviations
Keep this list open while you work.
- blo = back loop only
- ch = chain
- dc = double crochet
- hdc = half double crochet
- MC = magic circle
- puff st = puff stitch
- RS/WS = right side/wrong side
- sc = single crochet
- sc2tog = single crochet 2 together
- sl st = slip stitch
- st(s) = stitch(es)
- invisible sc2tog = insert hook into front loop of first st, then front loop of second st (3 loops on hook); yo and pull through both front loops (2 loops on hook); yo and pull through remaining loops
Special Stitches
- Puff Stitch: yo, insert hook into indicated st/sp, yo, pull up a long loop; yo, insert hook into same st/sp, yo, pull up a long loop (5 loops on hook); yo, pull through first 4 loops; yo, pull through remaining loops.
- Invisible sc2tog: insert hook into front loop of first st, then front loop of second st (3 loops on hook); yo and pull through both front loops (2 loops on hook); yo and pull through remaining loops.
The Critical Details
This is an amigurumi worked in continuous rounds throughout. I work the ears first and set them aside. The body starts at the top of the head and works down in one piece. Ears get attached during construction, not sewn on afterward, so don't skip ahead. Stuff as you go rather than waiting until the end. Safety eyes and the nose are added during construction at the specified points. A tail and bow are optional finishing details.
A stitch marker at the beginning or end of each round is worth the extra second it takes. Rounds can get away from you fast in amigurumi, and losing your place is annoying. The ch 1 at the start of a row or round does not count as a stitch. If you change yarn weight or hook size, the finished size will change. Gauge isn't critical here, but consistency matters for shaping. One more thing: safety eyes are not suitable for children under three due to choking hazard. Adult supervision is recommended, or embroider the eyes instead.
Easter Amigurumi Bunny Crochet Pattern Instructions
Here's how I work through each piece of this bunny, from the ears down to the base.
Ears (Make 2)
The ears are worked in continuous rounds with a US H (5.0 mm) hook, holding two strands of MC together. Don't join at the end of each round — just keep going. The combination of slip stitches, single crochets, and taller stitches at two points in each round is what shapes the ear into its pointed form, so pay attention to where those (hdc, dc, hdc) clusters land.
Round 1: In MC, ch 1, sc 6. [6]
Round 2: 2 sc in each st around. [12]
Round 3: Sl st in first 3 sts, 3 sc in next st, sc in next 3 sts, (hdc, dc, hdc) in next st, sc in next 3 sts, 3 sc in last st. [18] The slip stitches at the start flatten the base of the ear, while the 3-sc and (hdc, dc, hdc) clusters push out the two tip points.
Round 4: Sl st in first 4 sts, 3 sc in next st, sc in next 5 sts, (hdc, dc, hdc) in next st, sc in next 5 sts, 3 sc in next st, sl st in last st. [24]
Round 5: Sl st in first 5 sts, 3 sc in next st, sc in next 7 sts, (hdc, dc, hdc) in next st, sc in next 7 sts, 3 sc in next st, sl st in last 2 sts. [30]
Round 6: Sl st in first 6 sts, *skip next st, sc in next st, puff st in skipped st; repeat from * around until last 2 sts, sl st in last 2 sts. [30] The puff stitch is worked into the skipped stitch after you've already made the sc — insert your hook into that earlier stitch and work the puff. This gives the ear surface a bit of texture.
Fasten off, leaving a long tail. Set aside.
Body (One Piece, Top-Down)
The body is worked top-down in joined rounds with a US G (4.0 mm) hook, starting at the head and expanding out to the base. Rounds that say "join, turn" use a joined round with turning — join at the end, then flip your work before starting the next round. The ch 1 at the start of each round is never counted as a stitch. The back-loop-only (blo) work throughout creates a subtle horizontal ridge texture across the body.
Round 1 (WS): In MC, sc 12, join, turn. [12] You're starting on the wrong side, so after you join and turn, Round 2 will face you on the right side.
Round 2 (RS): Ch 1, blo 2 sc in each st around, join, turn. [24]
Rounds 3–4: Ch 1, skip first st, sc in next st, puff st in skipped st, *skip next st, sc in next st, puff st in skipped st; repeat from * around, join, turn. These two rounds together form the puff stitch texture pattern that repeats throughout the body. Round 3 is the puff round, Round 4 is the blo increase or plain round that follows — whenever you see "Repeat Rounds 3–4" later, that's the pair you're returning to.
Round 5: Ch 1, blo 2 sc in first st, blo sc in next st, *blo 2 sc in next st, blo sc in next st; repeat from * around, join, turn. [36]
Round 6: Ch 1, blo 2 sc in first st, blo sc in next 2 sts, *blo 2 sc in next st, blo sc in next 2 sts; repeat from * around, join, turn. [48]
Rounds 7–8: Repeat Rounds 3–4.
Rounds 9–10: Ch 1, blo sc in each st around, join, turn.
Rounds 11–14: Repeat Rounds 7–10.
Using safety eyes (or stitch with yarn), place the eyes on the front of the bunny between Rounds 11 and 12, about 12 sts apart.
Rounds 15–16: Repeat Rounds 3–4.
Sew the ears to the top of the bunny head. You can point them forward, or slanted and off to the sides.
Round 17: Ch 1, blo sc2tog around, join, turn. [24] This is the decrease round that closes in the neck area. Make sure you're working into the back loop only on each sc2tog.
Round 18: Ch 1, blo sc in each st around, join, turn.
Rounds 19–20: Repeat Rounds 3–4.
Begin to stuff the bunny with fiberfill as you go. Embroider the nose on the front center of the bunny: first make a horizontal line across the front (Rounds 14–15), then a lower vertical line (start on Round 18) that loops over the middle of the horizontal line and pulls it into a "V".
Round 21: Ch 1, 2 blo sc in first st, blo sc in next st, *2 blo sc in next st, blo sc in next st; repeat from * around, join, turn. [36] The body starts expanding again here as you move into the torso.
Round 22: Ch 1, blo sc in each st around, join, turn.
Rounds 23–24: Repeat Rounds 3–4.
Round 25: Ch 1, 2 blo sc in first st, blo sc in next 8 sts, *2 blo sc in next st, blo sc in next 8 sts; repeat from * around, join, turn. [40]
Round 26: Ch 1, 2 blo sc in first st, blo sc in next 9 sts, *2 blo sc in next st, blo sc in next 9 sts; repeat from * around, join, turn. [44]
Rounds 27–28: Repeat Rounds 3–4.
Round 29: Ch 1, 2 blo sc in first st, blo sc in next 10 sts, *2 blo sc in next st, blo sc in next 10 sts; repeat from * around, join, turn. [48]
Round 30: Ch 1, 2 blo sc in first st, blo sc in next 11 sts, *2 blo sc in next st, blo sc in next 11 sts; repeat from * around, join, turn. [52]
Rounds 31–32: Repeat Rounds 3–4.
Round 33: Ch 1, 2 blo sc in first st, blo sc in next 12 sts, *2 blo sc in next st, blo sc in next 12 sts; repeat from * around, join, turn. [56]
Round 34: Ch 1, 2 blo sc in first st, blo sc in next 6 sts, *2 blo sc in next st, blo sc in next 6 sts; repeat from * around, join, turn. [64] The spacing between increases tightens here, so the count jumps a bit faster than the previous rounds.
Rounds 35–36: Repeat Rounds 3–4.
Round 37: Ch 1, 2 blo sc in first st, blo sc in next 7 sts, *2 blo sc in next st, blo sc in next 7 sts; repeat from * around, join, turn. [72]
Round 38: Ch 1, blo sc in each st around, join, turn.
Rounds 39–40: Repeat Rounds 3–4.
Rounds 41–42: Ch 1, blo sc in each st around, join, turn.
Rounds 43–44: Repeat Rounds 3–4.
Round 45: Ch 1, *blo sc2tog, sc in next 4 sts; repeat from * around, join, turn. [60] The body starts closing in here. Keep adding fiberfill as you go — it gets harder to stuff evenly once the opening is small.
Round 46: Ch 1, *blo sc2tog, sc in next 3 sts; repeat from * around, join, do not turn. [48] Note that this round ends with "do not turn" — the turning direction changes from here on.
Round 47: Ch 1, *sc2tog, sc in next 2 sts; repeat from * around, join. [36]
Round 48: Ch 1, *sc2tog, sc in next st; repeat from * around, join. [24]
Round 49: Ch 1, sc in each st around, join. [24]
Round 50: Ch 1, *blo sc2tog, sc in next st; repeat from * around, join. [16]
Round 51: Ch 1, blo sc2tog around, join, fasten off. [8]
Fasten off, leaving a tail. Use the tail to loop through the 8 sts and pull closed. Weave in end.
Final Touches
Most of the assembly happens as you go — the eyes and ears get placed mid-construction, and I stuff the body while it's still open. But there are a few things to finish up once the body is closed.
If you haven't already attached the ears, sew them to the top of the head now using the long tails you left. You can point them forward, or slanted and off to the sides — either works. I tend to pin them in place first and step back to look before committing to a position.
The eyes should already be in place between Rounds 11 and 12, about 12 stitches apart. If you used safety eyes, make sure the washers are fully seated before the opening gets too small to reach inside. If you're embroidering the eyes instead, do that now with a length of yarn or embroidery floss.
The nose is embroidered on the front center of the bunny. I make a horizontal line across Rounds 14–15 first, then bring the needle down and start a vertical line at Round 18, looping it up over the middle of the horizontal line and pulling it down gently into a "V" shape. Don't pull too tight — you want a soft curve, not a pinch.
Finish stuffing the bunny now if you haven't already, and shape it with your hands before the opening is fully closed. Once the tail is pulled through and knotted, it's harder to adjust. Weave in all remaining ends.
If you're adding a pompom tail, Round 45 is a good point to attach it — there's still enough opening to get your needle in at a good angle, especially if you're using a button on the inside to anchor it securely. A button backing distributes the pull and keeps the pompom from tearing through the fabric over time.
Tie on a ribbon or bow around the neck if you'd like. That's it. The bunny's done.
Love crocheting Easter bunnies? Try my bunny Easter egg crochet pattern for a fun twist that combines a bunny with an egg shape.
Baby & Child Safety Notes
If this bunny is going to a child under three, skip the safety eyes entirely and embroider the eyes with yarn instead. Safety eyes have a small backing washer that can work loose over time, and that's a choking hazard. The pompom tail is worth skipping too, or securing it with a button on the inside and checking it regularly. All yarn ends should be woven in thoroughly and knotted — not just tucked. Give the finished toy a firm tug test on any attached pieces before handing it over.
Frequently Asked Questions
What hook size should I use for this bunny?
I use a US G (4.0 mm) hook for most of the body pieces and switch to a US H (5.0 mm) for areas where I want a slightly looser fabric. Keep your tension snug throughout so the stuffing doesn't show through the stitches.
How tall does the finished bunny come out?
Mine came out right at 15 inches tall and about 6 inches wide. That's a pretty substantial bunny. It sits up nicely on its own once it's stuffed and assembled.
Is this pattern suitable for a beginner?
It's listed as Level 3 Intermediate, and I'd keep it there. If you've made a few smaller amigurumi before and you're comfortable with increases, decreases, and sewing pieces together, you'll be fine. A true first-time crocheter would likely find the assembly frustrating.
What yarn weight works best for this pattern?
Worsted weight (size 4 medium) is what I reach for here. It gives the bunny good structure and the finished size lands right where it should. Going up or down in weight will change the dimensions noticeably.
How much stuffing do I need?
I stuff mine pretty firmly, especially the body and head, so the bunny holds its shape and doesn't go floppy. A standard bag of polyfill is usually enough for one bunny, sometimes with a little left over.
Before You Go
This Easter Amigurumi Bunny is one of those projects I keep coming back to every spring, and I genuinely think it's one of the most satisfying makes when it all comes together at the assembly stage. If you make one, I'd love to see it. Tag me on social media or drop a photo in the comments below. And if you're saving this for later (Easter has a way of sneaking up on us), go ahead and pin it to your crochet board so you can find it when you need it.


Leave a Reply