This free Bunny Easter Egg Crochet Pattern gives you an adorable little amigurumi bunny with a round egg-shaped body, long floppy ears, and the sweetest embroidered details. It's a perfect make for Easter baskets, spring decorating, or just because you wanted an excuse to crochet something tiny and cute.

Jump to:
About the Design
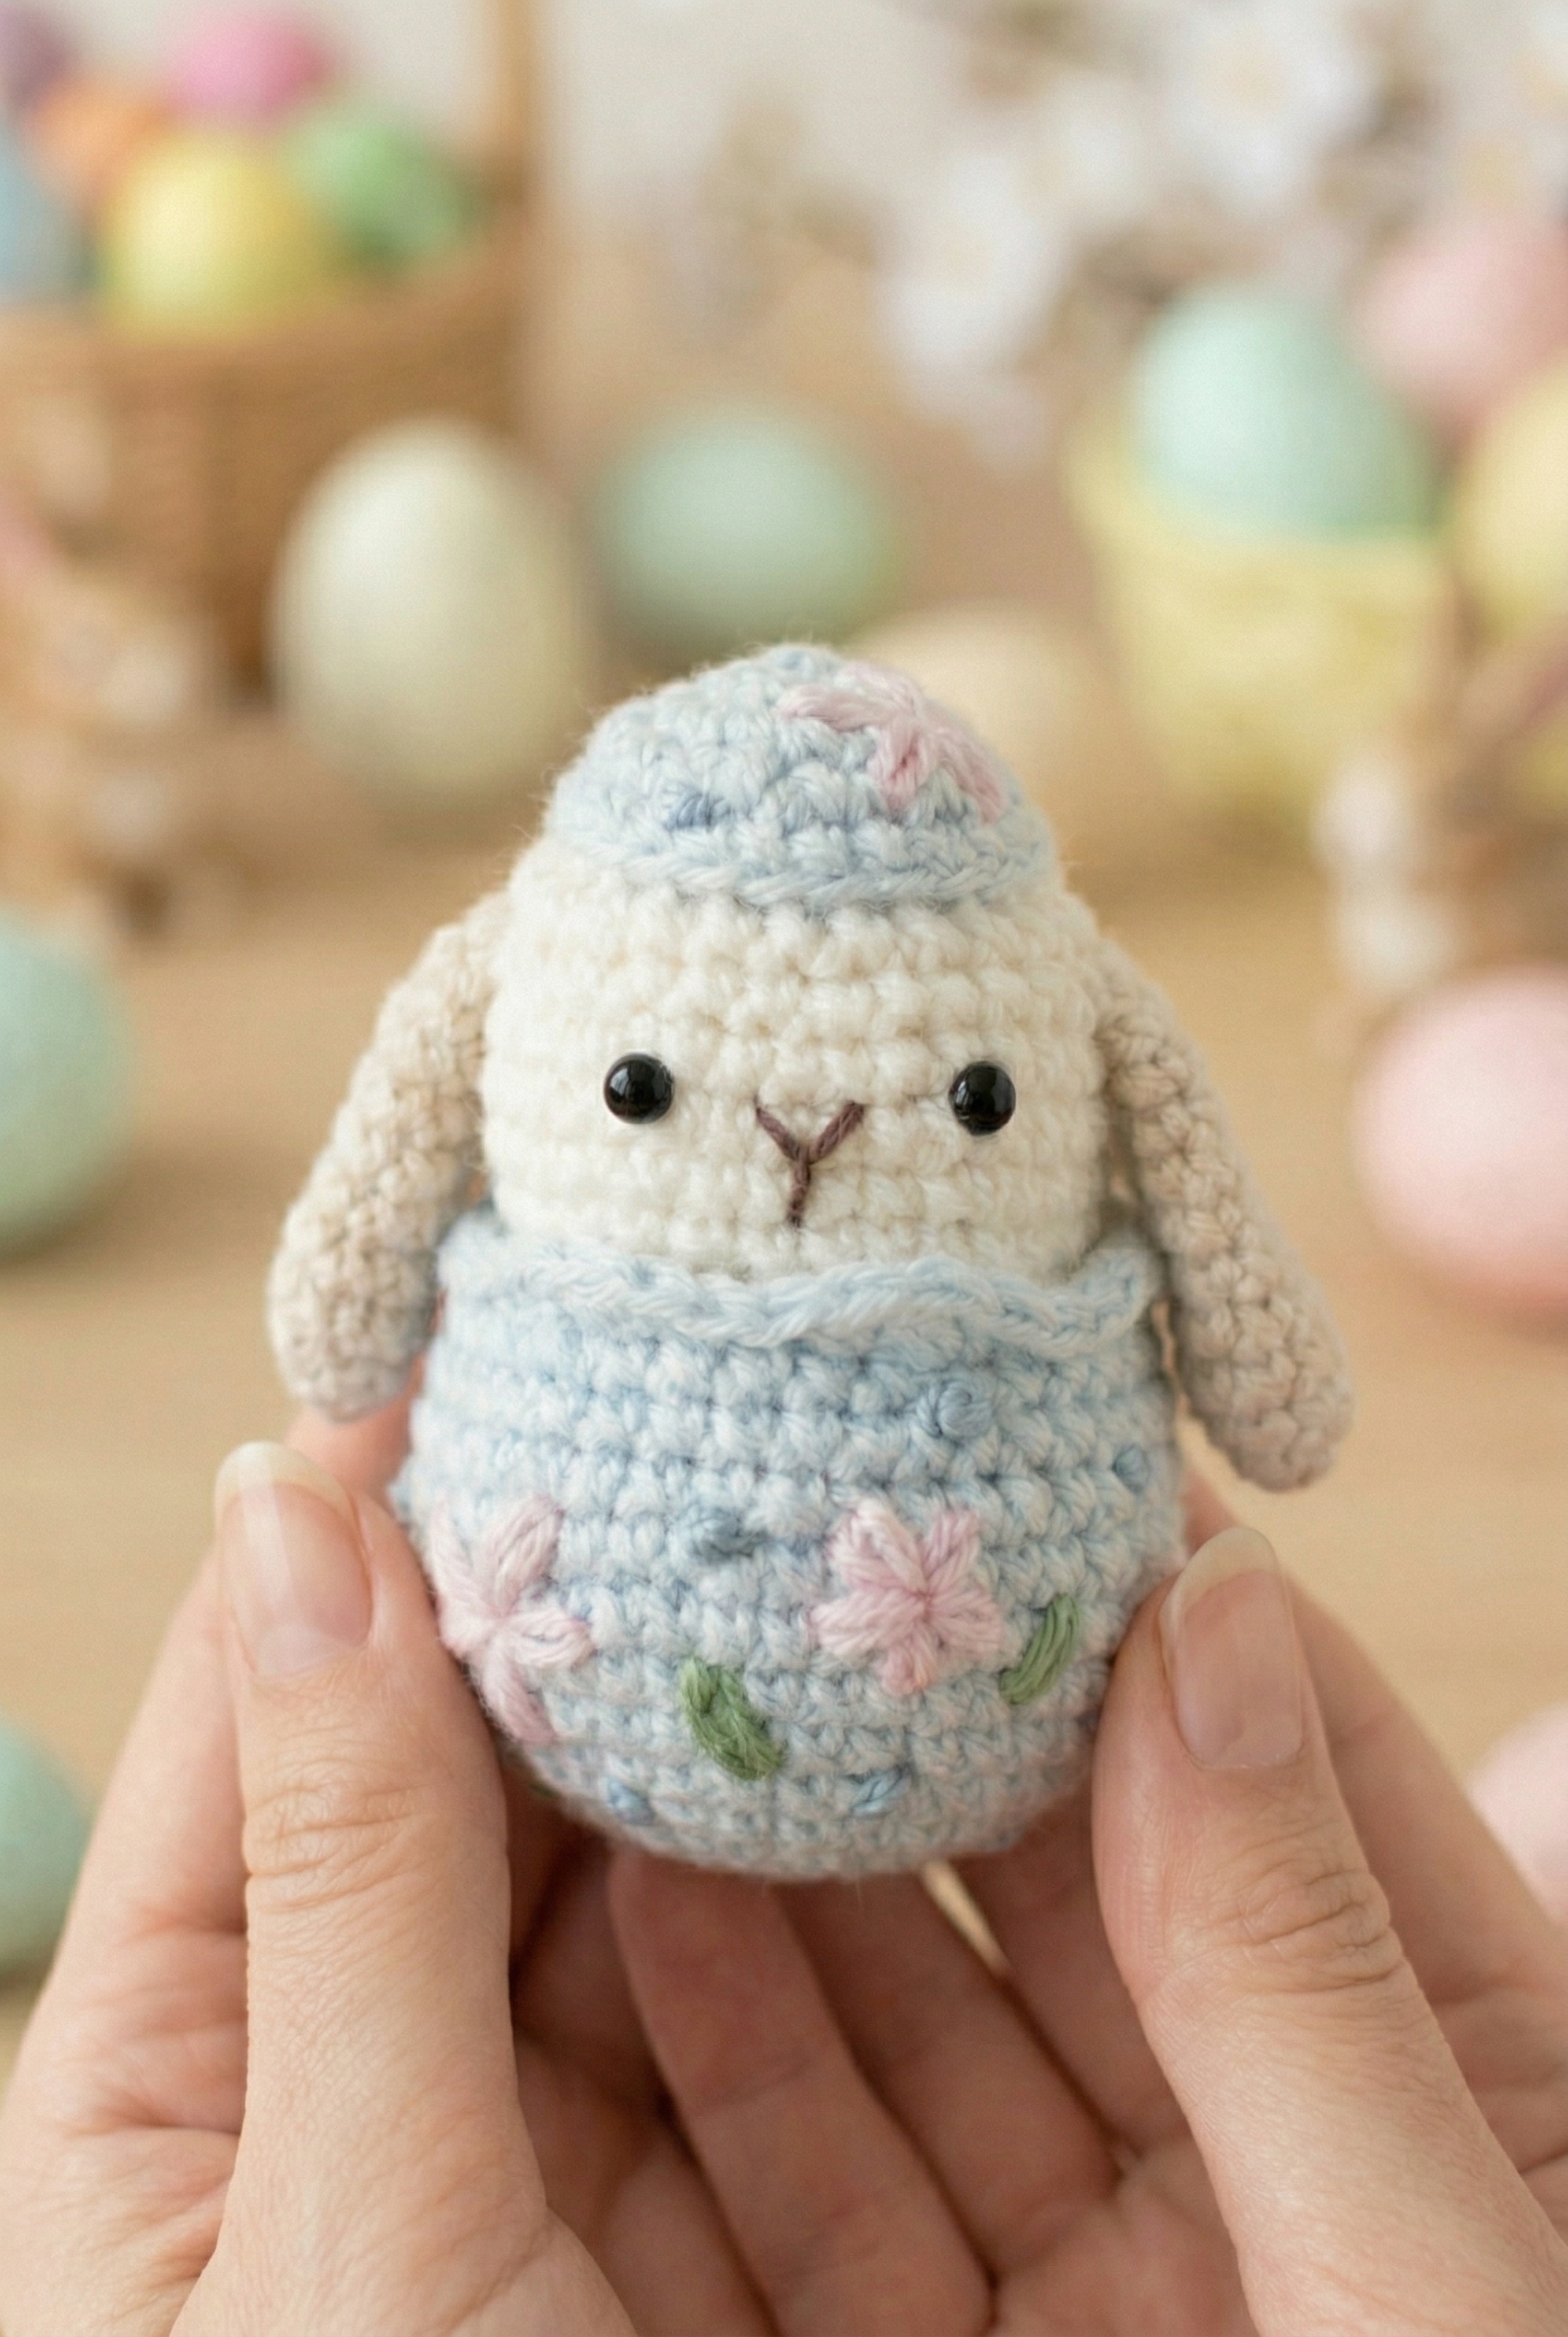
So this little guy is basically a bunny wearing an Easter egg as a body, and I am completely here for it. The body is light blue with pink embroidered flowers and small green leaves scattered across the surface. The head is cream-colored, the ears are long and floppy in that classic tan bunny way, and there's a tiny Y-shaped nose stitched in brown that gives him so much character for something so small. He also wears a little light blue cap with a pink accent, which I did not expect to love as much as I do, but here we are.
The overall look is soft and springy without being over the top. I went with shiny black bead eyes to give him that classic amigurumi expression, and the tightly stitched surface really holds the shape nicely.
What Makes This Pattern Special
The egg-shaped body doubles as a built-in Easter theme without any extra effort.
- Compact and quick to finish: The small finished size means you can crochet several of these in a weekend, which makes them great for filling Easter baskets or gifting multiples.
- Embroidery adds personality: The flowers, leaves, and stitched nose are simple to work but give the finished bunny a lot of charm that plain yarn color alone wouldn't.
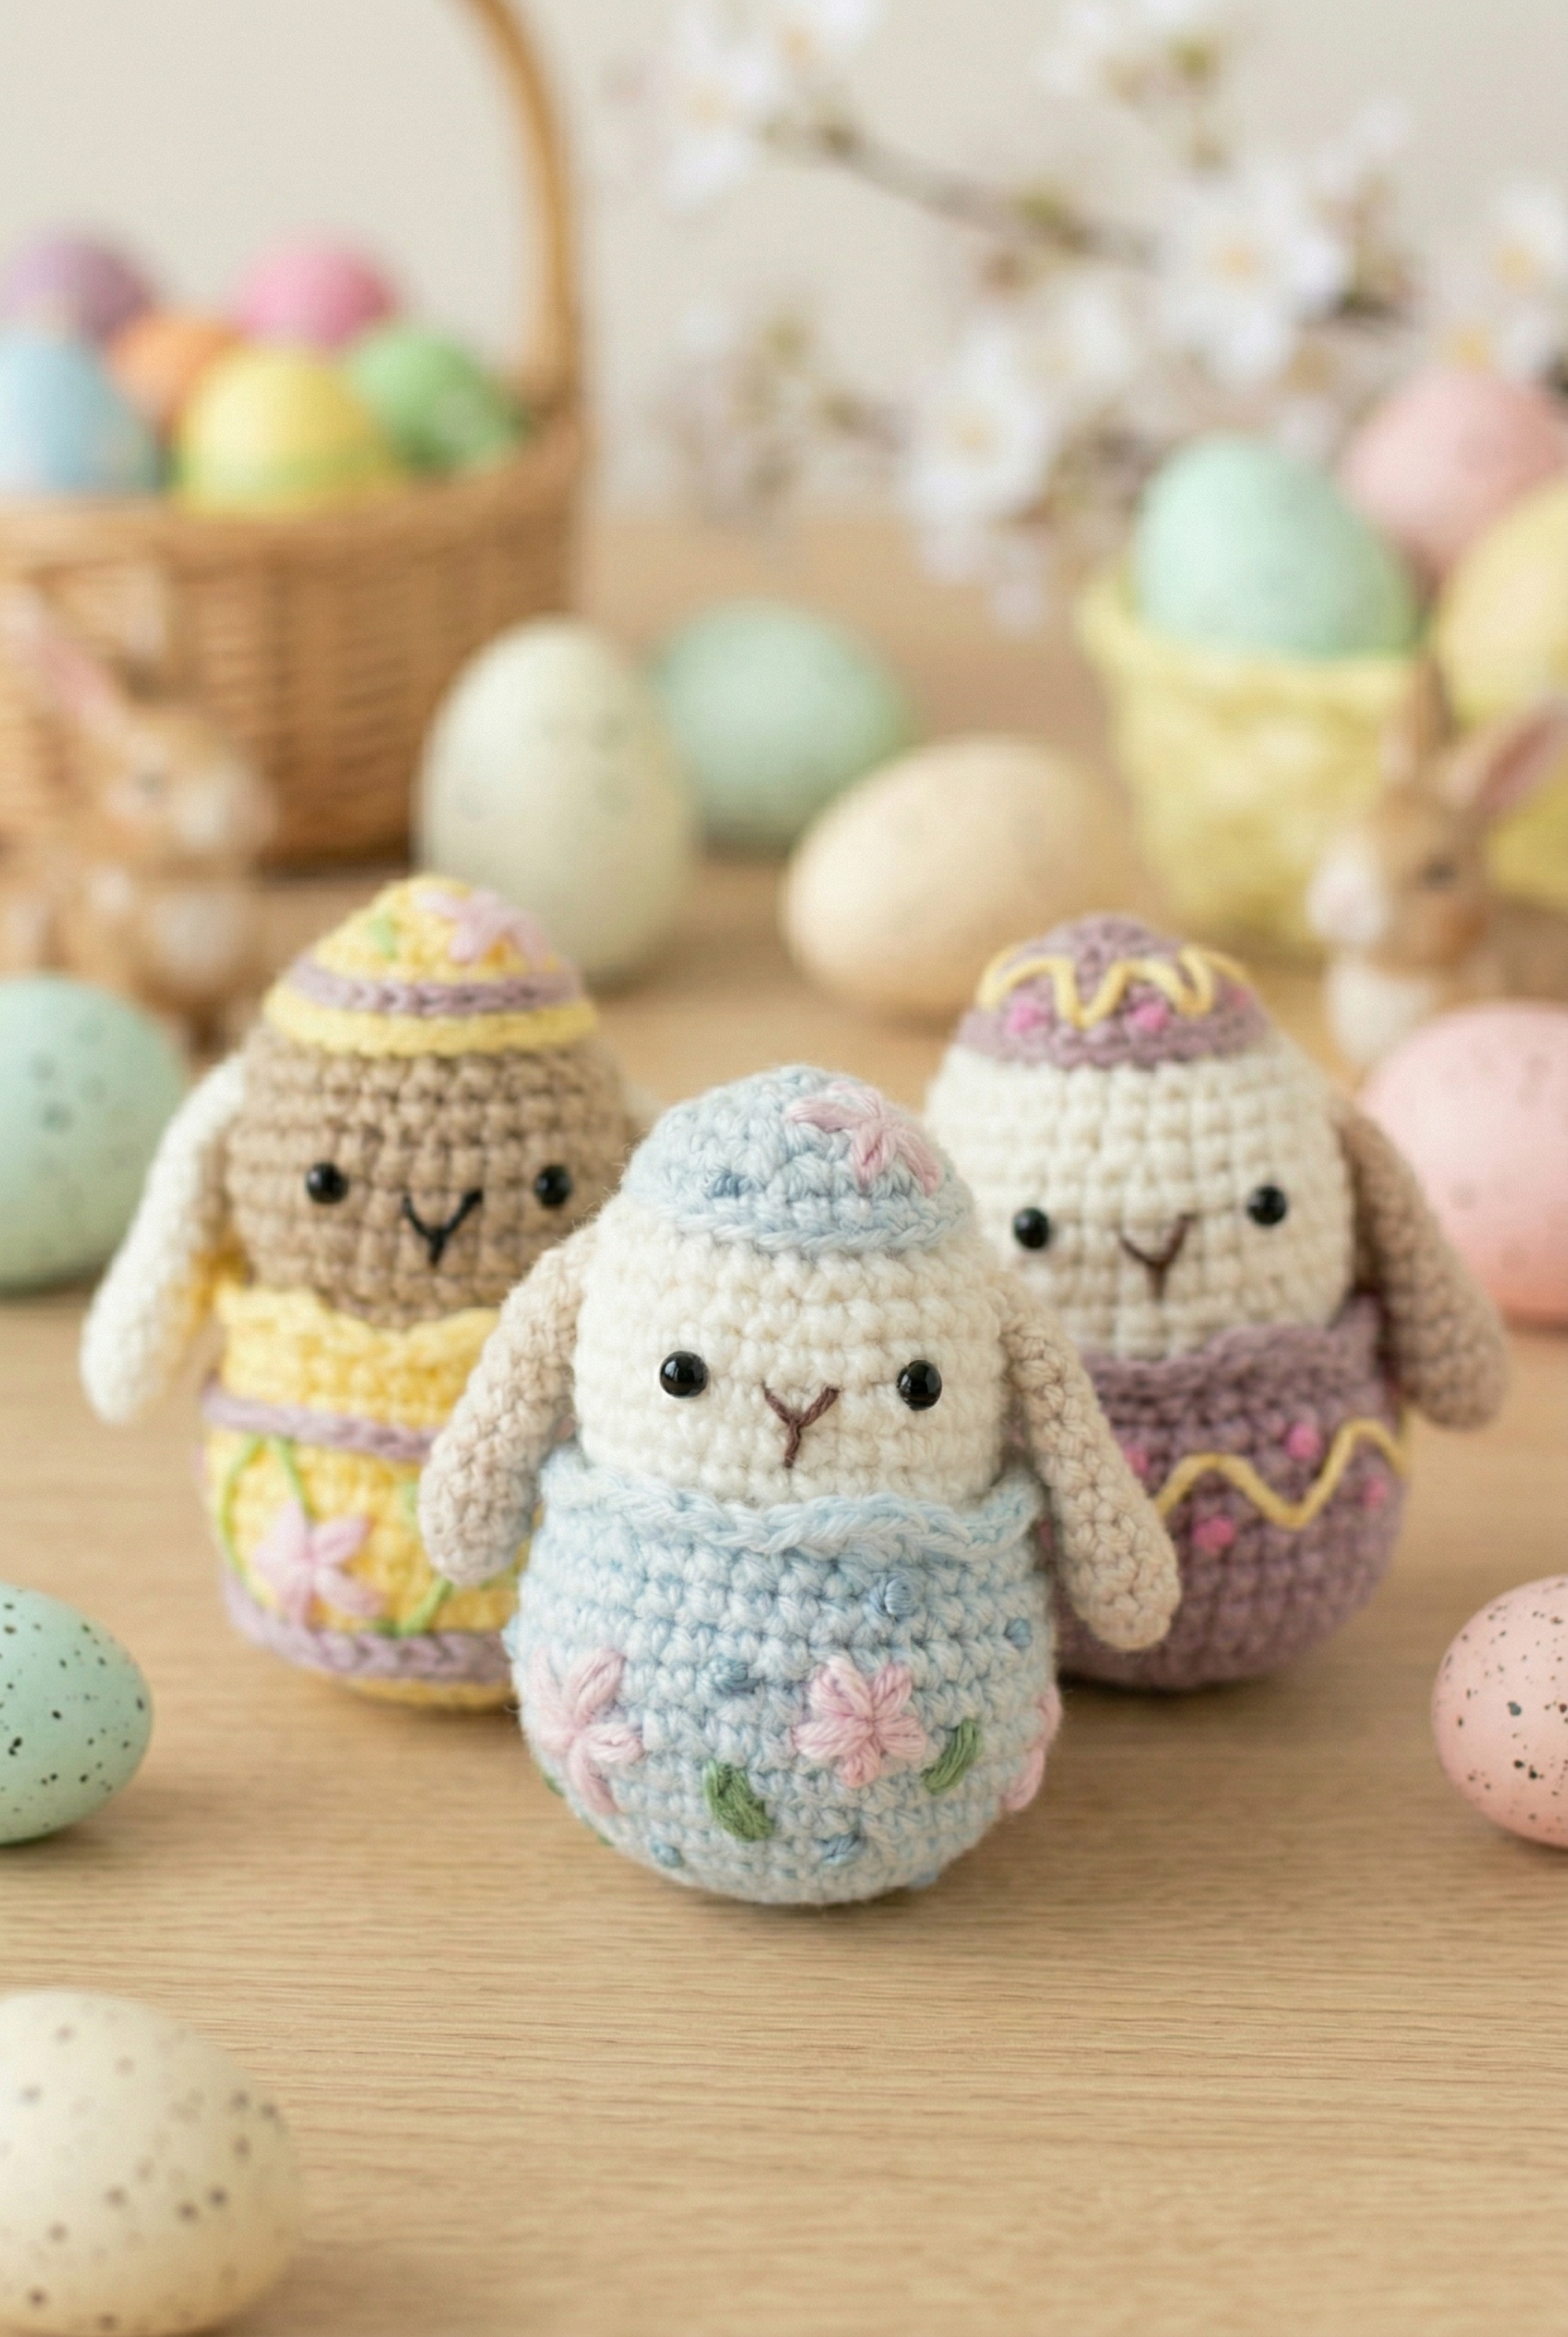
- The silhouette is really distinct: That round egg body paired with long floppy ears creates a look that reads immediately as Easter without relying on obvious holiday colors.
Materials You'll Need
Four colors are in play here, but the yardage for each is small, so this is a good use for leftover DK scraps.
- DK Weight Yarn (Weight 3 Light), four colors: beige, light blue, white, and brown: For amigurumi I reach for a DK weight yarn with a smooth, tight twist. It shows stitch definition clearly, which really does matter when you're working small rounds and want the shaping to read well. Fiber isn't specified for this pattern, so check your label and go with whatever feels right to you. A cotton-acrylic blend or a plain acrylic both work without any trouble at all. Yardage per color isn't listed, but given the size of this project, small amounts of each will do. The brown is used only for embroidery, so a short length is all you need there.
- 3.5mm Crochet Hook: A 3.5mm hook pairs well with DK weight for amigurumi because it creates a tighter fabric than you'd normally use for this yarn weight, and that's the point. Tight stitches mean the stuffing won't show through.
- Fiberfill Stuffing: Stuff as you go on the main head piece before the opening closes up. The egg shell portion has a color change happening mid-construction, so keep your stuffing nearby and don't wait until the end.
- Safety Eyes: Size isn't specified in the materials list, so I'd suggest holding a few sizes up to your work before attaching. Once they're in, they're in.
- Also needed: tapestry needle, scissors
Color Sequence & Yarn Changes
The color changes in this pattern are specific and worth reading through before you start. The light blue begins the egg shell and head section and runs through Round 14a, then white takes over at Round 14b and carries through Round 21, and then light blue comes back again for Round 22. The beige is separate and used only for the ears. Having all four colors wound and ready before you sit down will save you from stopping mid-round to untangle things.
Quick Details
Everything you need to know before you pick up your hook.
| Skill Level | Level 2 — Easy |
| Pattern Gauge | Gauge is not critical for this project. Use a hook size that creates a tight, firm fabric so stuffing does not show through. |
| Finished Size | 3 4/8" tall when made with DK (light weight) yarn |
| Yarn Weight | 3 Light / DK |
| Terminology | US |
Stitches & Abbreviations
Keep this list open while you work.
- BLO = back loop only
- FLO = front loop only
- FO = fasten off
- MR = magic ring
- sc = single crochet
- dc = double crochet
- dec = decrease
- inc = increase
- sl st = slip stitch
- st(s) = stitch(es)
- rnd = round
Special Stitches
- French knots: Use embroidery technique to create small knotted dots on the eggshell for decoration (method not specified in pattern).
Pattern Notes
This is an amigurumi worked in continuous rounds throughout. I start stuffing with fiberfill partway through and stuff as I go, so the opening doesn't get too small to work with later. Finish stuffing before closing up. The ear is left unstuffed. For the safety eyes, insert them between Round 18 and Round 19 with 6 stitches between them. The eggshell gets French knot embroidery added after the piece is complete.
Let's Make the Bunny Easter Egg Crochet Pattern
Here's how I work through each piece, from the ears to the decorated shell.
The Ears
Make 2 ears. I don't stuff these — they stay flat, and at the end I flatten each one and crochet through both sides to close it. The ears get joined directly into the head round rather than sewn on afterward, so having them finished and ready before you start the head section matters.
Round 1: With beige yarn, 6 sc in MR. [6]
Round 2: [2 sc, inc] x2. [8]
Round 3: 8 sc. [8]
Round 4: 8 sc. [8]
Round 5: 8 sc. [8]
Round 6: 8 sc. [8]
Round 7: 8 sc. [8]
Round 8: 8 sc. [8]
Round 9: 8 sc. [8]
Round 10: 4 sc. [4] This is the closing round. After fastening off, flatten the ear so the opening faces forward and crochet through both layers to seal it shut.
FO.
The Egg Shell and Head
This is the main body of the toy — it's worked in one continuous piece that builds the eggshell base, creates the cracked shell edge, and then continues up into the bunny's head. The section note for closing: bring the yarn tail through the front loop of each stitch at the top opening, pull tightly to close, and weave in the yarn tail.
Round 1: With light blue yarn, 6 sc in MR. [6]
Round 2: 6 inc. [12]
Round 3: 12 inc. [24]
Round 4: [3 sc, inc] x6. [30]
Round 5: 30 sc. [30]
Round 6: [2 sc, inc, 2 sc] x6. [36]
Round 7: 36 sc. [36]
Round 8: [5 sc, inc] x6. [42]
Round 9: 42 sc. [42]
Round 10: 42 sc. [42]
Round 11: [5 sc, dec] x6. [36]
Round 12: 36 sc. [36]
Round 13: [2 sc, dec, 2 sc] x6. [30]
Round 14: In FLO, [sl st, sc, dc, sc, sl st] x6. [30] This is the cracked shell edge. Working into the front loops only leaves the back loops of Round 13 free — you'll need them in the very next round. The repeat creates six little points around the opening, like a broken eggshell.
Change to white yarn.
Round 15: In back loops of Round 13, [3 sc, dec] x6. [24] You're dropping back to pick up those unworked back loops from Round 13. This is what lets the shell edge stand out as a separate decorative layer while the body continues cleanly underneath it.
Round 16: 24 sl st. [24]
Start stuffing with fiberfill. Stuff as you go.
Round 17: In FLO, [3 sc, inc] x6. [30] Working into the front loops here creates a small ridge that marks the transition between the shell and the head. The back loops stay free for Round 18 to work into normally.
Round 18: [2 sc, inc, 2 sc] x6. [36]
Round 19: 36 sc. [36]
Round 20: 36 sc. [36]
Round 21: dec, 4 sc, dec, 4 sc with one ear, [dec, 4 sc] x2, dec, 4 sc with the other ear, dec, 4 sc. [30] The ears are joined in here rather than sewn on later. When the instruction says "with one ear" or "with the other ear," you work those stitches through both the head stitch and the corresponding stitch of the flattened ear at the same time.
Insert eyes between Round 18 and Round 19, with 6 sts in between.
Round 22: [3 sc, dec] x6. [24]
Change to light blue yarn.
Round 23: In FLO, 24 sl st. [24] Same principle as Round 17 — working into the front loops only, leaving the back loops free for the next round.
Round 24: In BLO, 24 sc. [24]
Round 25: [sc, dec, sc] x6. [18]
Round 26: [sc, dec] x6. [12]
Finish stuffing.
Round 27: 6 dec. [6]
FO. Bring the yarn tail through the front loop of each stitch, pull tightly to close the opening, and weave in the yarn tail.
Add Some Details
This is the fun part. The embroidery is freeform, so there's no round-by-round structure here — just two finishing touches that bring the bunny to life.
With a strand of brown yarn, embroider the nose. A few straight stitches worked in a small triangle shape does it. Then, with strands of yarn in colors you like, decorate the eggshell with French knots, embroidery flowers, or any pattern you like! The shell section sits between the cracked edge and the white band, so that's the area I focus the decoration on — but there's no wrong way to do this part.
Fasten off, weave in ends.
Putting It All Together
Most of the assembly actually happens while you're crocheting, so by the time you reach this point there isn't much left to do. The ears get joined in during Round 21 of the head rather than sewn on separately — I find this gives a much more secure attachment than sewing, and it means you don't have to worry about them shifting or drooping later. Before you get to Round 21, flatten each finished ear so the open end faces outward and crochet through both sides at Round 10 to close it. Have both ears ready and within reach before you start that round, because once you're in it you'll need them immediately.
The eyes go in between Rounds 18 and 19, with 6 stitches between them. I insert them before I finish closing the head so I can still reach inside to secure the backings properly. Once the head is fully closed and stuffed, getting the washers on safely is much harder. Don't skip this step in sequence.
After fastening off at Round 27, close the top of the head by threading the yarn tail through the front loop of each remaining stitch, pulling firmly to draw the opening shut, then weaving the tail in securely. Then embroider the nose with brown yarn and decorate the eggshell however you like — French knots, small flowers, scattered dots. That's entirely up to you, so there's that.
Baby & Child Safety Notes
If this bunny is going to a young child, swap the safety eyes for embroidered eyes worked in black yarn instead. Safety eyes, even when properly secured, are a choking hazard for children under three. I'd also go over every woven-in end twice and add a small dot of fabric glue on the inside if I had any doubt about how secure they were. Better to be thorough now than to have a loose end unravel after the toy's been loved on for a while.
Frequently Asked Questions
What size does this bunny egg turn out?
Mine came out right around 3 and a half inches tall using DK weight yarn with a 3.5mm hook. It's a pretty small, palm-sized little thing, which is part of what makes it so cute for Easter basket stuffers or egg hunt prizes.
Is this pattern good for beginners?
It's listed as Level 2 Easy, so not the very first project someone should attempt, but close. If you've made a basic amigurumi before and you're comfortable working in the round and doing increases and decreases, you'll be fine here.
What hook size do I need for this pattern?
A 3.5mm hook. That's what I use with DK weight yarn to get the tight gauge you want for amigurumi so the stuffing doesn't show through the stitches.
Can I make this bigger by using a heavier yarn?
You can swap up to a heavier yarn and adjust your hook accordingly. The shape will scale up, though I'd keep an eye on the proportions of the ears relative to the body as it gets larger. It'll still work, just a different vibe.
How many of these can I make from one skein of yarn?
Quite a few, honestly. Because the finished size is only about 3.5 inches, you don't use much yarn per egg. I'd expect to get several out of a single skein of DK, depending on how many colors you're using and how much you're switching.
Final Thoughts
These little bunny eggs are one of those projects I keep coming back to every spring because they're fast, they use up scrap yarn, and people go COMPLETELY wild for them. If you make a few, I'd love to see how yours turn out. Tag me on Instagram or drop a photo in the comments below. And if you want to save this for later, pinning it to your Easter crochet board is always a good call.


Leave a Reply