
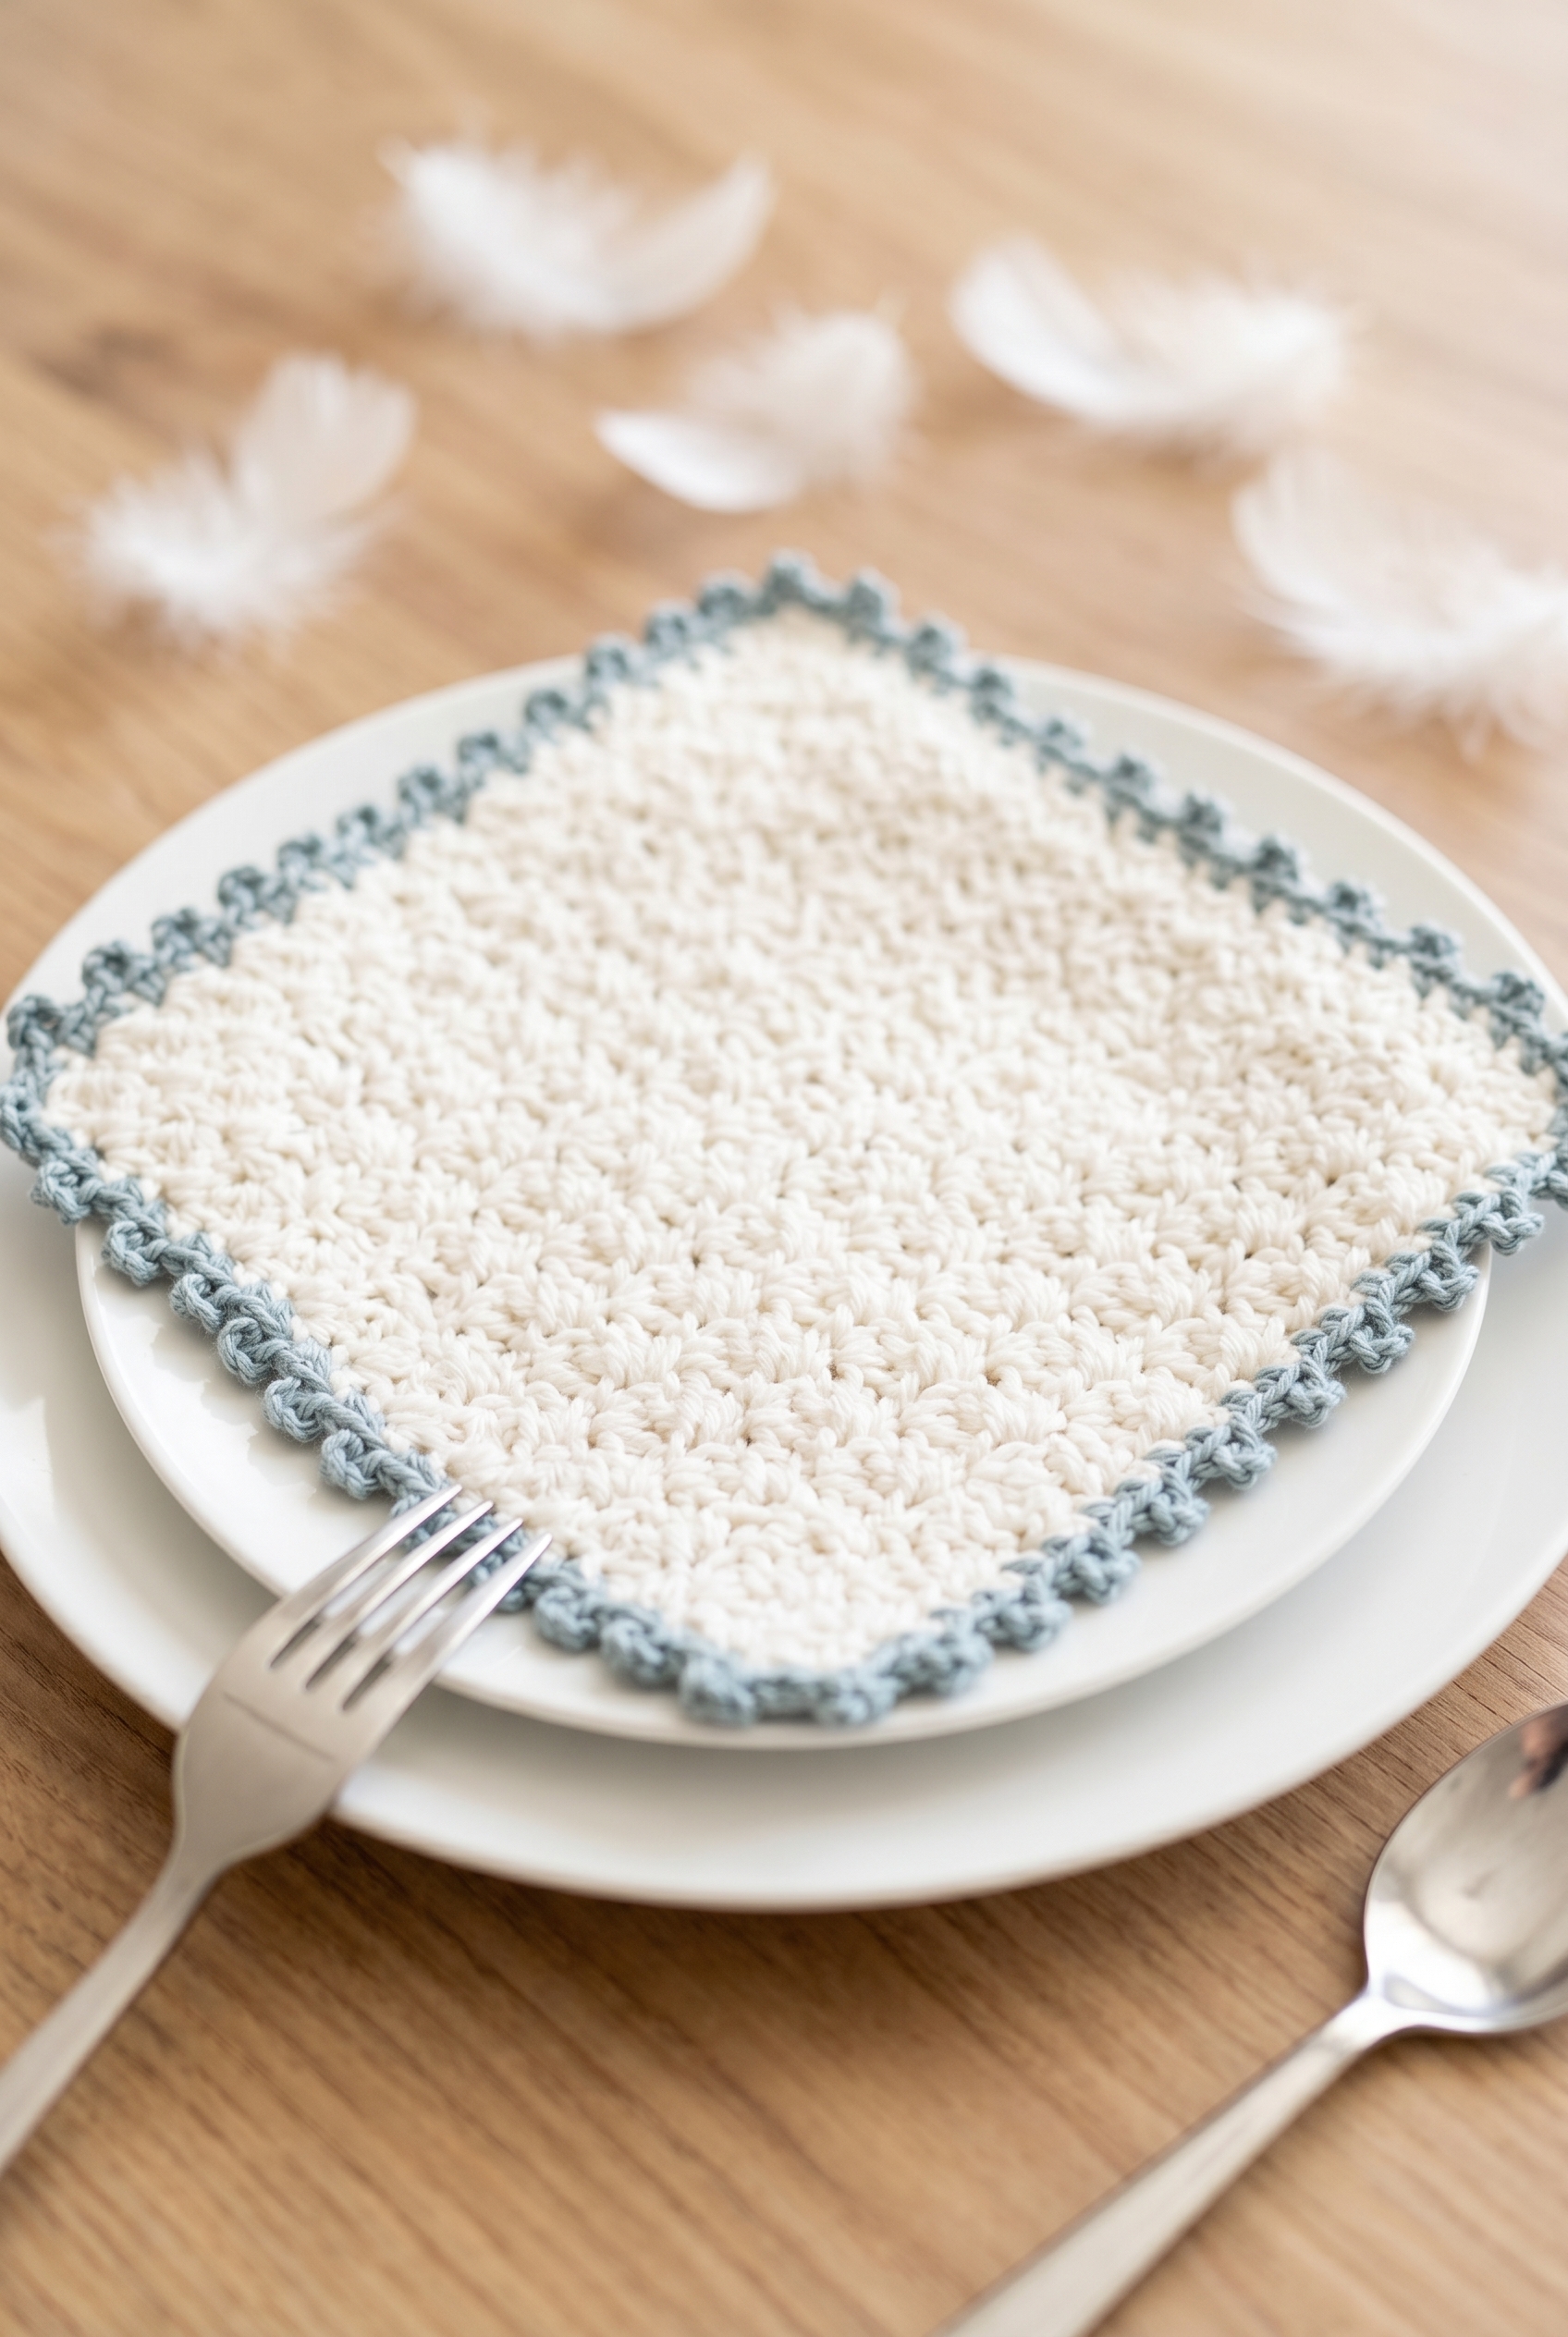
This Picot Edge Dishcloth Crochet Pattern has been a satisfying one to work up. It's a quick project that doesn't ask much of you, but the finished result feels a little more considered than your average dishcloth. That picot border is doing a lot of the heavy lifting in terms of making it feel special, and I love that it comes together so fast.

Jump to:
The Inspiration
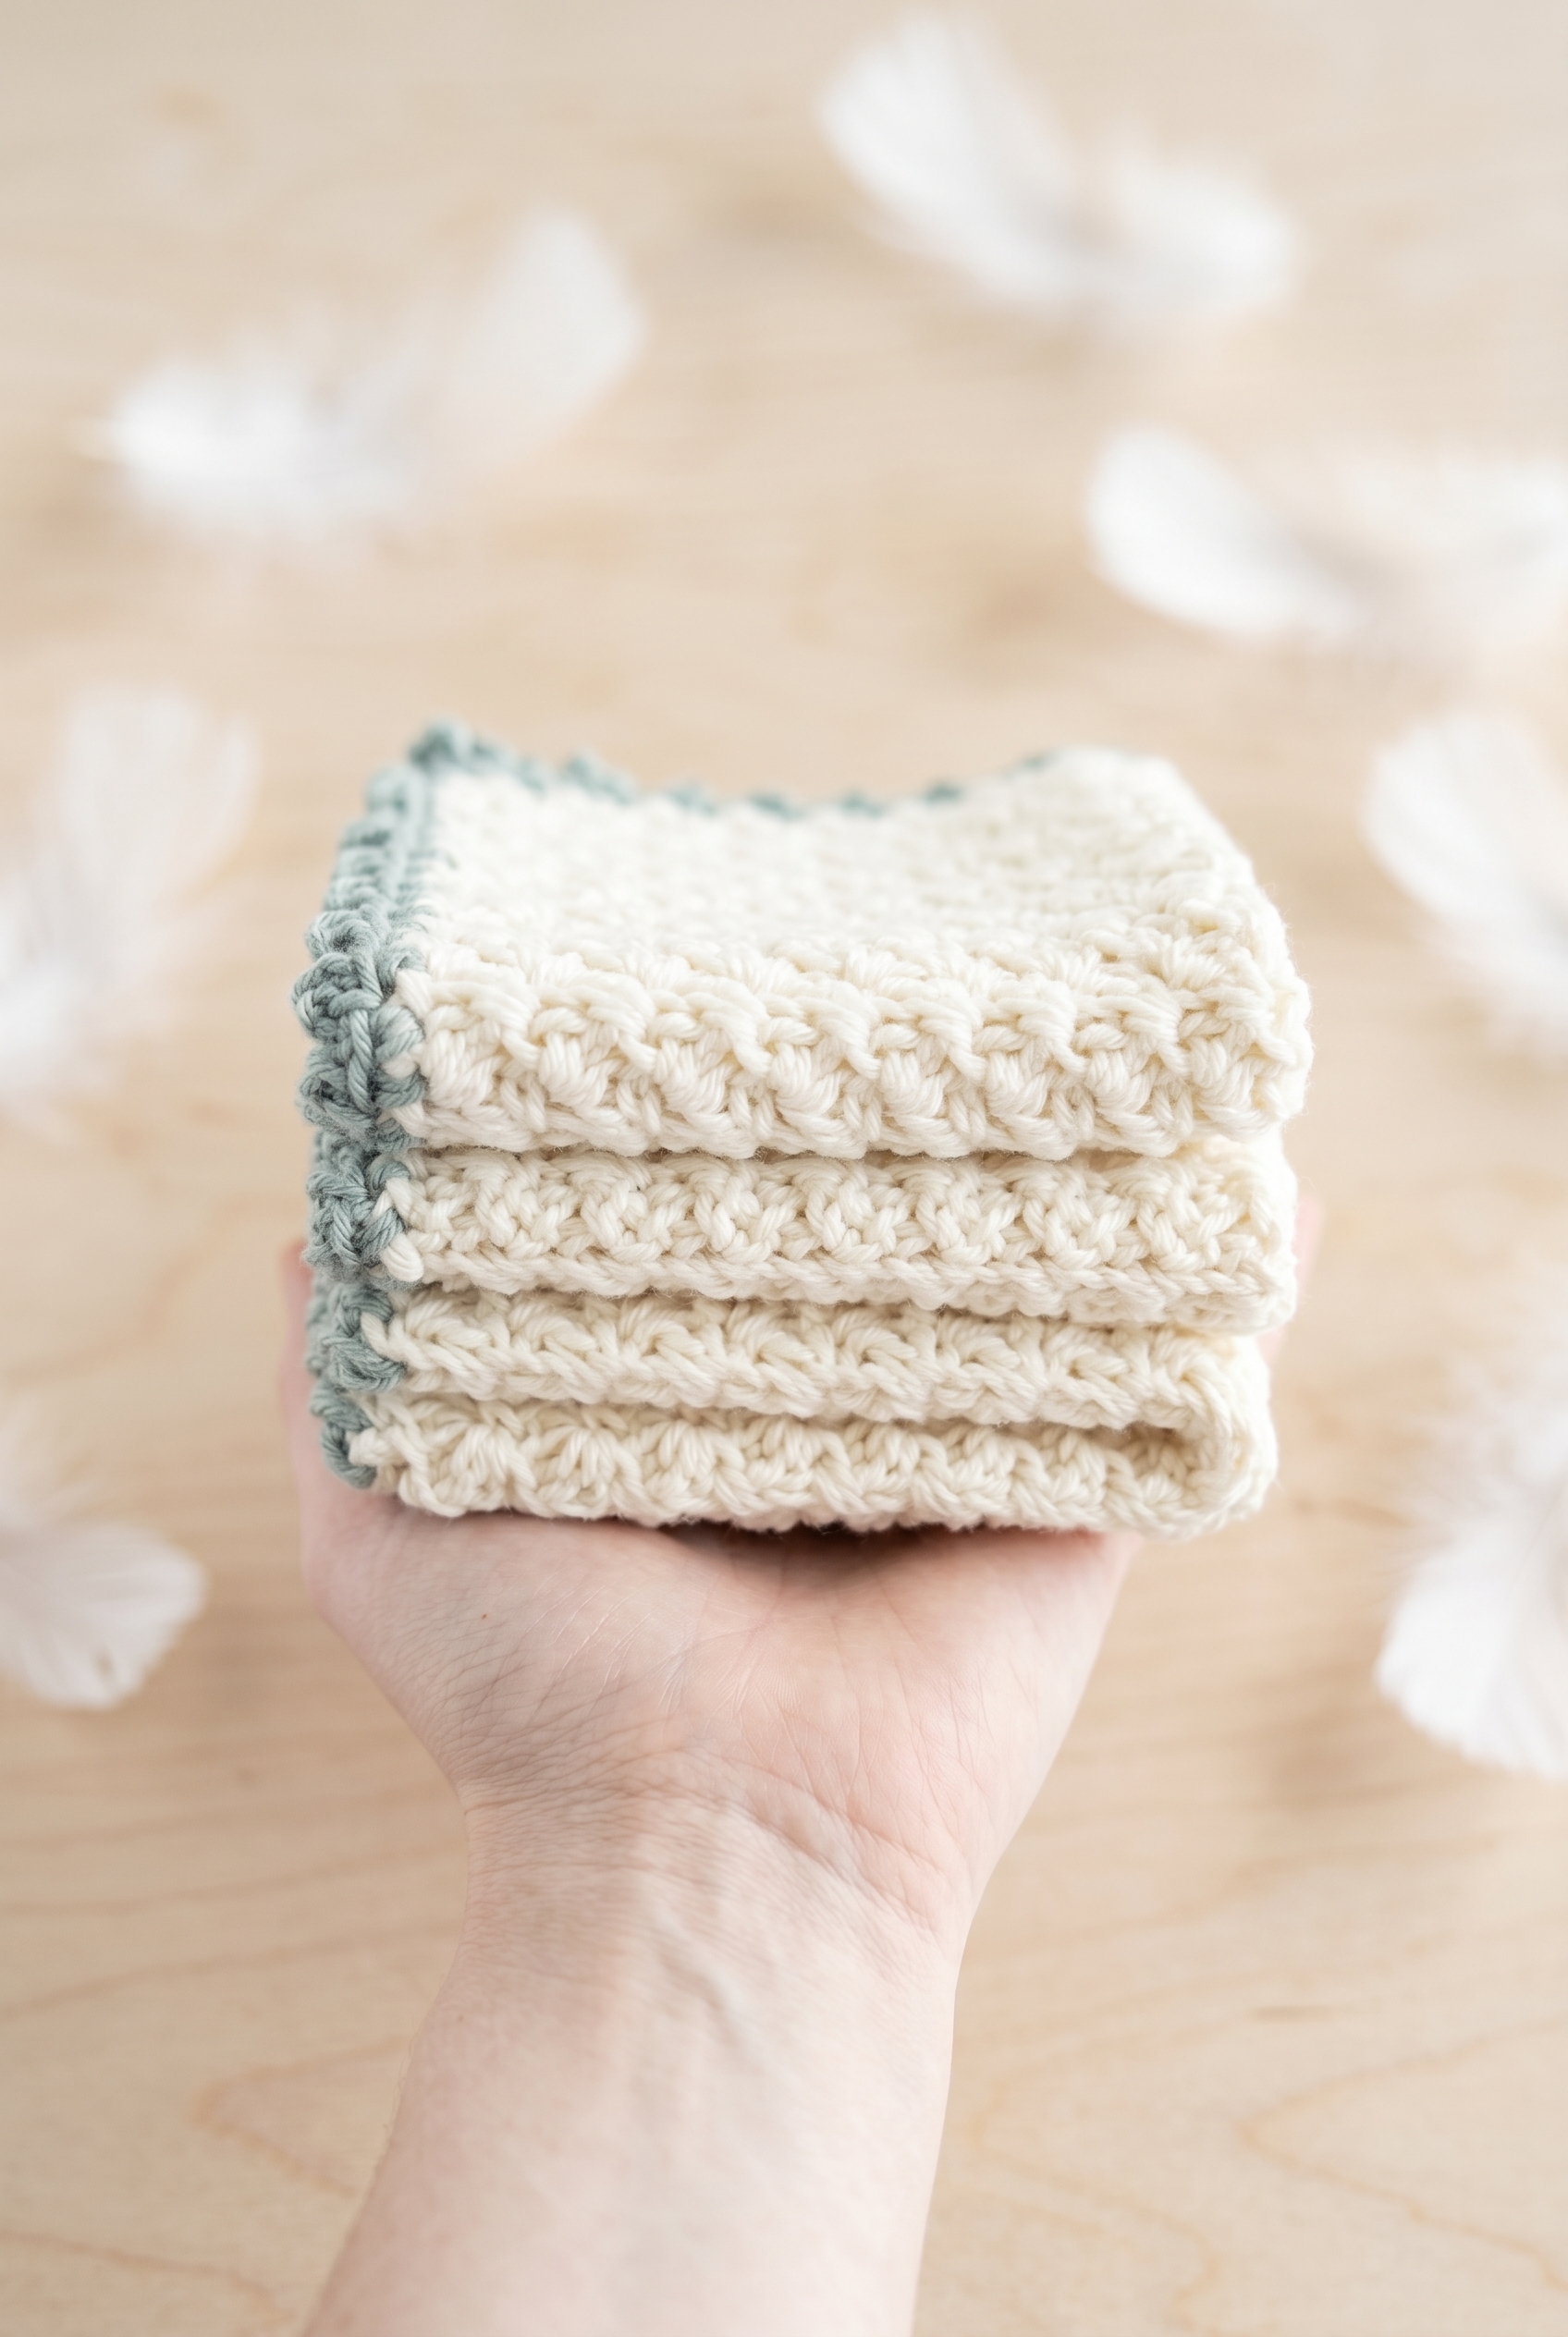
I wanted to make something useful that still felt like it had a little intention behind it. Dishcloths can be kind of forgettable, but adding a contrasting border with picot detail changes the whole feeling of the thing. It goes from purely functional to something you'd actually want to leave out on the counter. I make these in batches now because they stack up beautifully as gifts. A set of a few tied together is the kind of thing people are always glad to receive, and you can knock them out without a huge time commitment.
Why You'll Love This Pattern
A practical everyday project that actually looks good enough to give as a gift.
- Beginner friendly: This is an easy pattern, so if you're still building confidence with basic stitches, this is a no-pressure project to practice on.
- Quick to finish: The compact size means you can realistically complete one in a single sitting, which makes it great for when you want a fast win.
- Great for gifting: Make a few at a time and you've got a ready-to-go gift that feels thoughtful without taking over your whole week.
- Two-color design: The main body and the border use different colors, so this is a nice low-stakes way to practice switching colors without anything complicated going on.
- Technique takeaway: The picot edging is a simple but really useful technique to have in your back pocket for all kinds of future projects.
Your Supply List
Two colors, one hook, and this is genuinely one of the shorter supply lists you'll put together.
- Worsted Weight Cotton Yarn (two colors): Cotton is the right call for a washcloth. It holds up to washing, doesn't stretch out of shape after a few uses, and has that slightly firm texture that actually works well against skin. You'll need 100 g / 190 yds of each color, so two full balls total. A standard worsted weight cotton, sometimes labeled as a "kitchen cotton," is exactly what you're looking for.
- 4.0 mm (G) Crochet Hook: A 4.0 mm pairs well with worsted cotton because cotton doesn't have much give. Going up a size can leave the fabric too loose and floppy for a washcloth, and going down makes it stiff and slow to work. This size keeps the fabric firm but not rigid.
- Also needed: darning needle, scissors
Color Sequence & Yarn Changes
The main body is worked entirely in Swan, and Inlet comes in only for the border. So you won't be switching colors mid-row at all. Finish the body, fasten off Swan, then pick up Inlet for whichever border you choose. If you're skipping the border entirely, you won't need Inlet at all.
At a Glance
A two-color cotton washcloth worked in suzette stitch, with your choice of crab stitch or picot border — or no border at all.
| Skill Level | Easy |
| Pattern Gauge | 16 sts x 16 rows = 4" square (in suzette stitch). |
| Finished Size | Finished size (without border): approx. 9.25" x 8.25". |
| Yarn Weight | 4 Medium / Worsted |
| Fiber | 100% Cotton |
| Terminology | US |
Customizing the Size
Suzette stitch uses a multiple of 2, so to resize this washcloth, just chain any even number. That's really all there is to it. The gauge is 16 sts x 16 rows = 4", so you can do the math from there to hit a specific measurement.
Stitches & Abbreviations
Nothing unusual here — all basic stitches you've likely used before.
- ch = chain
- sl st = slip stitch
- sc = single crochet
- dc = double crochet
- st(s) = stitch(es)
- rep = repeat
- yo = yarn over
Special Stitches
- Crab st (reverse sc): Working left to right, insert hook into next st to the right, yo, pull up a loop, yo, pull through both loops on hook.
- Picot: Ch 3, sl st into the top front loop of the indicated sc.
Pattern Notes
This pattern is written in US crochet terms. The ch 1 at the beginning of each row does not count as a stitch, and the stitch count at the end of each row (shown in parentheses) reflects that. Keep an eye on those counts — suzette stitch is simple, but it's easy to lose a stitch at the edges if you're not watching.
The main body is worked in Swan. When you get to the border, you'll switch to Inlet. Any worsted weight cotton will work as a substitute for either color — just make sure it's cotton if you want that scrubby texture and good absorbency.
The border is optional. If you do add one, you've got two choices: the crab stitch border, which is reverse single crochet worked left to right, or the picot edge border, worked the normal direction, right to left. Pick one or skip both. The washcloth works fine either way.
Picot Edge Dishcloth Crochet Pattern Instructions
Here's how I work through the washcloth body and both border options so you can choose the finish that suits you best.
Washcloth Body
This is the main fabric of the washcloth, worked in rows using a simple shell-style stitch that pairs a single crochet and a double crochet together across each row. To begin, with Swan, ch 36.
Row 1: In 2nd ch from hook, work (1 sc, 1 dc) in same ch. Skip next ch. *(1 sc, 1 dc) in next ch, skip 1 ch. Rep from * to last 2 ch. Skip next ch, sc in last ch. Turn. (35) The foundation row sets up the stitch pattern — each (sc, dc) pair lands in one chain, and the skipped chain sits underneath. That rhythm carries through every row from here.
Row 2: Ch 1, (1 sc, 1 dc) in first st, skip next st. *(1 sc, 1 dc) in following st, skip next st. Rep from * to last 2 sts. Skip next st, sc in last st. Turn. (35)
Rows 3–26: Repeat Row 2. (35) This covers 24 more rows of the same pattern, building the body of the washcloth. Keep your tension consistent and the count will stay at 35 throughout.
Finish off and weave in tail ends.
Option 1: Crab Stitch Border (Reverse Single Crochet)
The crab stitch border is worked in the opposite direction of normal crochet — right to left instead of left to right — giving the edge a neat, twisted rope-like finish. Choose this option if you want something clean and simple.
Step 1: Reattach Inlet to the last st of your last row. Ch 1. You're joining the new color here at the corner before working around the entire perimeter of the washcloth.
Step 2: Insert hook back into the last st. *Yo, pull through (2 loops on hook), yo, pull through last 2 loops. Insert hook into next st. Rep from * in each st all the way around the washcloth. The key with crab stitch is that you always insert your hook into the stitch to the right rather than the left — working backward is what creates the twist. Keep your tension relaxed so the edge doesn't pull in.
Step 3: Sl st to the first st. Finish off and weave in tail ends.
Option 2: Picot Edge Border
The picot border adds a delicate, decorative edge with small looped points spaced evenly around the washcloth. This is the border that gives the pattern its name, and it works up quickly once you get the rhythm of the repeat.
Step 1: Reattach Inlet to the last st of your last row. Ch 1.
Step 2: Work 1 sc in that same st, then 1 sc in the following st. Ch 3, then sl st into the top front loop of your sc st (picot made). The sl st goes into the front loop of the sc you just made — that's what forms the little picot point. Make sure you're going into the sc, not the chain.
Step 3: Continue around the washcloth: *Work 2 sc, ch 3, sl st into the top front loop of the sc st. Rep from * all the way around. Once you've made your first picot in Step 2, this repeat is the same action over and over. Keep the spacing even and the border will lie flat.
Step 4: After your last st (sc), work 1 more sc in the very first st where you added your new color. Ch 3 and sl st into the top front loop of that sc. Then sl st to the following st to finish. This closes the border neatly so the join doesn't leave a gap in the picot pattern.
Step 5: Weave in all remaining tail ends.
Care Instructions
Cotton holds up really well in the wash, so toss this dishcloth right in the machine on a regular cycle. I'd skip the dryer or at least use low heat, because repeated high heat can cause cotton to shrink down over time and the cloth will lose a bit of its shape. Lay it flat to dry when you can. It takes maybe twenty minutes and the cloth dries faster than you'd expect at that size.
Frequently Asked Questions
What is the Suzette stitch and is it hard to learn?
The Suzette stitch is just a (sc, dc) pair worked into the same stitch, then you skip the next stitch. That's the whole thing. Once you do the first row it clicks pretty fast. The rhythm is very consistent across all 26 rows, so by row three or four you won't need to think about it much.
What's the difference between the two border options?
The crab stitch border is worked left to right (the opposite direction from normal crochet), which gives it a tight, twisted, almost rope-like edge. The picot border is worked right to left in the usual direction and has those small loopy points along the edge. Both use Inlet for the color. The crab stitch is a little trickier to work if you haven't done reverse single crochet before, but neither border is complicated once you get going.
Can I skip the border entirely?
Yes. The pattern is written so the border is completely optional. The body finishes at row 26 and you just weave in your ends and you're done. The Suzette stitch gives the cloth a nice texture on its own, so it doesn't look unfinished without a border.
How do I resize this dishcloth?
Chain any even number to start. The Suzette stitch runs on a multiple of 2, so as long as your starting chain is even, the pattern will work out. A larger starting chain gives you a wider cloth, and more rows gives you more length. Pretty straightforward to adjust.
My stitch count keeps coming out wrong. What should I check?
The ch 1 at the start of each row does not count as a stitch, so don't work into it or count it. Each row should end at 35 stitches. The stitch counts are listed in parentheses at the end of each row in the pattern, so check those as you go. If you're off by one, the most common culprit is accidentally treating that turning chain as a stitch.
Now It's Your Turn!
I'd love to see which border you end up choosing. The picot edge is my personal favorite for gifting because it photographs so well, but the crab stitch has this satisfying finished look that's hard to beat for everyday use. If you make one (or a whole stack of them), tag me on Instagram or drop a photo in the comments. And if you want to save this for later, pinning it to your crochet projects board on Pinterest is always a good call because these make GREAT last-minute gifts and you'll want to find this pattern again in a hurry.
🧼 More home & living makes: The Kitchen Dishcloth is a great companion pattern, and if you're building out your home crochet collection, the Small Storage Basket and Lemon Fruit Coaster pair beautifully together.


Leave a Reply