
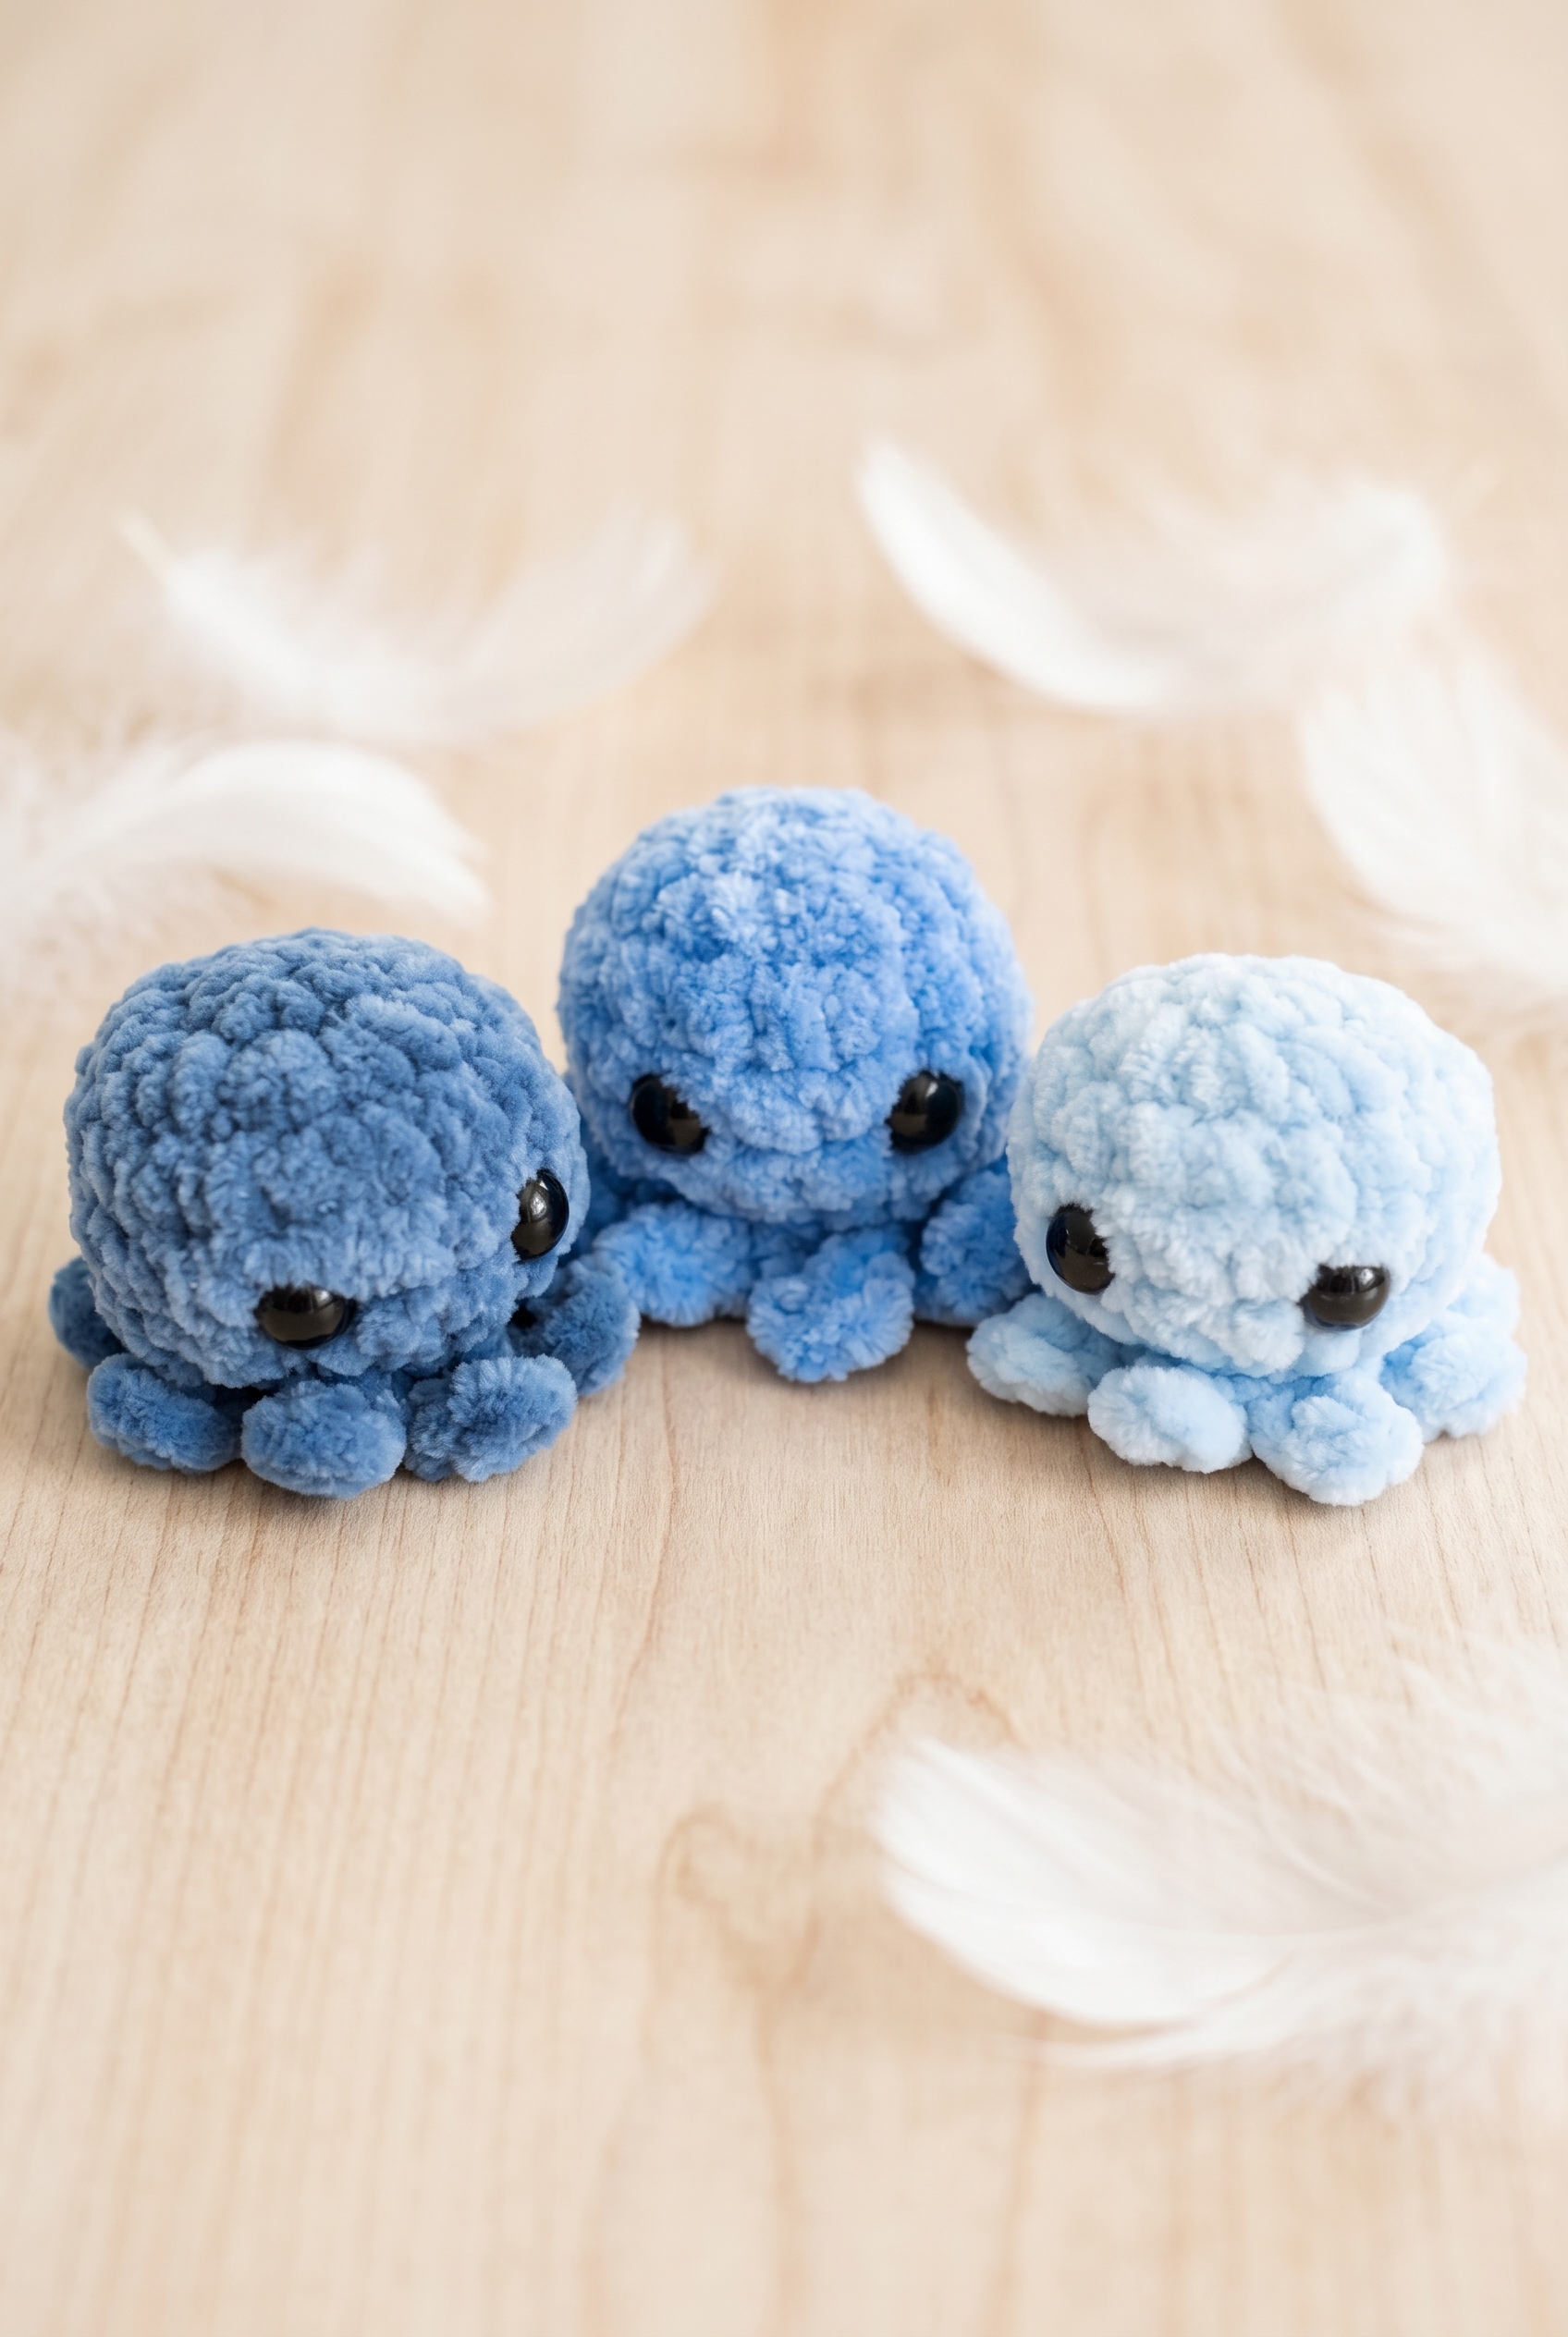
There's something about a tiny octopus crochet pattern that just gets people. Every single time I finish one of these little guys and set it on my desk, someone walks by and immediately wants to know if it's for sale. They're compact, they're quick to stitch up, and they make genuinely great gifts for pretty much anyone on your list.

Jump to:
About the Design
What I really like about this one is how satisfying the construction is. The body comes together fast, and then you've got these little tentacles around the base that give the whole thing so much personality without actually being complicated to make. It's the kind of project where you finish and think, okay, I'm making three more of those.
I'd reach for this pattern when I need something small but thoughtful. It works for baby showers, desk companions, stocking stuffers, or just something to keep your hands busy on a slow afternoon. The finished size is genuinely tiny, so it's also a great option when you want to use up small amounts of yarn you've been hanging onto.
Why This Pattern Stands Out
A fast, beginner-friendly amigurumi that actually looks impressive when it's done.
- Skill level: Easy. If you know how to crochet in the round and work basic increases and decreases, you have everything you need for this pattern.
- Quick to finish. Each octopus body is small, so you can realistically complete one in a single sitting without rushing.
- Great for gifting. The finished size makes these ideal for tucking into a gift bag, mailing to someone, or making in small batches for multiple people at once.
- Yarn stash friendly. Because each octopus uses so little yarn, this is a solid pattern for using up leftovers you've been holding onto.
- Technique building. If you're newer to amigurumi, this is a low-stakes way to practice working in the round and attaching small parts cleanly.
Materials You'll Need
The supply list for this little octopus is pretty short, and you likely have most of it already.
- Super Bulky Chenille Yarn (Weight 6): Chenille is the right call here. It gives the octopus that soft, velvety texture that makes it look polished without much effort, and it works up fast at this weight. You won't need a ton of yarn for a small amigurumi like this, so a single skein is more than enough. A rough estimate would be somewhere around 50–80 yards, but check your label as you go since chenille yardage per skein can vary quite a bit.
- 4.5 mm Crochet Hook: This size pairs well with a super bulky chenille. It keeps the fabric tight enough that the stuffing won't show through the stitches, which matters a lot with amigurumi.
- 8 mm Safety Eyes: These go in between Round 4 and Round 5, about 2–3 stitches apart. Get them placed and locked in before the head closes up, because you cannot go back once the stuffing is in.
- Polyfil Stuffing: A small handful is all you need for something this size. You'll stuff the octopus before sewing the remaining hole closed, so keep it within reach as you near the end.
- Also needed: scissors, tapestry needle
Alternative Yarns
Chenille is a bit of a specialty yarn, and if you don't have any on hand, a few other options will work just fine here.
- Super Bulky Velvet Yarn (Weight 6): Very similar feel to chenille, and often easier to find in big box craft stores. It gives the same soft, plush finish and behaves almost identically on the hook.
- Super Bulky Acrylic Yarn (Weight 6): A standard super bulky acrylic won't have that velvety texture, but it's widely available and works well structurally. The octopus will look a little more matte, which is a totally valid look for a toy.
At a Glance
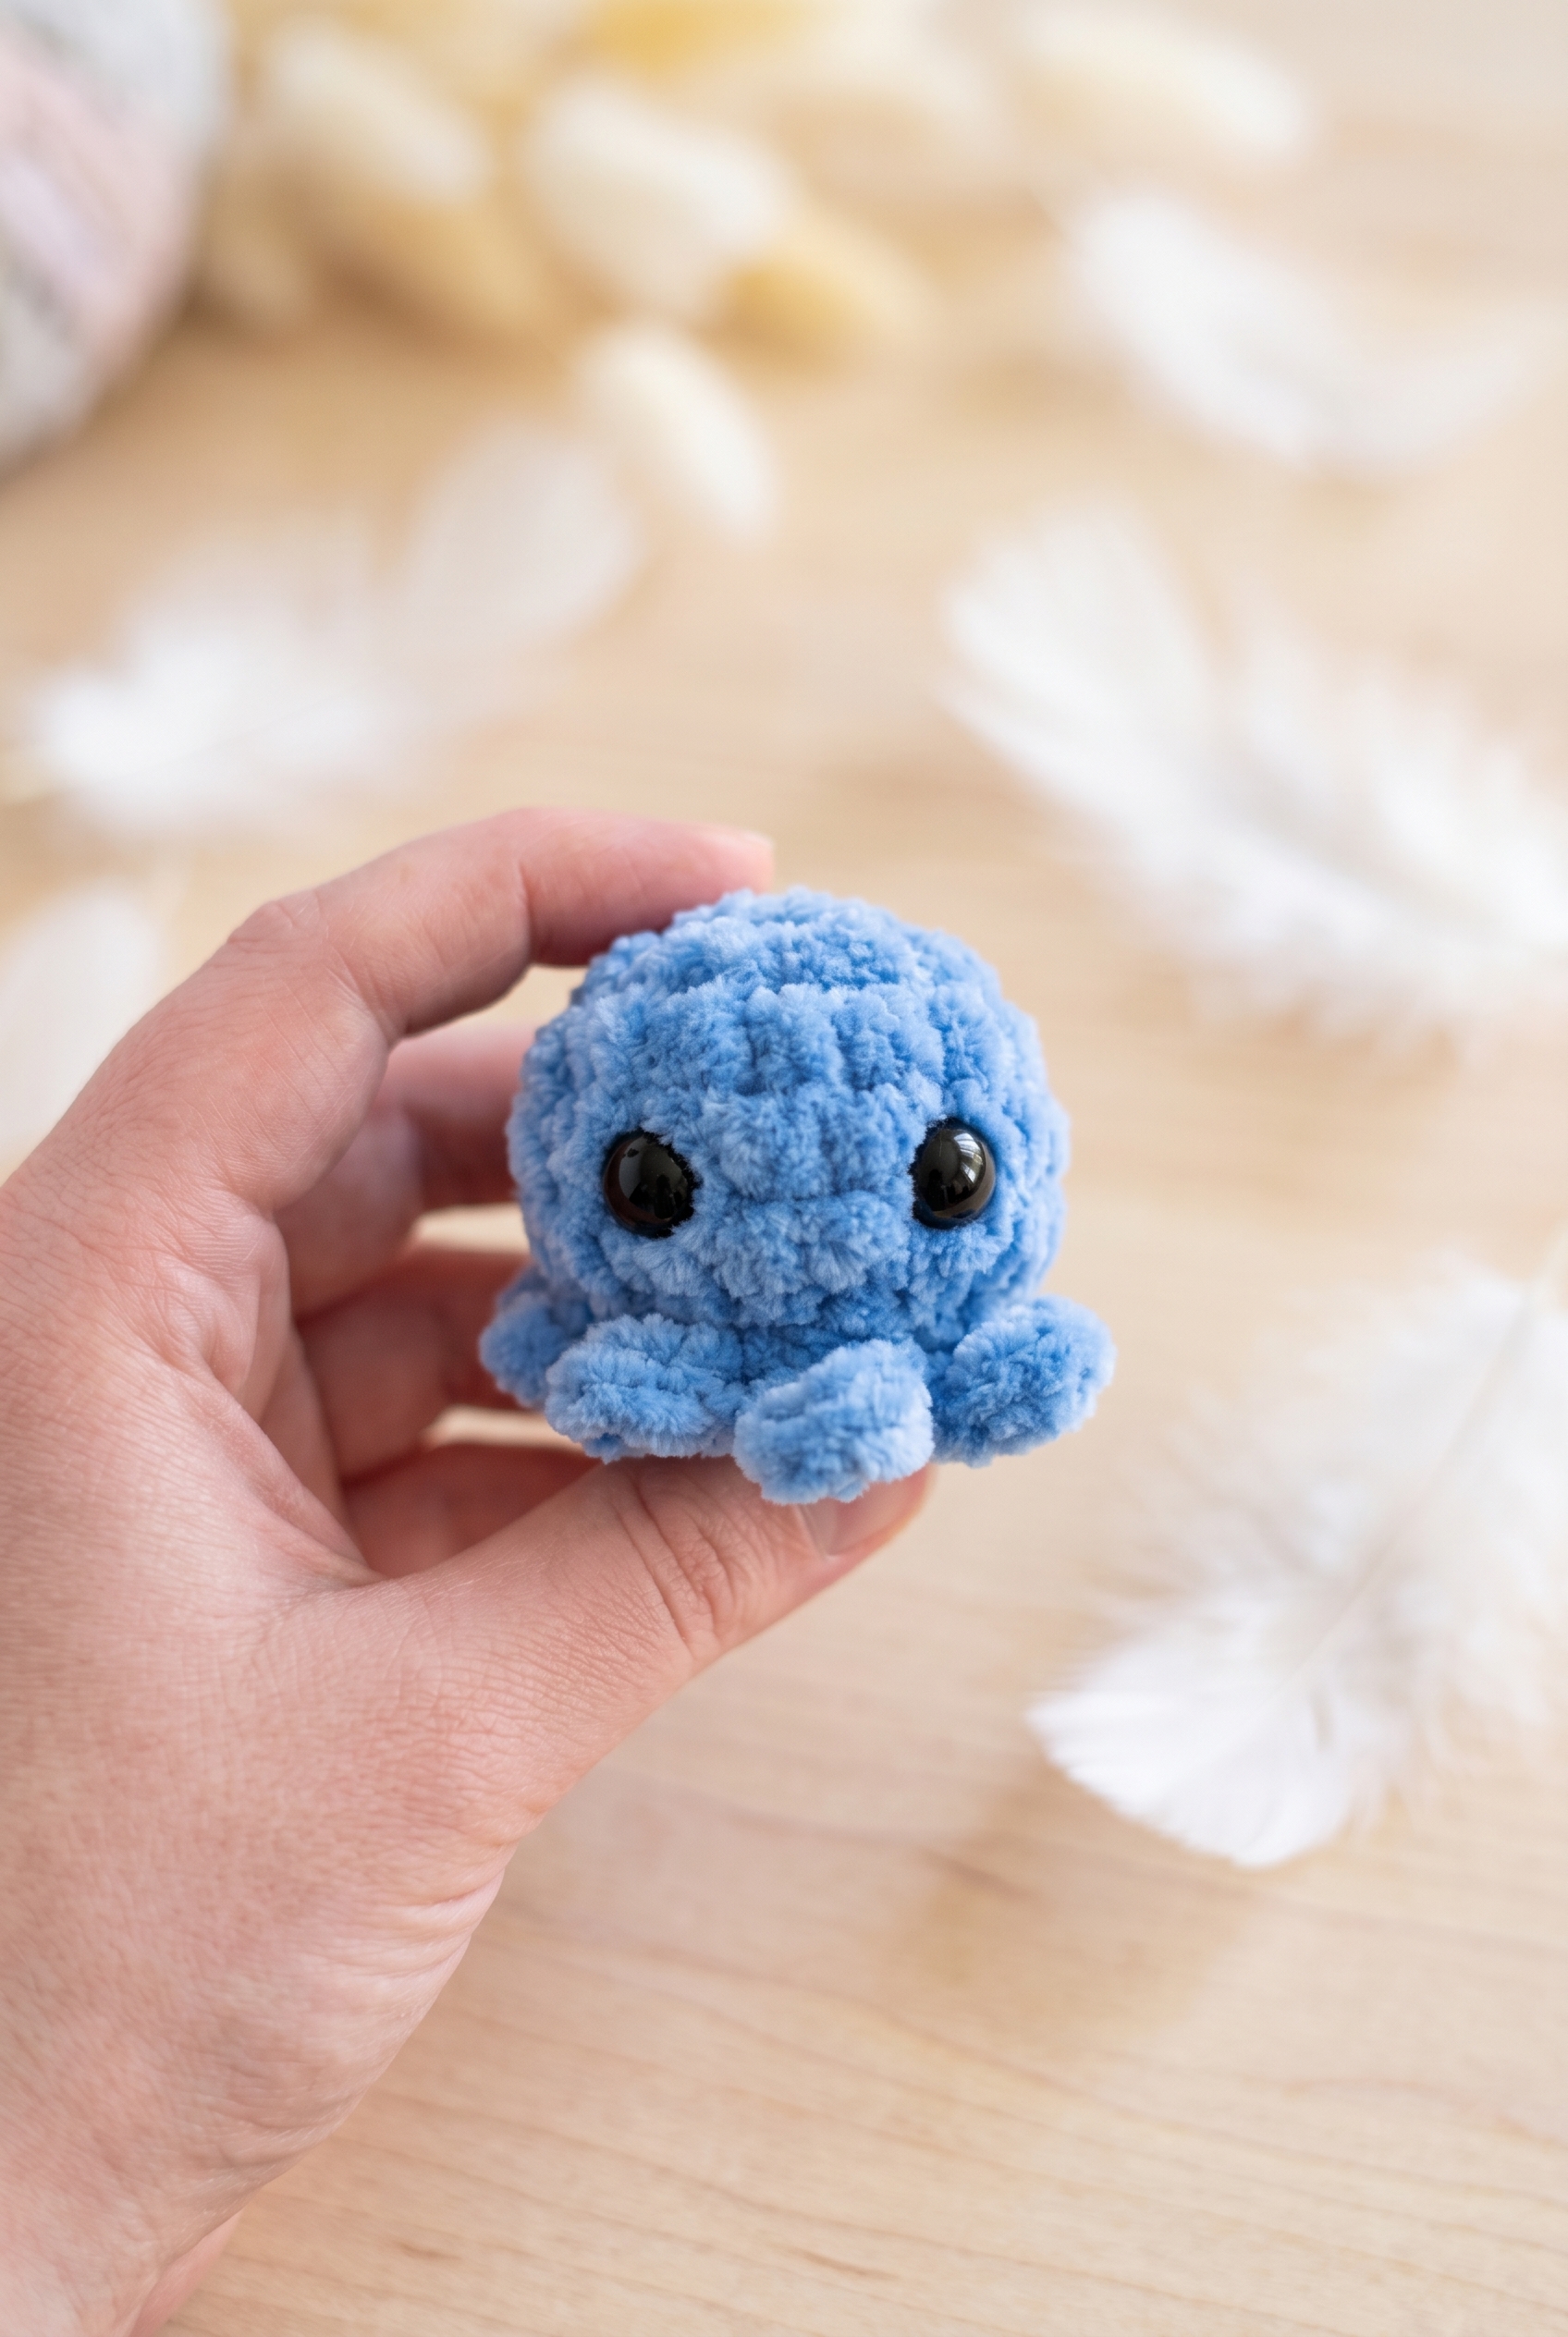
A tiny stuffed octopus worked up fast in super bulky yarn, tentacles and all.
| Skill Level | Easy |
| Pattern Gauge | Gauge is not critical for this project. Use a hook size that creates a tight, firm fabric so stuffing does not show through |
| Finished Size | Approx. 2.5 in (6.5 cm) tall excluding tentacles (estimated) |
| Yarn Weight | 6 Super Bulky |
| Terminology | US |
Abbreviations & Stitches Used
Short list. You probably know all of these already.
- ch = chain
- dec = decrease (sc2tog)
- FLO = front loop only
- FO = fasten off
- inc = increase (2 sc in same st)
- mc = magic circle
- sc = single crochet
- sl st = slip stitch
- st = stitch
Special Stitches
- sc2tog (single crochet 2 together): Insert hook in next st, yarn over, pull up a loop; insert hook in next st, yarn over, pull up a loop; yarn over, pull through all 3 loops on hook.
Read Before Starting
The body is worked in continuous rounds. Round 7 is worked in the front loops only, which leaves the back loops free. After stuffing, you'll sew the remaining hole closed using those back loops. Get your stuffing in before that gap closes up on you.
Safety eyes go in before the body is fully closed: place 8 mm eyes between Round 4 and Round 5, about 2 to 3 stitches apart. Do that before you stuff and close, not after.
Since gauge isn't critical here, just make sure your fabric is tight enough that the stuffing won't peek through. Go down a hook size if needed.
Crochet Instructions
This tiny octopus works up fast — the whole thing comes together in just seven rounds.
The Octopus Body and Tentacles
You'll build the octopus from the top of the head down, closing out with a round of tentacles worked directly into the final stitches. It's a single piece from start to finish.
Round 1: 8 sc in a mc. [8 sc]
Round 2: 8 inc. [16 sc]
Round 3: 16 sc. [16 sc]
Round 4: 16 sc. [16 sc]
Add 8 mm eyes between Round 4 and Round 5, about 2-3 stitches apart.
Round 5: 16 sc. [16 sc]
Round 6: 8 dec. [8 sc]
Stuff the octopus.
Round 7: In FLO, (sl st in next st, ch 3, 2 sl st down ch) x8. Finish the round with a final sl st into the first sl st. [8 tentacles] Working in front loops only here keeps the back loops free — you'll need those in a moment to close the base. Each chain-3 spike is one tentacle, and the two slip stitches back down the chain anchor it before you move to the next stitch.
FO. Sew the remaining hole closed in the back loops left out when making Round 7.
Baby & Child Safety Notes
This little octopus uses 8 mm safety eyes, and those need to be locked in FIRMLY before you stuff and close the head. Once the stuffing is in and the hole is sewn shut, there's no getting back in to fix them. If you're making this for a child under three, I'd skip the safety eyes entirely and embroider the eyes with yarn instead. Also worth checking the seams after sewing closed: the tentacles are small and the finishing hole needs to be secured well so nothing pulls apart with handling.
Frequently Asked Questions
When exactly do I add the safety eyes?
Add them between Round 4 and Round 5, about 2-3 stitches apart. That's your window. Once you work Round 5 and start decreasing in Round 6, the opening gets small fast and the fabric tightens up around the eyes. Do it before Round 5 and you'll have plenty of room to position them correctly.
When do I stuff the octopus?
Stuff it during Round 6, while you're working the decreases. The pattern notes say to stuff at that point, and it makes sense: the opening is still workable but small enough that you can judge how full it looks. I stuff mine pretty firmly so the head holds its round shape.
How are the tentacles made?
The tentacles are worked all in one go during Round 7, directly into the front loops of the remaining stitches. Each tentacle is a slip stitch, a chain 3, and two slip stitches back down the chain. You end up with 8 tentacles total. No separate pieces, no sewing on.
What happens to the back loops from Round 7?
After you finish the tentacles in the front loops, the back loops from Round 7 are left open. Once you fasten off, you use those back loops to sew the remaining hole closed. It's a clean way to finish the bottom without an obvious seam showing through the tentacles.
This is my first time making amigurumi. Is this a reasonable place to start?
The construction here is one continuous piece worked in rounds with no separate parts to sew together, no color changes, and no complicated shaping. You need to know single crochet, increases, decreases, and slip stitches. The tentacle round uses a short chain, but it's straightforward once you read through it. Probably the trickiest part is just getting the safety eyes in at the right moment.
🐙 More quick amigurumi to try: If you loved this tiny octopus, check out the Raccoon Plushie for your next animal project. Brand new to amigurumi? The How to Attach Safety Eyes and How to Stuff Amigurumi guides cover all the finishing techniques you'll use over and over again.
Now It's Your Turn!
I'd love to see your finished tiny octopus, so if you make one, tag me on social media or drop a photo in the comments below. These little guys work up so fast that I keep finding myself making another one before I've even put the first one down. If you're saving patterns for later, pin this one to your amigurumi board on Pinterest so you can find it again easily. And if you run into any trouble with the tentacle round or the finishing, leave a comment and I'll help you sort it out.


Leave a Reply