
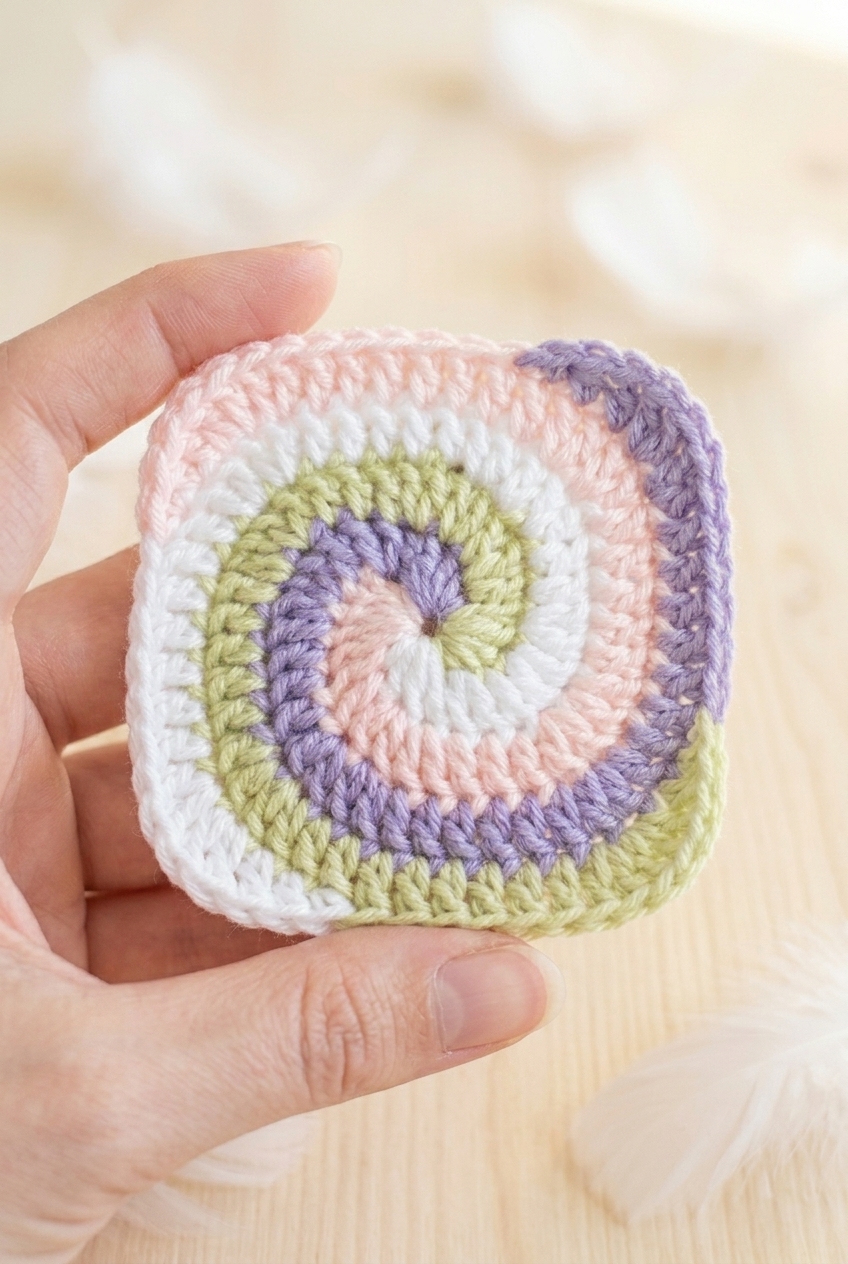
This Spiral Granny Square Crochet Pattern has been such a satisfying one to work through. It's the kind of motif that looks way more complex than it actually is, which is honestly my favorite kind of project. The spiral construction gives it this really cool, almost hypnotic look as you work outward, and because the sizing is totally adjustable, you can make it as small or as large as you need.

Jump to:
About the Design
What I love about this one is that the spiral construction keeps things interesting round after round. Most granny squares have pretty clear stopping and starting points between rounds, but this one flows continuously outward in a way that just feels different to work. It keeps you engaged without being complicated, which is a balance that's actually pretty hard to find in a simple motif pattern.
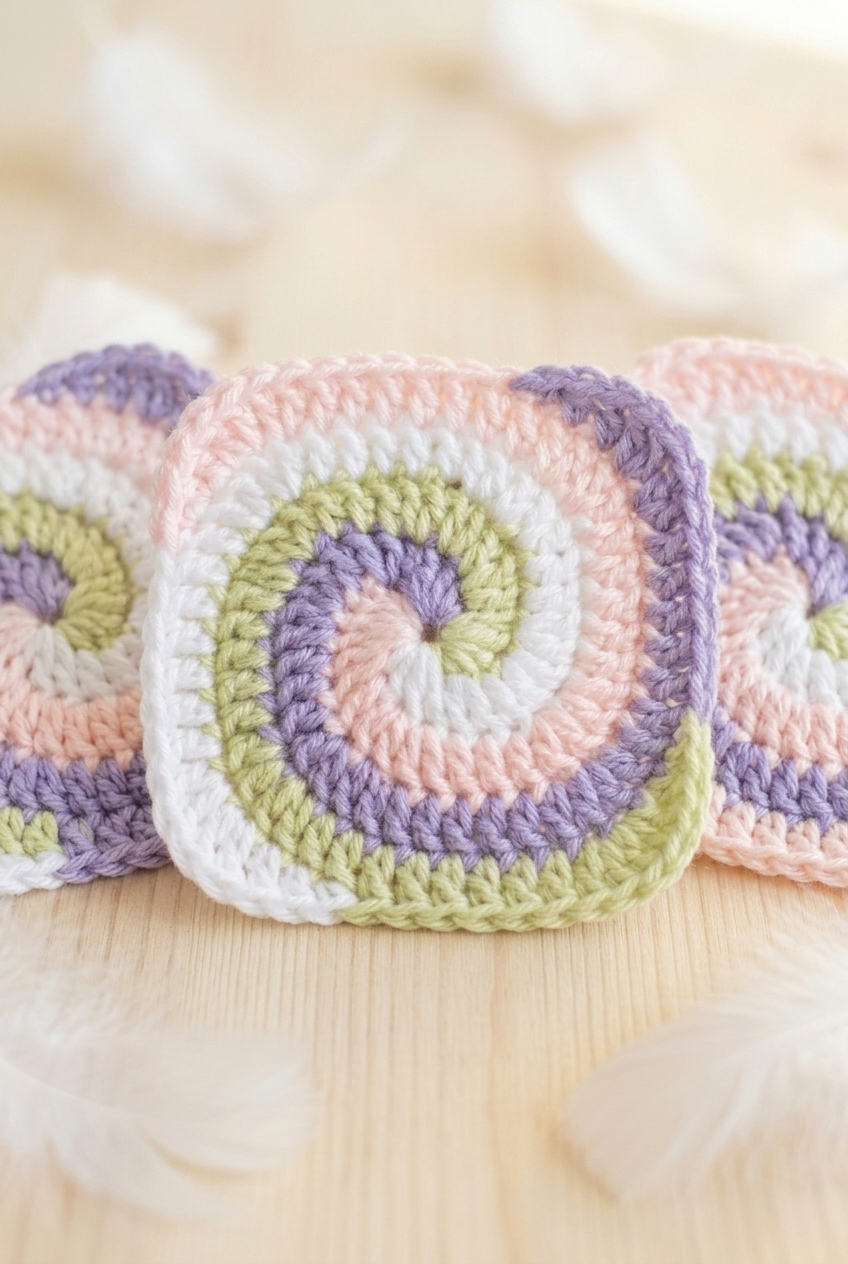
It's also incredibly versatile. I could see making a whole stack of these for a blanket, using just one as a bag panel, or gifting a set as coasters. The kind of pattern you come back to because it fits into so many different projects without any fuss.
Why This Pattern Stands Out
The spiral construction makes this granny square genuinely interesting to work, not just to look at.
- Skill Level: Rated easy, so newer crocheters can absolutely tackle this without getting overwhelmed.
- Fully Adjustable Size: You just keep going to make it bigger, which means one pattern works for a coaster, a pillow panel, or a full blanket square.
- Great for Scraps: The color-banded construction makes this a natural fit for using up leftover yarn in small amounts.
- Gifting Potential: Quick to make in multiples, so it's a solid choice when you need something handmade without a huge time commitment.
- Technique Value: If you've never worked a spiral-style motif before, this is a low-stakes way to learn how that construction actually works.
What You'll Need
Four colors, one hook, and whatever DK scraps you have on hand.
- DK Weight / Light Worsted Yarn in 4 Colors (A, B, C, D): DK weight sits in a nice middle ground for colorwork like this. It's light enough to show the color transitions clearly, but substantial enough that the square has some body to it. The yardage is listed as "any" in the pattern, so this is genuinely a scrap-friendly project. A small amount of each color goes a long way for a single square, and since all four colors work simultaneously throughout, you don't need a full skein of anything.
- 3.5 mm Crochet Hook: This size pairs well with DK weight and gives you a fabric that's firm without being stiff. The spiral construction benefits from a consistent tension, and a 3.5 mm hook makes that pretty easy to maintain.
- Also needed: yarn needle, scissors
Color Sequence & Yarn Changes
All four colors are worked at the same time in a continuous spiral, so each color stays attached and gets picked up in turn as you move around the square. Keep track of which color you started with as Color A, because that's your reference point for knowing when you've completed a full round. The order you assign to A, B, C, and D will change how the final color arrangement looks, so it's worth thinking through your color placement before you start.
The Quick Stats
Four colors, one spiral, and a square that grows as big as you want it to.
| Skill Level | Easy |
| Pattern Gauge | Gauge is not critical for this project. Use the suggested hook size or adjust as needed to get a fabric you like for your square size and intended use. |
| Finished Size | Adjustable (make the square as large as you like by continuing the pattern) |
| Yarn Weight | 3 Light / DK |
| Fiber | Not specified — check the yarn label |
| Terminology | US |
Customizing the Size
The square scales up easily. Each round you add simply increases the middle dc section of each color by 2 stitches. Round 2 has 1 dc in the middle, Round 3 has 3, Round 4 has 5, Round 5 has 7, and so on. Keep adding 2 more each round until you reach the size you want, then always finish with the Finishing round. The color ordering you choose will affect the final look, so it's worth swatching a small version before committing to a large project.
Stitches & Abbreviations
All standard stitches here, nothing unusual.
- ch = chain
- dc = double crochet
- hdc = half double crochet
- sc = single crochet
- sl st = slip stitch
- st(s) = stitch(es)
The Critical Details
This square uses 4 colors worked simultaneously in a spiral. All four are active at the same time. Each color works its own section, then the hook gets dropped and picked up in the next color. Nothing is cut and rejoined between rounds. Because of this, it's worth marking which color you started with (Color A) so you always know when you've completed a full rotation.
If four colors feels like too much to manage, you can work it in just 2 colors by using the same two shades twice. The color ordering still matters though. Different arrangements will produce noticeably different results, so it's not just a cosmetic choice.
There are no special stitches and no seaming. The construction is continuous from the center out, and the only thing that changes round to round is how many dc stitches fall in the middle section of each color's segment. Always end with the Finishing round, no matter how large you've made the square.
Crochet Instructions
This spiral granny square is built in rounds, rotating through four colors to create that signature pinwheel effect.
Spiral Granny Square
The whole square is worked from a central loop outward, with four colors spiraling around each other rather than being worked in traditional corner clusters. You'll be dropping your hook and picking up the next color repeatedly throughout — that's just how this construction works, so keep your loops secure and your colors organized before you start.
Round 1: With A, ch 4, sl st in first ch to form a loop, then *1 sc, 1 hdc, 2 dc into center of loop; remove hook*; with B repeat from *-*; remove hook; with C repeat from *-*; remove hook; with D repeat from *-*; remove hook. Each color is getting its own little cluster into that same starting loop, so you'll have four separate yarn strands hanging off the work when this round is done. Don't tighten the loop too snugly before all four colors are in — you need room to work into it.
Round 2: Return to A and *2 dc in next st (working into B—you should have 4 sts), 1 dc in next st, 2 dc in next st, skip last st for now; remove hook*; repeat from *-* for B, C, and D; remove hook. Each color is now working into the stitches left by the color ahead of it in the spiral. The "skip last st for now" is intentional — you'll come back to it as the spiral continues to build.
Round 3: Return to A and *2 dc in next st, 1 dc in next 3 sts, 2 dc in next st, skip last st for now; remove hook*; repeat from *-* for B, C, and D; remove hook.
Round 4: Return to A and *2 dc in next st, 1 dc in next 5 sts, 2 dc in next st, skip last st for now; remove hook*; repeat from *-* for B, C, and D; remove hook. The pattern here is consistent: each round adds two more dc to the center run between the increases. The square is growing one increase-pair per color per round.
Round 5: Return to A and *2 dc in next st, 1 dc in next 7 sts, 2 dc in next st, skip last st for now; remove hook*; repeat from *-* for B, C, and D; remove hook.
Round 6: Return to A and *2 dc in next st, 1 dc in next st, 1 hdc in next st, 1 sc in next st, sl st in next st; remove hook*; repeat from *-* for B, C, and D; fasten off all yarns and sew in all tail ends. This final round tapers each color's arm down from dc to sl st, which draws the outer edge of the square into its finished shape. Work the decreasing stitch heights in order — the sequence matters for the curve to lie flat.
Fasten off all yarns and sew in all tail ends.
Blocking
Granny squares almost always look better after a light block, and this spiral version is no exception. Since the fiber isn't specified here, check your yarn label before you do anything. For most acrylic DK yarns, I just pin the square to a foam mat, spritz it with water, and leave it overnight. Natural fibers like cotton or wool can handle a proper wet block. Either way, blocking really does settle those corners and evens out the spiral sections in a way that pressing with an iron never quite achieves.
Frequently Asked Questions
How does the spiral effect actually work? Are there color changes mid-round?
There are no traditional color changes. All four colors are worked at the same time from the very first round. Each color works its own section, then you drop that hook and pick up the next color. Because you keep returning to each color in the same order every round, the colors spiral outward automatically. You never cut and rejoin mid-round.
Can I make this with fewer than four colors?
Two colors work fine. Just use the same two shades for A and C, and the same two shades for B and D, or any combination you like. Different ordering of the colors produces noticeably different spiral effects, so it's worth playing around before you commit to a full square.
How do I know how big to make the square?
The square is fully adjustable. Keep repeating the round pattern for as many rounds as you need, adding 2 more double crochet stitches to the middle section of each color per round. Round 2 has 1 dc in the middle, Round 3 has 3, Round 4 has 5, and so on. Just make sure you always finish with the Finishing round, regardless of size.
I keep losing track of which color is Color A. Any tips?
Put a stitch marker or a small piece of scrap yarn on your Color A tail right at the start. Color A marks the beginning of each round, so knowing where it is at a glance saves a lot of counting. Once you've done a few rounds it becomes second nature, but that first marker really helps.
Is managing four live yarn strands at once as tangled as it sounds?
It can get messy if the balls are loose on a table. I keep each color in a small zip bag or a separate bowl so they don't migrate toward each other. The strands do twist a little as you work around, but every few rounds you can just lift the whole square and let them unwind. It's less chaotic than it looks at first.
Happy Crocheting
I'd love to see which color combinations you land on for this one, because honestly the palette choices completely change how the spiral reads. Tag me on Instagram or drop a photo in the comments below. And if you're saving this for later, pinning it to your crochet squares board on Pinterest is a great way to find it again when you're ready to start a project that needs a stack of these.


Leave a Reply