
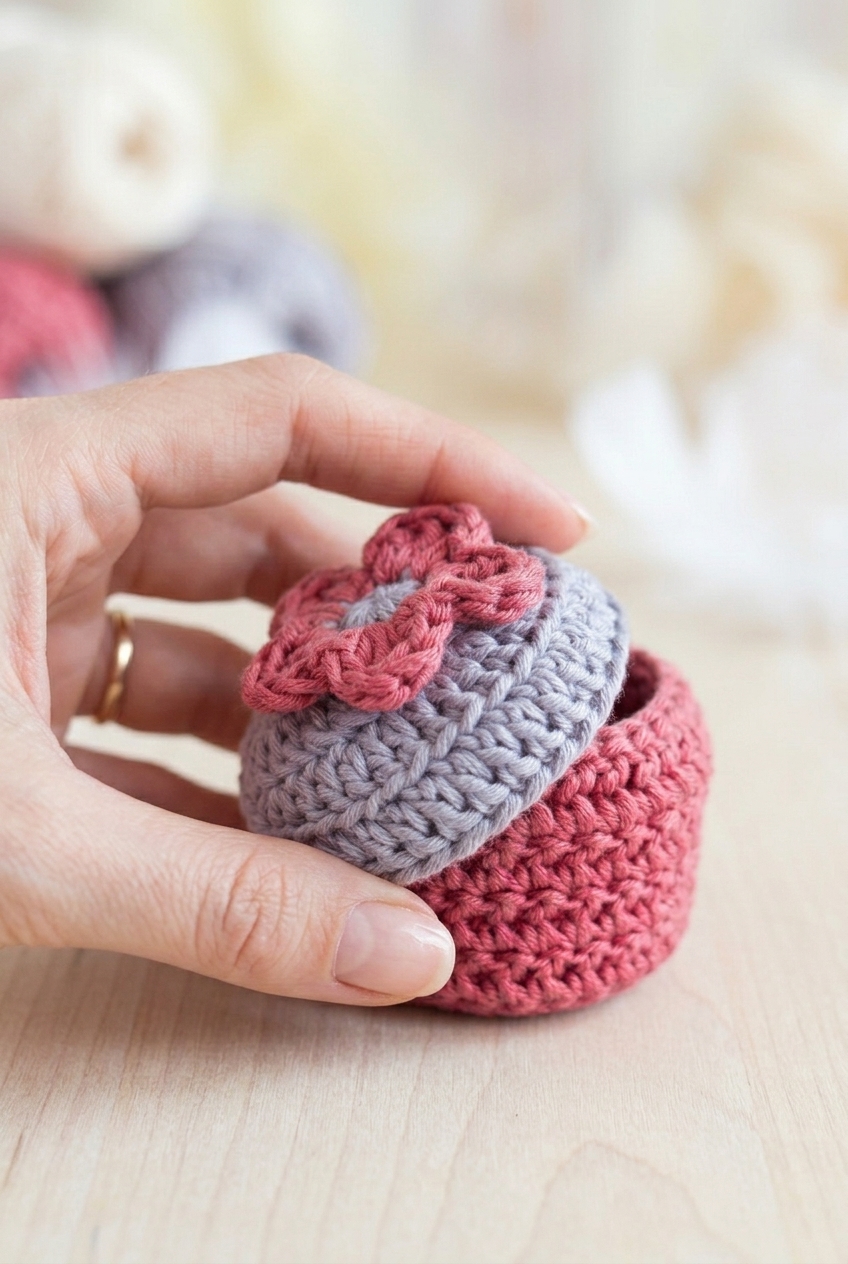
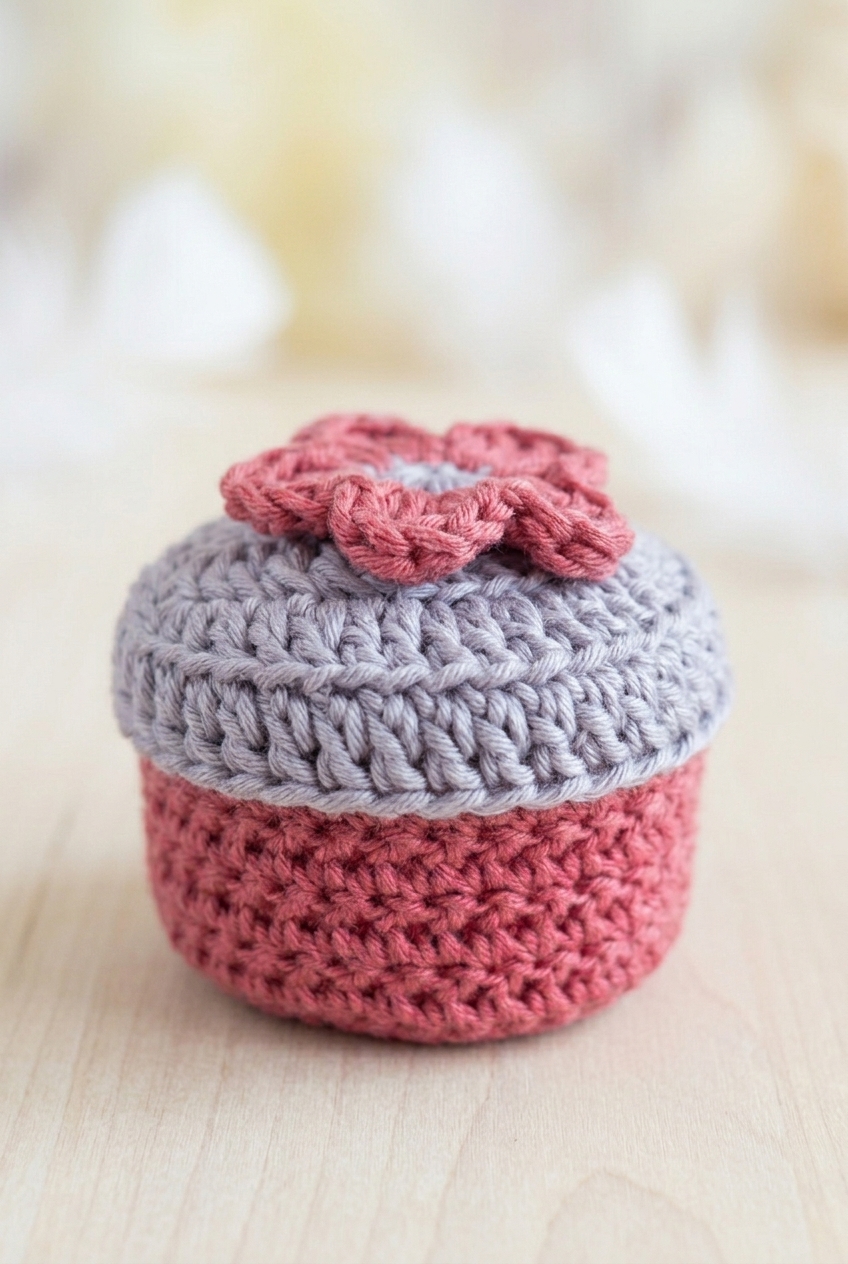
This Small Gift Box Crochet Pattern has honestly been one of my favorite things to come off my hook in a while. It's the kind of project that feels special without requiring a huge time commitment, and it doubles as both the gift AND the wrapping. Pretty hard to beat that.

Jump to:
About This Project
What I really love about this one is how much thought goes into something so small. The box and the lid are worked separately, which sounds like extra work but actually makes the whole thing so satisfying to put together. There's a little decorative element on top that pulls it all together and makes it feel intentional, like something you'd find in a boutique rather than something you crocheted on your couch.
I keep thinking about all the people I want to make these for. A little handmade box filled with a gift card, some jewelry, a few chocolates. It suits birthdays, holidays, or honestly just a Tuesday when you want to give someone something that feels considered. The fact that the container itself IS the gift wrapping is genuinely one of my favorite things about it.
Why You Need This on Your Hook
This little box is the gift and the wrapping all in one crocheted package.
- Beginner-Friendly Build: This is rated Easy, so if you're comfortable with basic stitches you'll have no trouble at all following along.
- Quick Finish: The small finished size means you can realistically complete this in a single sitting, which makes it great for last-minute gifting.
- Gifting Potential: It works as its own gift presentation, no wrapping paper or box needed, just tuck something small inside and hand it over.
- Make a Bunch: Because it works up so fast, this is actually a fun one to batch make in different color combinations for the holidays or a craft fair.
- Technique Value: Working a lidded container teaches you how two separate crocheted pieces can fit together, which is a really useful construction skill to have.
Materials You'll Need
The supply list here is refreshingly short, and most of it is probably already in your craft space.
- DK Weight Cotton Yarn: Cotton is the right call for a small structured box like this. It holds its shape without much fuss, gives you clean stitch definition, and doesn't have the stretch that would cause the sides to slouch. For a finished piece around 3 inches square, you're looking at a pretty modest amount of yarn total. I'd estimate somewhere in the range of 50 to 80 meters across all three color uses (bottom, top, and flower), but grab a little extra if you're swatching or expect to frog a round or two.
- 2.50 mm Crochet Hook: A 2.50 mm is a good match for DK cotton at this scale. It keeps the fabric tight enough that the box walls stay firm and hold their shape, which really does matter when you're making something structural.
- Also needed: yarn needle, scissors
Color Sequence & Yarn Changes
The pattern uses one color for the bottom, a second for the top, and a third for the flower, so you'll be working each section as its own thing rather than carrying colors up through the piece. Weave in your ends as you finish each color section and you'll have very little cleanup left at the end.
Pattern Overview
A small crocheted storage box worked in cotton DK, sized to sit neatly on a desk or shelf.
| Skill Level | Easy |
| Pattern Gauge | Gauge is not critical for this project. Use a hook size that creates a firm fabric so the box holds its shape. |
| Finished Size | 3" x 3" approx. |
| Yarn Weight | 3 Light / DK |
| Fiber | Cotton |
| Terminology | US |
Stitches & Abbreviations
Nothing unusual here — mostly single crochet with a few extras.
- BLO = back loop only
- ch = chain
- dc = double crochet
- ea = each
- mc = magic circle
- rnd = round
- sc = single crochet
- sl st = slip stitch
- st(s) = stitch(es)
- tr = treble crochet (US)
Before You Begin
This pattern is written in US terminology. Gauge isn't something to stress over here, but the firmness of your fabric does matter. If the sides are floppy, go down a hook size. Cotton is less forgiving than acrylic when it comes to drape, so it tends to behave well for structured projects like this one. The box is worked in rounds, and the sharp corners of the base come from working into a foundation chain rather than a magic circle. The walls build up from there, with BLO rounds used to create that crisp right-angle transition from base to sides.
Let's Make the Small Gift Box Crochet Pattern
This small gift box crochet pattern comes together in three separate pieces: the bottom, the lid, and a little flower to finish it off.
The Bottom of the Box
The bottom is the deeper of the two pieces. I work a flat circle first, then rejoin the yarn around the posts to build up the sides — that post round is what gives the base its clean, structured edge.
Round 1: Work 10 sc into mc or ch 4 loop, pull to tighten, sl st to join. [10 sc]
Round 2: Ch 2, 1 dc in same st as ch-2, 2 dc in next st and in ea st around, sl st in top of ch-2 to join. [20 dc]
Round 3: Ch 2, 2 dc in next st, 1 dc in next st, 2 dc in next st, repeat from * to * until end, sl st in top of ch-2 to join. [30 dc] Fasten off and tie in all tails.
Round 4: Rejoin yarn around any dc post from Round 3 and ch 2, 1 dc around each dc post from Round 3 around, sl st in top of ch-2 to join. [30 dc] Working around the posts rather than into the tops of the stitches is what creates the sharp right angle between the base and the walls — take your time placing these correctly.
Round 5: Ch 2, 1 dc in ea st around, sl st in top of ch-2 to join. [30 dc]
Round 6: Ch 2, 1 dc in ea st around, sl st in top of ch-2 to join. [30 dc]
Round 7: Ch 2, 1 dc in ea st around, sl st in top of ch-2 to join. [30 dc]
Round 8: Ch 2, 1 dc in ea st around, sl st in top of ch-2 to join. [30 dc] Fasten off and tie in all tails.
The Lid
The lid starts the same way as the bottom but gets one extra increase round to make it slightly wider so it can sit over the box. That final round worked in the back loops only is what creates the little lip that lets the lid rest in place.
Round 1: Work 10 sc into mc or ch 4 loop, pull to tighten, sl st to join. [10 sc]
Round 2: Ch 2, 1 dc in same st as ch-2, 2 dc in next st and in ea st around, sl st in top of ch-2 to join. [20 dc]
Round 3: Ch 2, 2 dc in next st, 1 dc in next st, 2 dc in next st, repeat from * to * until end, sl st in top of ch-2 to join. [30 dc]
Round 4: Ch 2, 1 dc in next st, 2 dc in next st, 1 dc in next 2 sts, 2 dc in next st, repeat from * to * until end, sl st in top of ch-2 to join. [40 dc]
Round 5: BLO for this round, ch 2, 1 dc in ea st around, sl st in top of ch-2 to join. [40 dc] Fasten off and tie in all tails. Working into the back loops only here leaves the front loops exposed, forming the ridge that the lid rests on when placed over the bottom.
The Flower
This little flower is a quick finish for the top of the lid. Five petals, each shaped by a sc-dc-tr-dc-sc sequence, come together in just two rounds.
Round 1: Work 10 sc into mc or ch 4 loop, pull to tighten, sl st to join. [10 sc]
Round 2: [1 sc, 1 dc, 1 tr] in next st, [1 tr, 1 dc, 1 sc] in next st, repeat from * to * until end to make five petals, sl st in next st regardless of round and fasten off. Use tails to sew and tie into place on the top of your box. Each pair of stitches works together to form one petal, so make sure you're starting each new petal in the right stitch as you go around.
Care Instructions
Cotton holds up well to washing, but a small decorative box like this can lose its shape if you're not careful. I'd hand wash it in cool water and reshape it while it's still damp, then let it dry flat or stuff it loosely with tissue paper so the walls stay upright as it dries. The flower is sewn on with yarn tails, so avoid wringing or twisting the top piece. Once it's fully dry, it should snap right back to its boxy shape.
Frequently Asked Questions
What is the purpose of working Round 4 of the bottom around the dc posts instead of into the tops of the stitches?
That round is what creates the flat base and the right-angle turn up into the walls of the box. Working around the posts rather than into the stitch tops lets the sides stand up cleanly instead of flaring out. It's one of those steps that feels a little odd the first time, but once you see it take shape you'll understand exactly why it's done that way.
Why does Round 5 of the top lid use BLO?
Working into the back loops only on that round creates a small ridge on the outside edge of the lid. That ridge is what gives the top its finished, defined edge and helps it sit over the bottom box neatly. Skip the BLO and the edge will look much less crisp.
How is the flower attached to the lid?
The flower is made separately in two rounds and then sewn onto the top of the lid using the yarn tails left after fastening off. There's no button or separate embellishment involved. Just thread the tails onto your yarn needle and stitch it down securely so it doesn't shift around.
The pattern says to fasten off and rejoin for Round 4 of the bottom. Is that really necessary?
Yes, and it matters. Fastening off after Round 3 and rejoining around the posts for Round 4 is what allows the sides to pivot upward at a clean 90-degree angle. If you try to continue without rejoining, you won't be working around the posts the same way and the base-to-wall transition won't work correctly.
The finished size is about 3 inches. Can I make it bigger?
Going up in hook size or yarn weight will give you a larger box, and the construction will still work the same way. A DK weight on a 2.5 mm hook gives that tight, structured fabric that holds the box shape. If you go up to a worsted weight and a larger hook, the box will be softer and a bit more relaxed, so keep that in mind depending on what you want it to hold.
Final Thoughts
This little box is one of those projects that looks more complicated than it is, and I love that about it. The post-stitch pivot for the walls is the kind of technique that clicks into place the moment you do it, and then you want to use it on everything. If you make one, I'd love to see it over on Instagram or Pinterest. Tag me so I can see what colors you chose, because honestly the color combinations people come up with always surprise me. Drop any questions in the comments below too. I check them regularly and I'm happy to help if anything in the construction trips you up.


Leave a Reply