
This Rose Flower Crochet Pattern has been a really satisfying one to work through. It's a quick home decor project that comes together fast, and the construction is more interesting than you might expect for something so compact. If you've been looking for a simple floral piece to add a handmade touch somewhere in your space, this is a good one to try.

Jump to:
About This Project
What I find most satisfying about this one is the way the flower and the leaf are worked as two separate pieces. You build each part on its own, and then you bring them together at the end. It gives the whole thing a really clean, intentional feel. I like that approach a lot. It means you can adjust, reposition, and get the final look exactly where you want it before you commit.
This is the kind of piece I'd make for someone's home, a small gift, or just to have something handmade sitting on a shelf. It doesn't need a special occasion. (I think those are sometimes the best things to make, honestly.) It's easy enough that you're not going to stress over it, but the finished result looks considered and put-together.
Why This Pattern Stands Out
Two simple pieces, one really lovely finished flower you'll actually want to display.
- Skill level: This is rated easy, so beginners can take it on without feeling overwhelmed.
- Quick to finish: The small scale means you're not committing to a long project, which makes it a great one to pick up when you want a fast win.
- Two-part construction: The flower and leaf are made separately, so you get to practice two distinct little builds in one project.
- Gifting potential: Small, handmade, and decorative, it's the kind of thing people are genuinely pleased to receive.
- Technique value: The coiled, layered construction of the flower is a fun technique to learn and one you'll find yourself coming back to in other projects.
Materials You'll Need
Two colors, one hook, and a tapestry needle for finishing — that is the whole list.
- Worsted Weight Wool-Alpaca Yarn (65% Wool, 35% Alpaca): A wool-alpaca blend at worsted weight is a solid choice for a project like this. The wool gives the fabric enough structure to hold its shape, and the alpaca softens it so the finished piece doesn't feel stiff or scratchy. You'll need 50 g of red for the flower and 50 g of olive for the leaf. Because both pieces are worked back and forth rather than in the round, a yarn with a bit of memory — which wool-alpaca blends have — keeps the flat sections from going floppy.
- 4 mm / G6 Crochet Hook: A 4 mm hook is the right call for worsted weight at this scale. It keeps the stitches tight enough that the pieces hold their shape without feeling like you're fighting the yarn the whole time.
- Also needed: tapestry needle
Yarn Substitutes
Wool-alpaca blends aren't always easy to find at every shop, so here are a couple of worsted weight options that will get you similar results.
- Worsted Weight Merino: A 100% merino worsted is probably the easiest swap. It's widely available, comes in a huge range of colors, and has enough elasticity to behave well in flat, back-and-forth sections. Most skeins run around 200 yards per 100 g ball, so one ball split between your two colors is plenty.
- Worsted Weight Wool-Acrylic Blend: If you want something more budget-friendly or easier to care for, a wool-acrylic blend works fine here. You lose a little of the softness that alpaca brings, but the structure is comparable and the stitch definition is usually quite good. Same yardage applies — 50 g of each color is enough.
Color Sequence & Yarn Changes
The flower and leaf are worked as completely separate pieces, so there are no mid-project color changes to manage. Just leave longer yarn ends than you think you need when finishing each piece — the pattern will have you use those ends for assembly, and it's much easier than threading in a new length later.
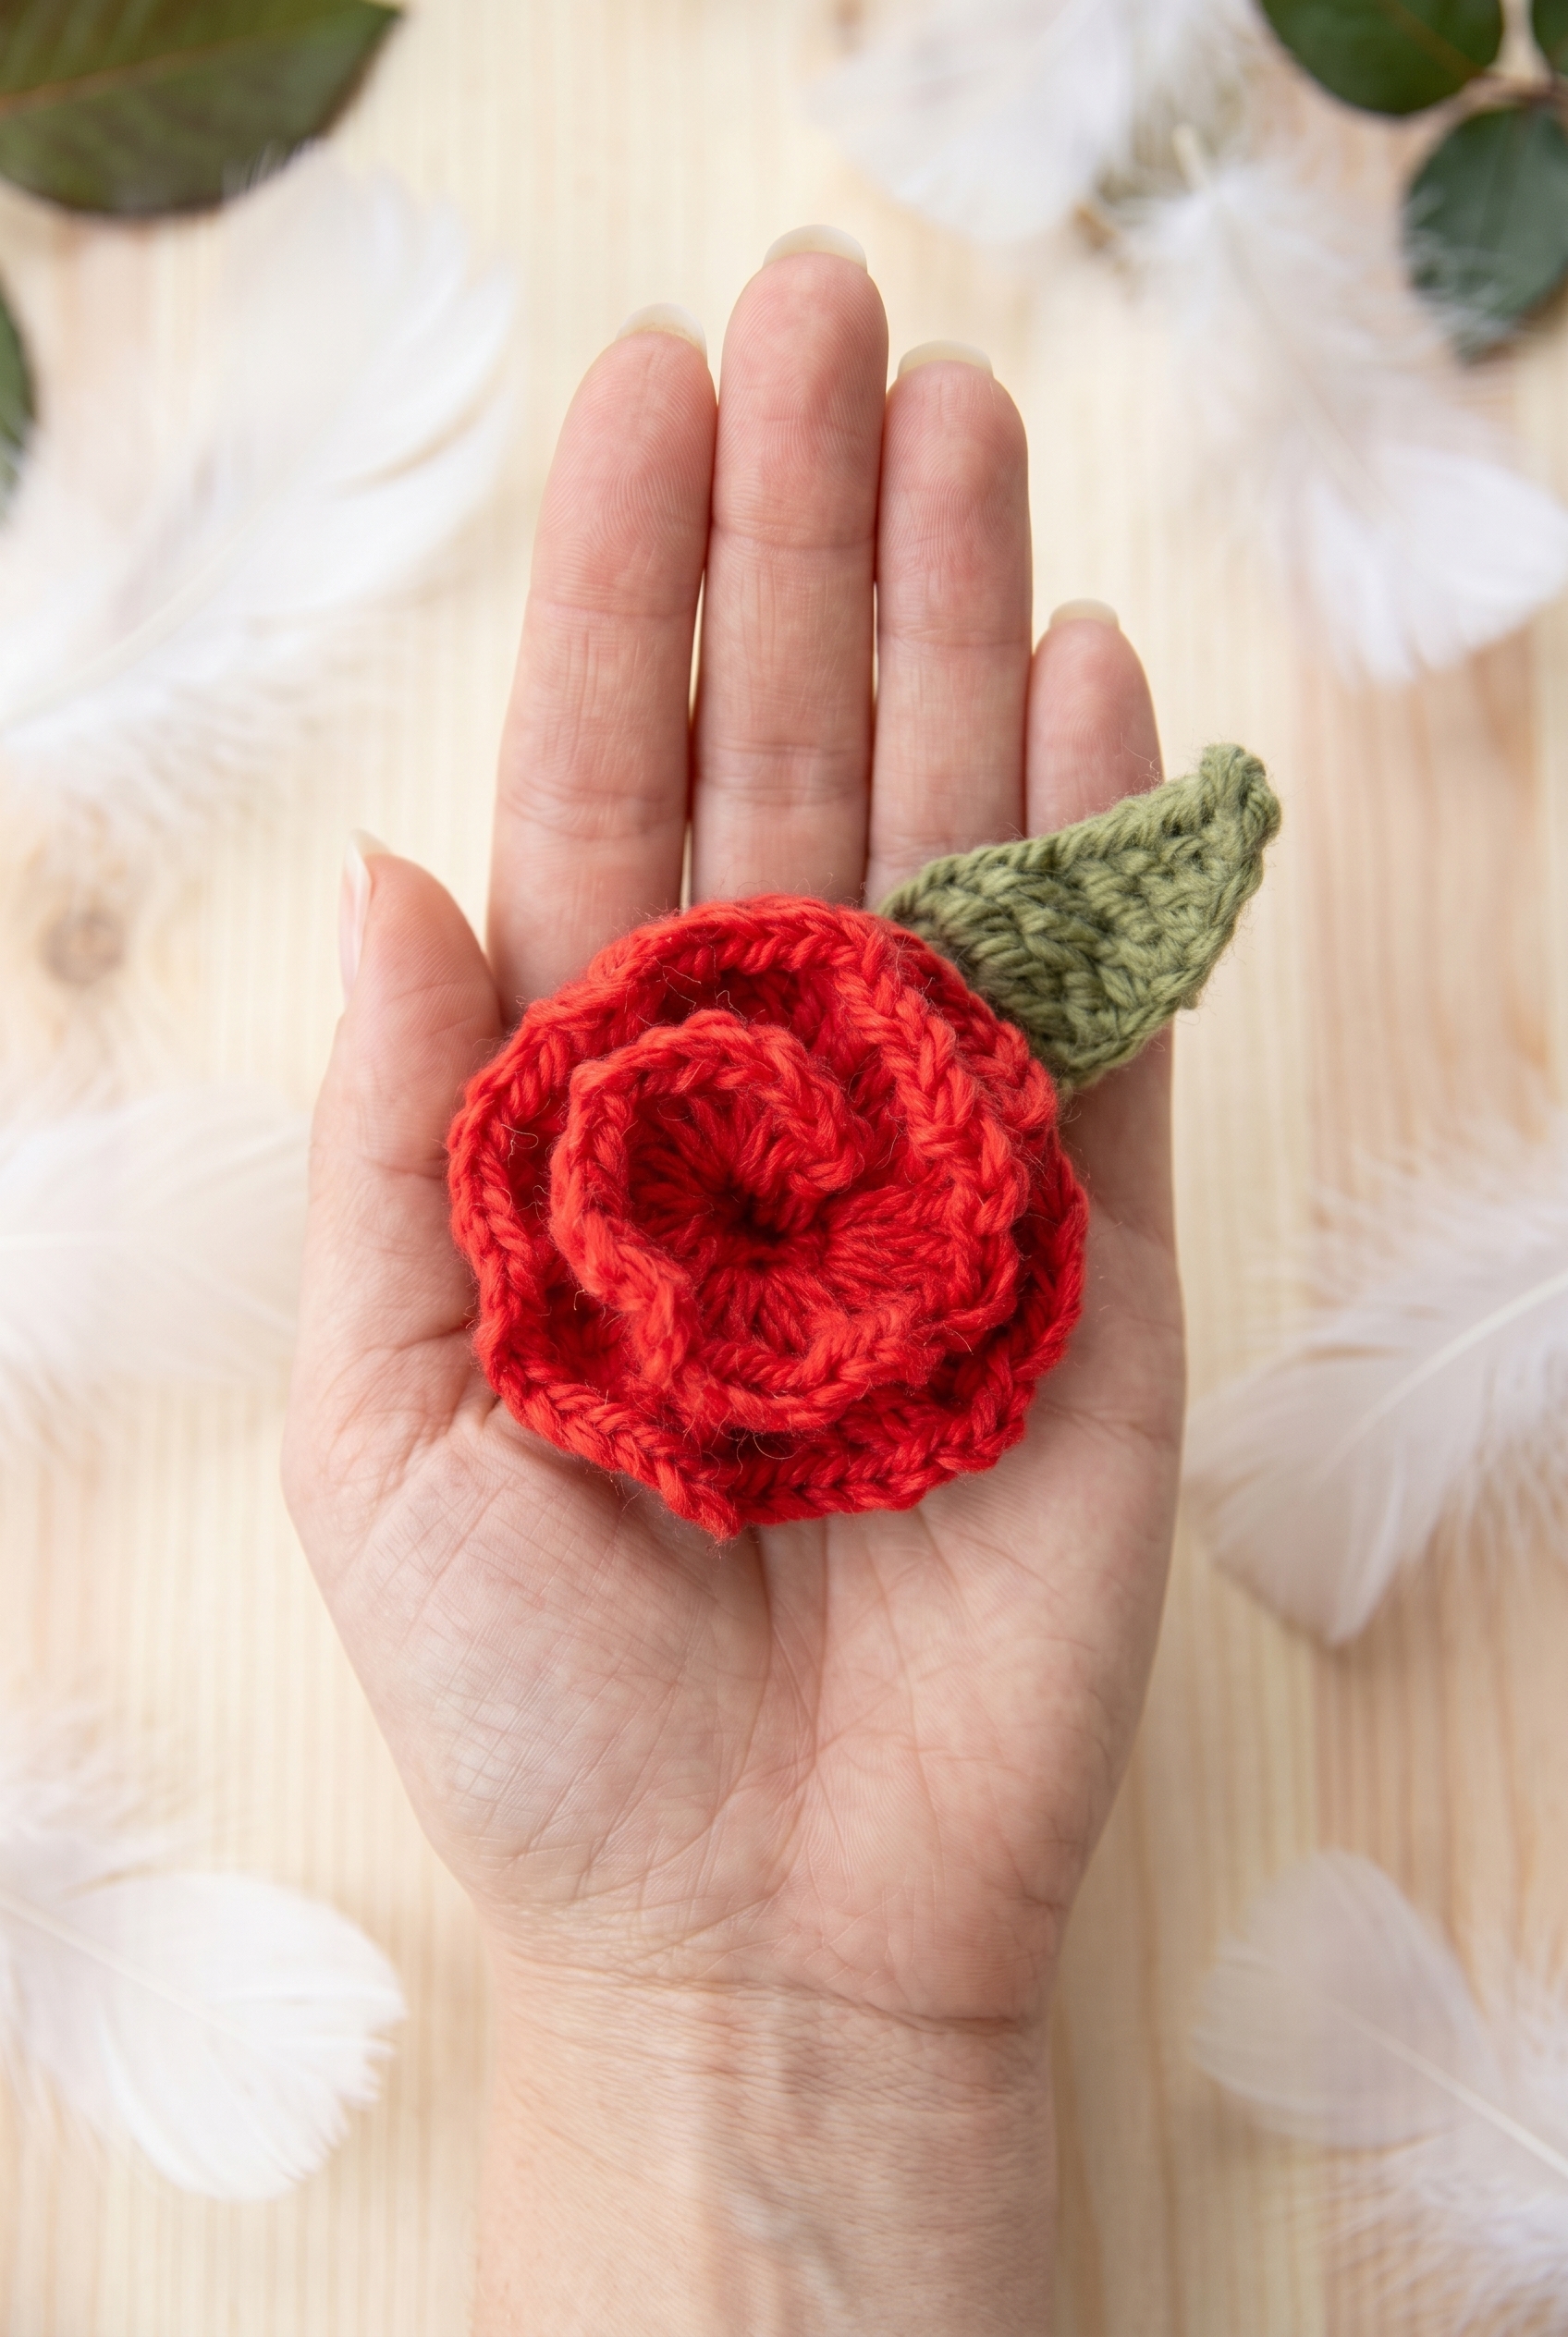
Project Summary
Both the flower and leaf are worked flat and assembled, so you can mix and match colors as you go.
| Skill Level | Easy |
| Pattern Gauge | Gauge is not critical for this project. Use a hook size that creates a firm fabric and a flower/leaf size you like. |
| Yarn Weight | 4 Medium / Worsted |
| Fiber | 65% Wool, 35% Alpaca |
| Terminology | US |
Stitches & Abbreviations
Standard stitches throughout, nothing unusual here.
- beg = beginning
- ch = chain
- dc = double crochet
- hdc = half double crochet
- sc = single crochet
- sl st = slip stitch
- st = stitch
- tog = together
- tr = treble crochet (US)
Helpful Tips
Both the flower and the leaf are worked back and forth in rows, not in the round. When you finish each piece, leave a yarn tail long enough to use for assembly. Don't cut it short and hope for the best. Those tails are how everything gets joined together, so the pattern will tell you exactly what to do with them. Since gauge isn't critical here, just aim for a fabric that feels firm and holds its shape. A looser tension will give you a floppy result, so if that's happening, drop down a hook size.
Crochet Instructions
This rose flower crochet pattern comes together in just two small pieces — a spiraling flower and a simple leaf.
The Flower
The flower is worked in two rows. Start by chaining 15 with red, and leave a yarn end of approximately 10 cm / 4" at the beginning — you'll need it later to assemble the flower. The magic of this piece is that those two rows, once coiled, become a full rose.
Row 1: 1 sc in 4th ch from hook, ch 1, *1 sc in next ch, ch 1* repeat around and finish with 1 sc, ch 1, and 1 sl st in last ch. Turn. That chain-1 space at the end of Row 1 is important — Row 2 will finish with a slip stitch back into it, so keep track of where it is.
Row 2: Ch 2, in 1st ch from previous row work 4 dc, ch 1, then work 5 dc, ch 1 in each of the next 4 ch, 6 tr, ch 1 in each of the next 6 ch. Finish with 5 tr, ch 3, and 1 sl st in ch-space made at beg of Row 1. Notice how the stitch height increases as you move along the row — from double crochets into trebles — and that's what gives the strip its natural curl into a rose shape when assembled.
Cut yarn approximately 15 cm / 6" long and use it for assembly.
The Leaf
The leaf is a single row worked back along a foundation chain. Chain 10 with olive, then turn and work back in the chain row with 1 stitch in every chain as follows.
Row 1: 1 sc in 2nd ch from hook, 1 hdc, 1 dc, 1 tr, 1 tr, 1 dc, 1 hdc, 1 sc, and finish with 1 sl st in last ch. Like the flower, the stitch heights shift across the row — shorter at the tip, taller in the middle, shorter again at the base — and that's what shapes the leaf without any additional shaping rounds.
Cut the yarn and tie the yarn ends tightly together.
Putting It All Together
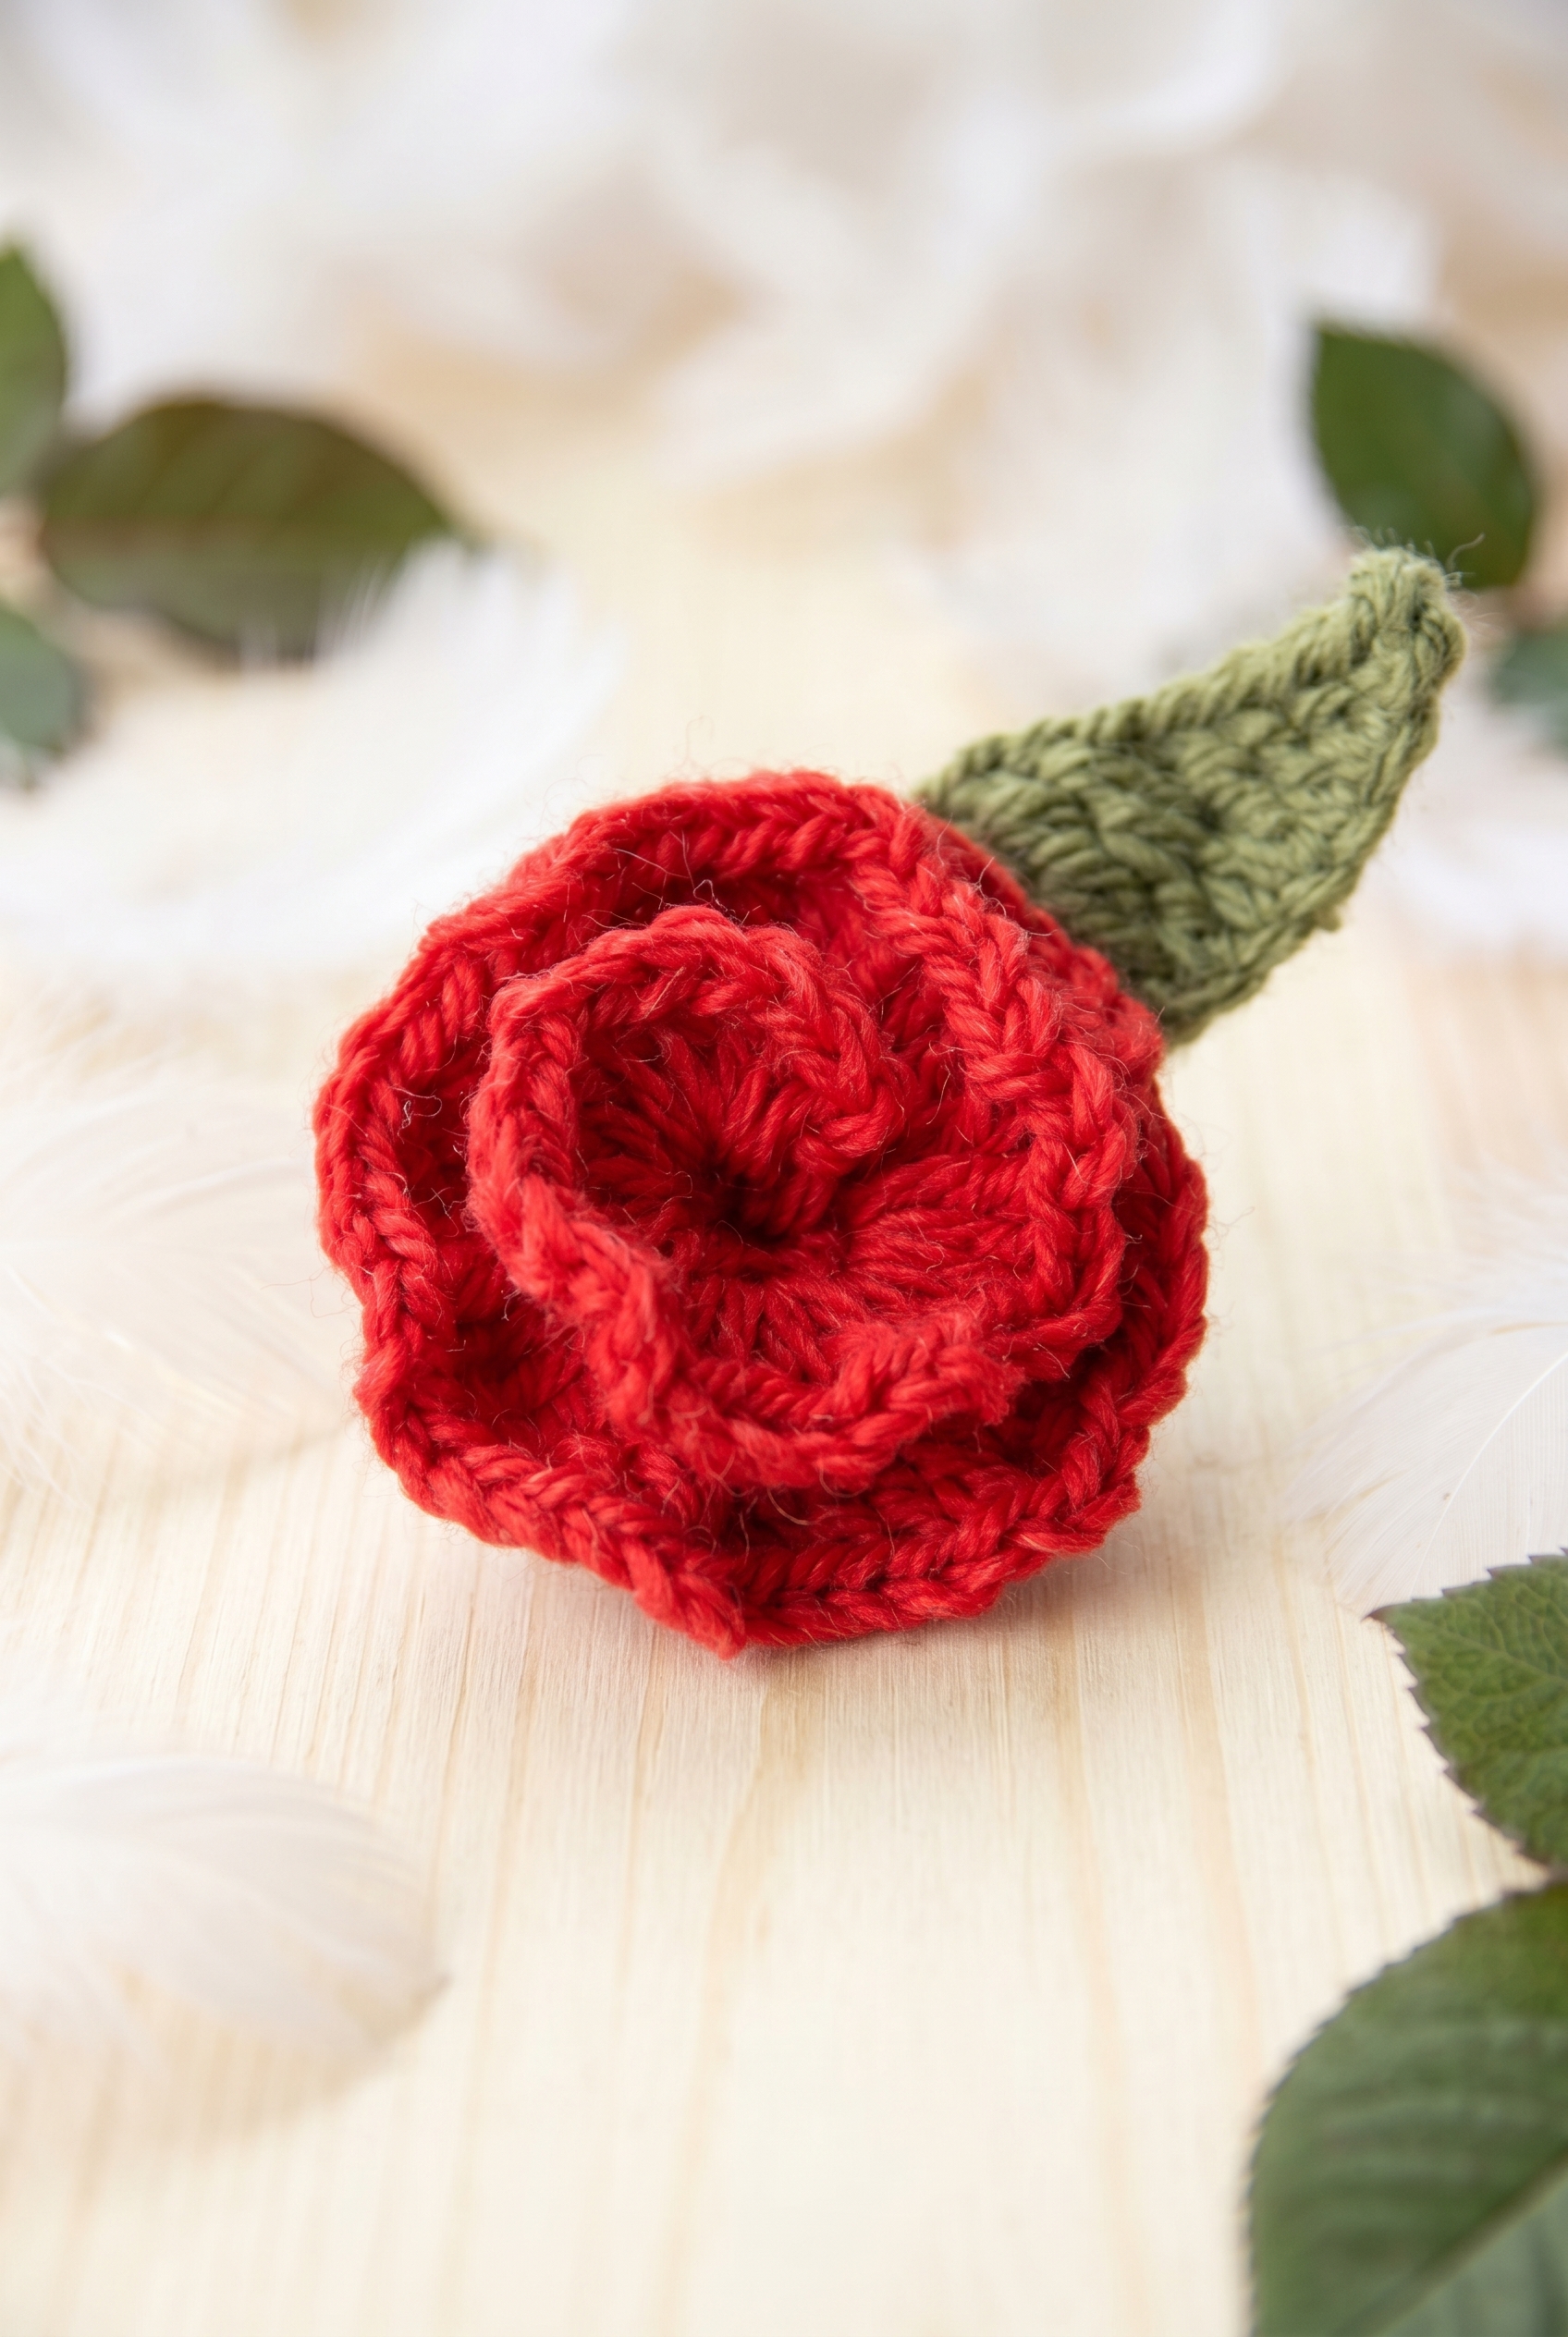
Now that both pieces are finished, it's time to coil and assemble the flower. The strip has a natural spiral shape — when you roll it up, the beginning of Row 2 should sit in the middle of the flower. I hold the center in place with my fingers while I thread the long yarn end left from the cast-on tail through a needle, then pass it down through the middle of the flower to anchor everything. Once it's through, tie the yarn ends together on the back, fasten tightly, and cut. The leaf can be positioned underneath the flower and tacked in place using its own tied ends.
Frequently Asked Questions
How does the flat strip become a rose shape?
The flower starts as a flat crocheted strip worked back and forth in two rows. Row 2 builds up taller stitches as you work across, going from double crochets at the beginning to trebles toward the end. That graduated height is what causes the strip to curl into a spiral when you coil and sew it together, with the beginning of Row 2 sitting in the center of the finished flower.
Why does the pattern tell me to leave long yarn ends?
Both pieces need those tails for assembly. The flower uses a long starting tail to thread down through the center and hold the spiral shape in place, and the finishing tail secures everything on the back. The leaf ends get tied tightly together. Cutting them short before assembly makes the finishing step much harder, so leave them as instructed.
Can I use a different fiber for this rose?
You can, though the 65% wool and 35% alpaca blend gives the petals a soft drape that helps the strip coil naturally. A stiffer acrylic might not spiral as easily and could make the flower look a bit flat. If you want to swap yarns, something with at least some natural fiber content will give you a better result.
How much yarn do I actually need for one flower and leaf?
50 g of red for the flower and 50 g of olive for the leaf. Both pieces are small and work up quickly, so you won't use anywhere near a full skein of either color. That said, having the full 50 g on hand means you're not scrambling if you want to make a few extras.
The flower isn't holding its spiral shape after assembly. What went wrong?
The most common cause is not pulling the center thread tight enough before securing it. When you thread the starting tail down through the middle of the coiled flower, pull it firmly so the layers sit snug against each other, then tie the ends on the back as tightly as you can before cutting. A loose knot there is usually what lets it loosen up over time.
Before You Go
I'd love to see how your rose turns out, especially if you play around with color combinations beyond the classic red and olive. Pin this pattern to your floral crochet board so you can find it again, and if you make one, drop a photo in the comments or tag me on social media. And if the spiral gave you any trouble, leave a comment below. Someone else is probably wondering the same thing.


Leave a Reply