
Fall decorating season is honestly one of my favorite excuses to pick up a hook, and this Pumpkin Coaster Crochet Pattern has become one of my go-to quick makes for the season. It's a small project that finishes fast, and it's the kind of thing you can whip up while watching a movie without losing your place.

Jump to:
Behind the Pattern
What I really like about this one is how much personality it packs into such a small project. The construction is satisfying in a way that's hard to explain until you're actually working it. You build the whole thing in rounds from the center out, and by the time you add the little stem at the top, it just CLICKS into place as this complete, finished thing. That moment never gets old.
I'd make a stack of these as a housewarming gift for anyone who loves fall. They also work really well as a set for a seasonal tablescape, or honestly just to have something cheerful sitting under your coffee mug in October.
Why You'll Love This Pattern
A fast, festive make that actually gets used all season long.
- Beginner friendly: This is an easy-level pattern, so if you're still building confidence with crochet, this is a pretty solid project to try.
- Quick to finish: It's a coaster. You're not committing to a weekend project here. Most people can finish one in a single sitting.
- Great for gifting: Make a few and bundle them together. They're the kind of small, thoughtful gift that people actually keep out and use.
- Seasonal replay value: Pull them out every fall and they still feel fresh. A small project with a long life in your home.
- Technique practice: Working in rounds from a center ring is a foundational crochet skill, and this pattern gives you a low-stakes way to get comfortable with it.
Materials You'll Need
Two colors and a short notions list — that is really all there is to it.
- Bulky Weight Yarn (Weight 5), Orange and Green: A bulky weight acrylic works well here because it works up fast and holds its shape without a lot of fuss, which matters for a small round shape like a pumpkin. I go with a smooth yarn rather than anything textured so the stitch definition stays clean. Yardage isn't listed in the pattern, but for a small amigurumi pumpkin you're probably looking at somewhere around 20 to 40 yards of orange and just a small amount of green for the stalk, so scraps can absolutely do the job.
- 6.00 mm Crochet Hook: This size pairs well with a weight 5 yarn and keeps your tension firm enough that the stuffing won't show through the stitches.
- Also needed: yarn needle, scissors
Color Sequence & Yarn Changes
Orange carries the first four rounds, then green joins at Round 4 and takes over for the stalk. The color codes used throughout are O for orange and G for green, so keep that in mind as you read through the rounds. When you join green, weave in your orange end before things get too tight to reach.
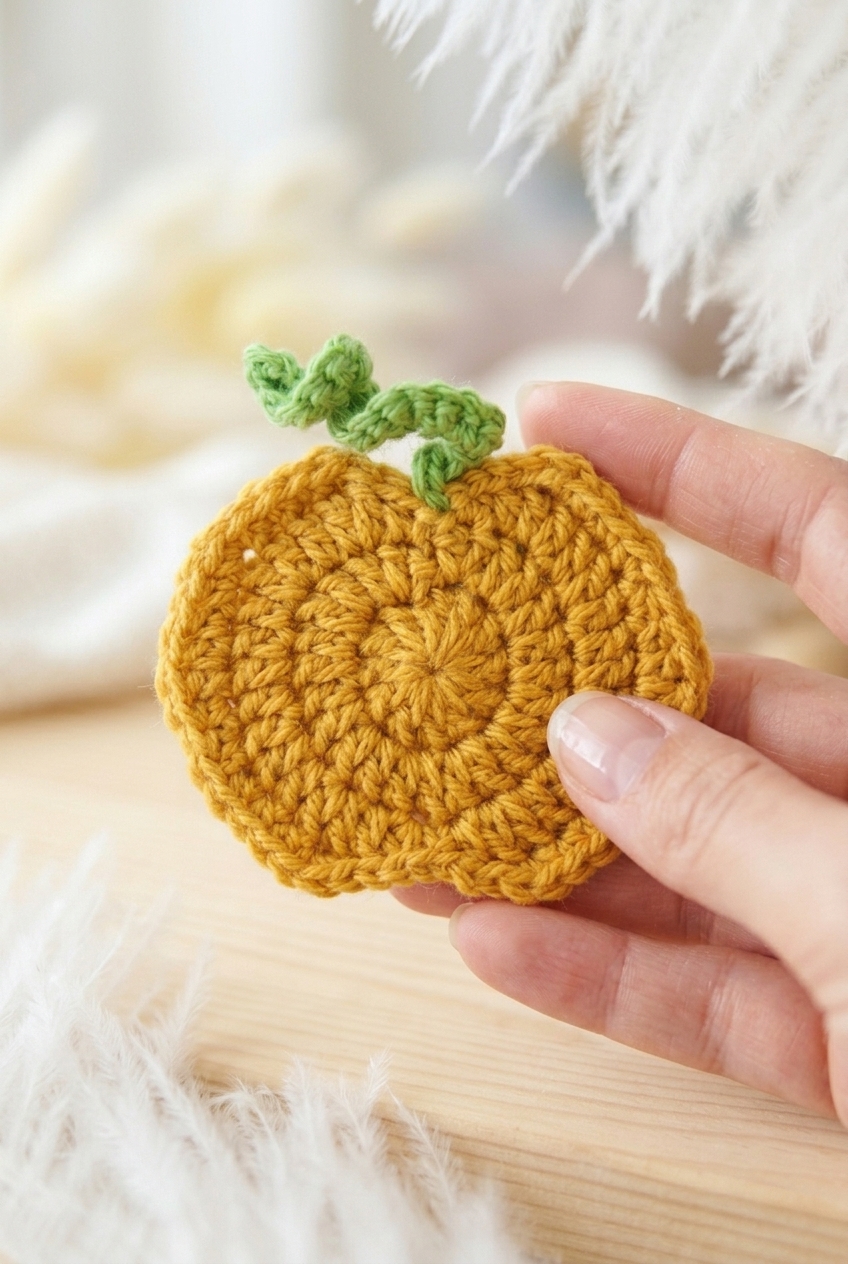
Project Summary
A two-color bulky coaster worked in joined rounds, sized to actually hold a mug without sliding around.
| Skill Level | Easy |
| Pattern Gauge | Gauge is not critical for this project. Use a hook size that creates a firm fabric so the coaster lies flat and holds its shape. |
| Finished Size | Approx. 4.5–5 in (11.5–12.5 cm) diameter coaster (estimated from bulky yarn + 6.00 mm hook and stitch counts). |
| Yarn Weight | 5 Bulky |
| Terminology | US |
Stitch Guide & Abbreviations
All standard stitches here, nothing unusual.
- ch = chain
- st(s) = stitch(es)
- sl st = slip stitch
- sc = single crochet
- hdc = half double crochet
- dc = double crochet
- * * = repeat between * * as instructed
- ch-1 sp = chain-1 space
Read Before Starting
This coaster is worked in joined rounds, so at the end of each round you'll slip stitch to close and then chain up to begin the next. I use two colors throughout: O for orange and G for green. When the instructions call for O or G, that's your cue to switch or continue with that color. Keep your tension consistent round to round. Bulky yarn at a 6.00 mm hook can get sloppy fast if you're not watching it, so if your coaster is curling up at the edges or going floppy in the center, adjust your hook size before you get too far in. Tighter is better here.
The Pattern
Here's how I work this pumpkin coaster from the center out, finishing with a little stem in green.
Pumpkin Body
This is the main piece of the coaster. It starts at the center and grows outward in rounds, building the ribbed, lobed shape that makes it read as a pumpkin.
Round 1: With O, ch 4, sl st in first ch to form a loop, 12 dc in center of loop, sl st in first dc to join. [12 dc] Ch 1. Working into the center of a chain loop rather than individual stitches gives you a clean, tight center with no gap.
Round 2: Starting in same st as previous sl st, 2 dc in each st around, sl st in first dc to join. [24 dc] Ch 1.
Round 3: Starting in same st as previous sl st, 1 hdc, 2 dc in next st, 1 dc in next st, 2 dc in next st, repeat from * to * 3 more times, 1 dc in next st, [1 hdc, ch 1, sl st] in next st, sl st in next st, ch 1, 1 hdc in next st, 2 dc in next st, repeat from * to * 4 more times, 1 dc in next st, [1 hdc, ch 1, sl st] in next st. [40 sts] This round is where the pumpkin lobes start to form. The ch-1 and sl st combinations create the indentations between sections, so take your time reading through each segment before you start.
Round 4: Sl st in next ch-1 sp, sl st in next 2 sts, 2 sc in next st, 1 sc in next 2 sts, 2 sc in next st, 1 hdc in next 2 sts, 2 dc in next st, 1 hdc in next 2 sts, 2 sc in next st, 1 sc in next 2 sts, 2 sc in next st, sl st in next 2 sts, sl st in next ch-1 sp, sl st in next 2 previous sl sts, sl st in next ch-1 sp, sl st in next 2 sts, 2 sc in next st, 1 sc in next 2 sts, 2 sc in next st, 1 hdc in next 2 sts, 2 dc in next st, 1 hdc in next 2 sts, 2 sc in next st, 1 sc in next 2 sts, 2 sc in next st, sl st in next 2 sts, sl st in next ch-1 sp, sl st in last previous sl st, sl st in center to join, joining G. [51 sts] This is a long round. I find it helps to place a stitch marker at the start of each lobe section so I can track where I am. Join G at the very end of this round before you close off.
Stalk
Continuing in G, the stalk works off the center join point you just landed on. It's a quick chain-and-back construction that sits right at the top of the pumpkin.
Round 1: Continuing in G, ch 13, 2 sc in second ch from hook and in each ch along, sl st in center again to join. [24 sc] Working 2 sc into each chain along the length creates a filled, slightly dimensional stalk rather than a flat strip.
Fasten off and tie in all ends.
Care Instructions
Since these coasters actually get used, I'd lay them flat to dry after washing rather than tossing them in the dryer. Bulky yarn can pull out of shape when it's warm and wet, and a coaster that curls up at the edges doesn't sit flat under a glass. Hand washing in cool water works well, or a gentle machine cycle in a mesh bag if the yarn label allows it. Check the label on whatever yarn you used, since fiber content varies and care instructions follow from that.
Frequently Asked Questions
What does the finished coaster actually look like? Does it lie flat?
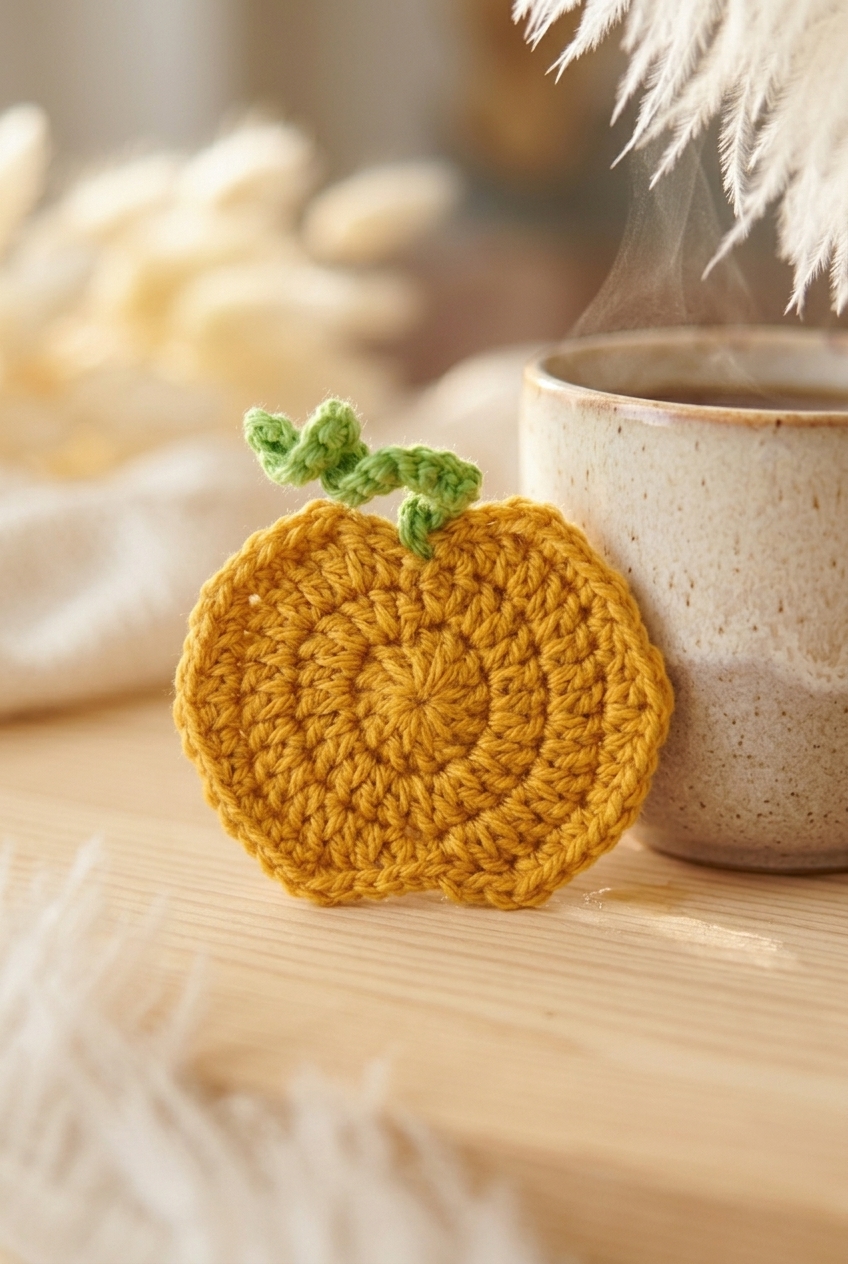
The coaster comes out roughly 4.5 to 5 inches across and has a distinct pumpkin shape with two lobes, thanks to the way Round 3 creates those indentations. It does lie flat. The slip stitches in Round 4 pull the edges in a bit and help the whole thing sit down nicely on a surface.
The stalk instruction says to chain 13 and work 2 sc in each chain. Why does it end up with 24 stitches?
You skip the first chain from the hook, so you're working into 12 chains total. Two sc in each of those 12 chains gives you 24 stitches. The doubled stitches make the stalk look fuller and a little more rounded rather than flat and thin.
When exactly do I switch to green yarn?
Green joins at the very end of Round 4. The last instruction in that round is to slip stitch into the center to join, and you bring in the green at that point. The stalk section then continues directly in green without fastening off the orange first.
Round 3 looks complicated. What's actually happening there?
Round 3 is building the two-lobe pumpkin shape. The pattern alternates between groups of hdc and dc increases and then uses a ch-1 with a slip stitch to create the indentation between lobes. It reads more complex than it works up. Go slowly and count your stitches at the end of the round. 40 stitches total is what you're aiming for.
Can I make a set of these quickly? How long does one take?
Each coaster is four rounds of orange plus a short stalk section, so a single coaster works up in under an hour once you've done one and understand the shaping in Round 3. A set of four for a table would be a comfortable weekend project, and they use so little yarn that you can likely get several out of a single skein of bulky.
Before You Go
These little pumpkin coasters are one of those projects I keep coming back to every fall, partly because they're fast and partly because they look SO good grouped together on a coffee table. If you make a set, I'd love to see them. Tag me on Instagram or drop a photo in the comments below. And if you're saving ideas for your autumn crochet list, this one pins really well for later.


Leave a Reply