
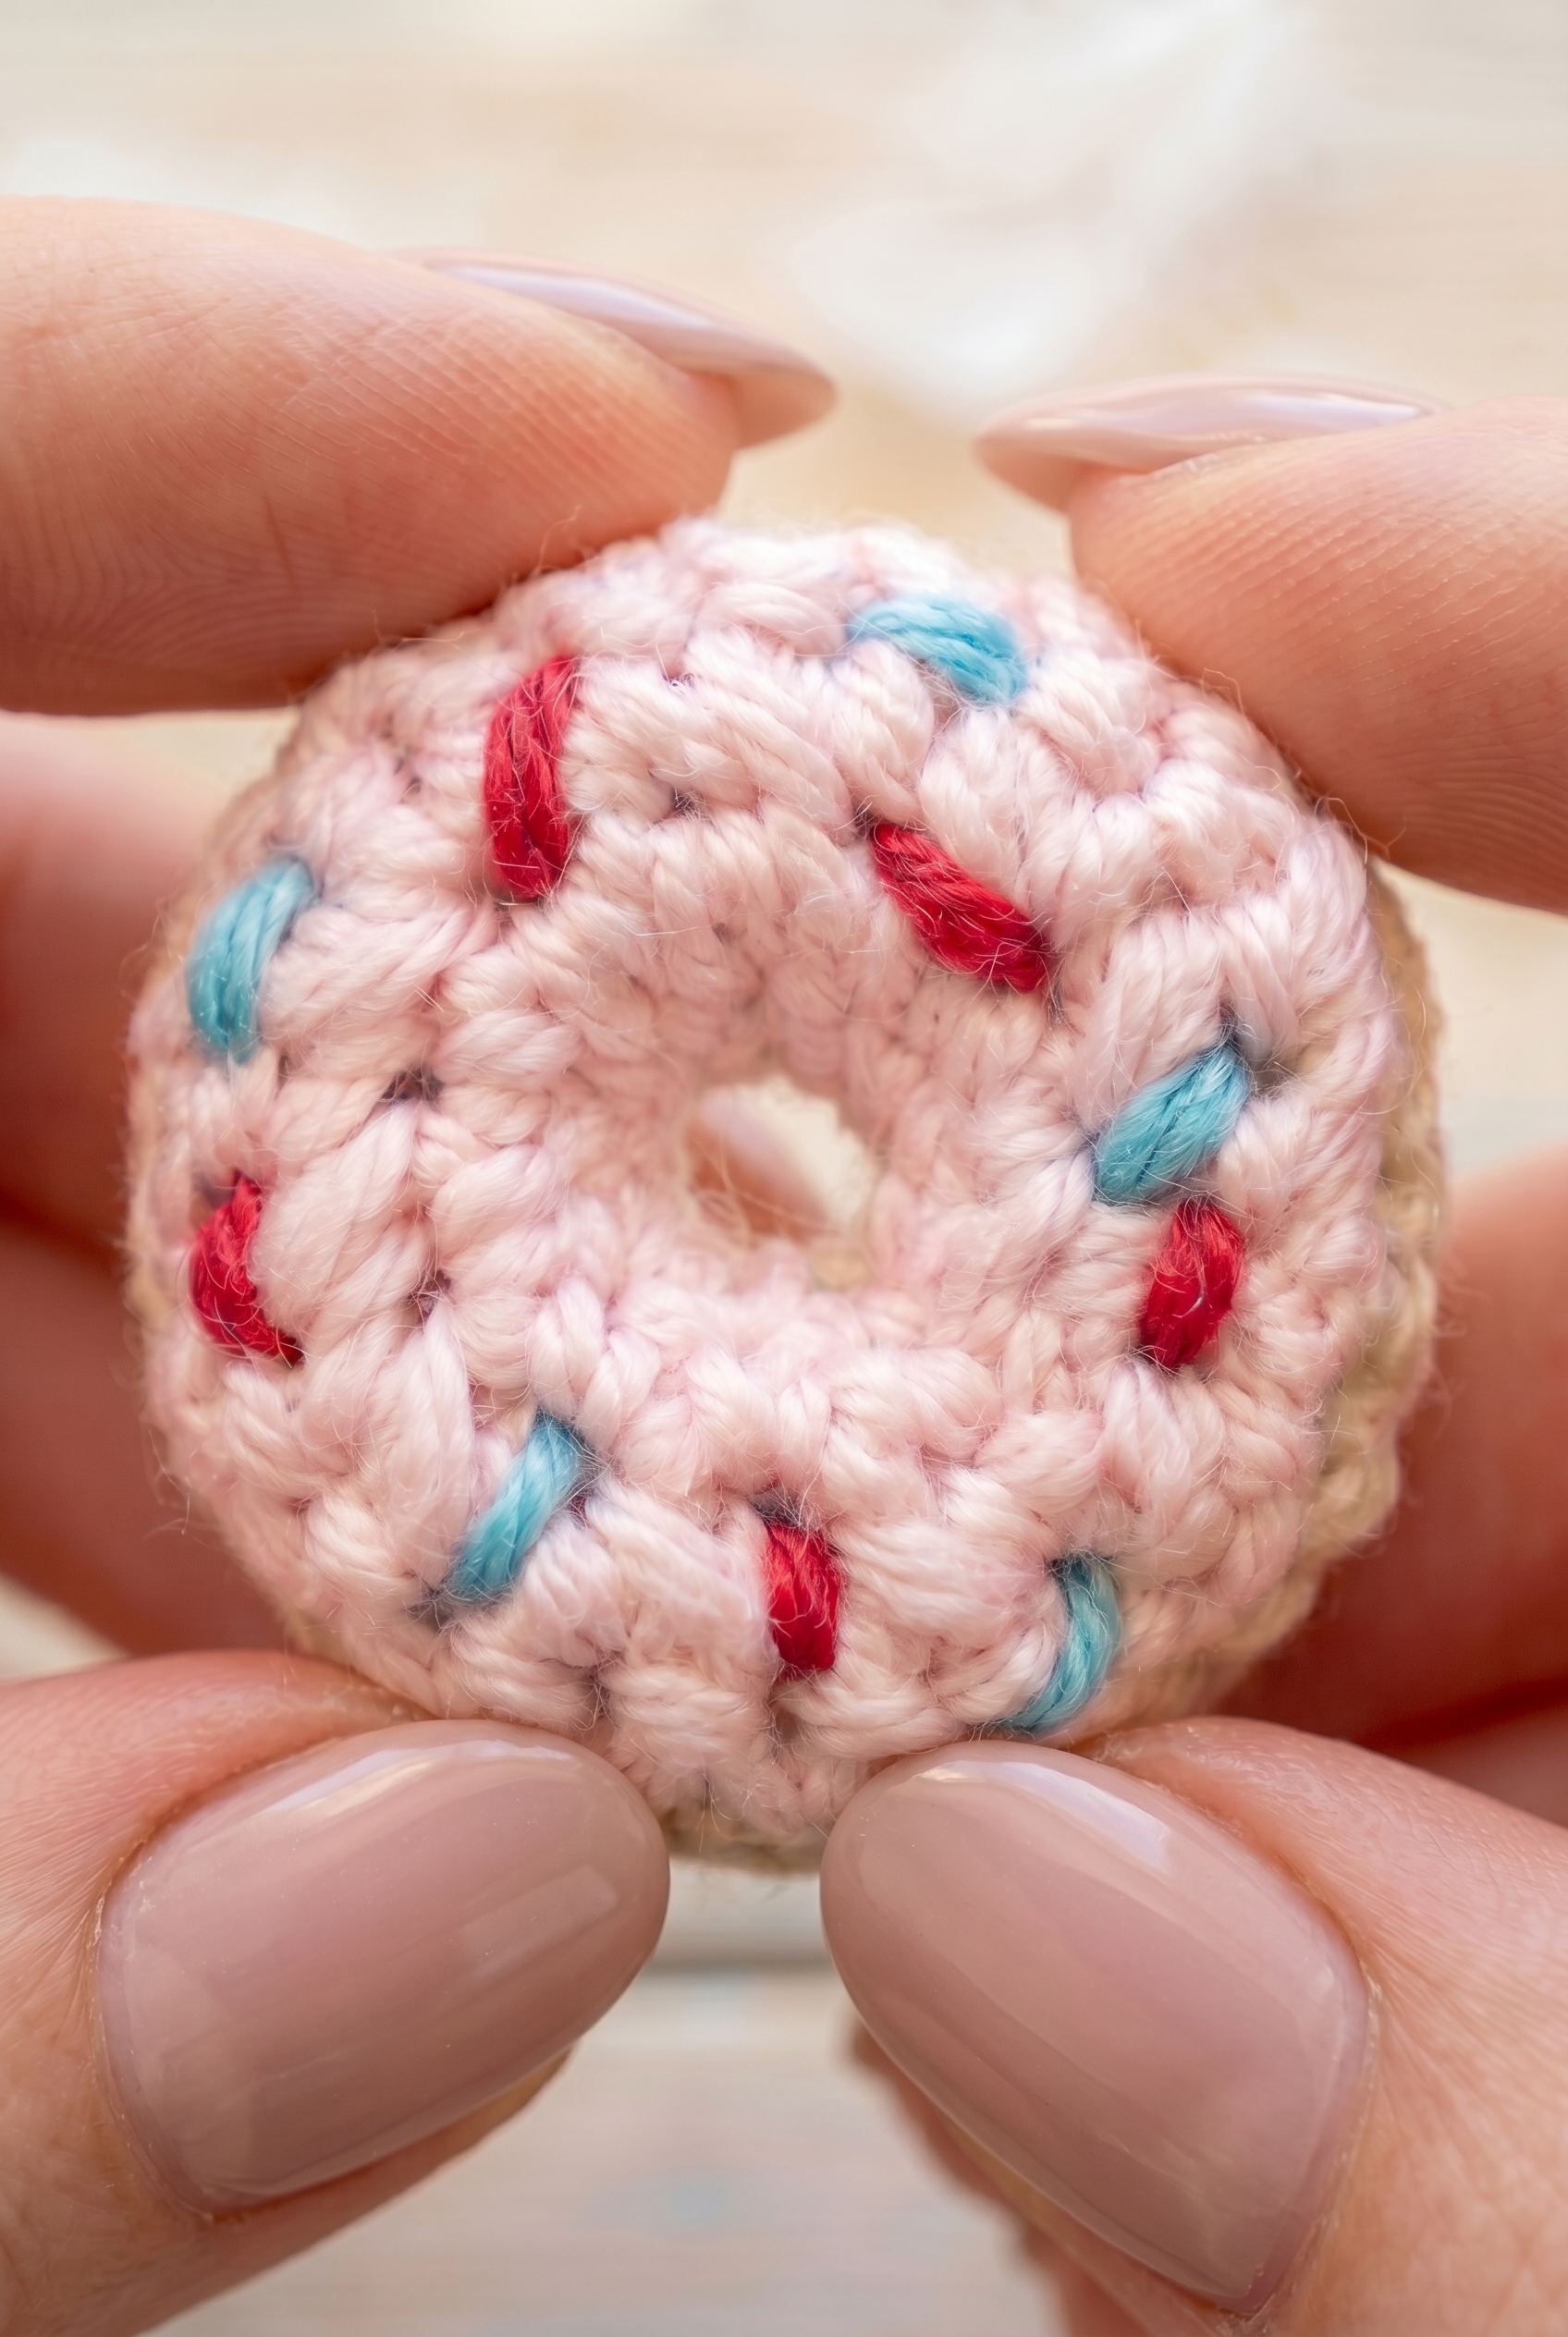
Mini Donut Crochet Pattern has been one of the most satisfying little things to work up. It's a beginner-friendly stuffed toy that comes together really fast, and the result is this compact, chunky little donut you'll want to make in every color combination you can think of.

Jump to:
About This Project
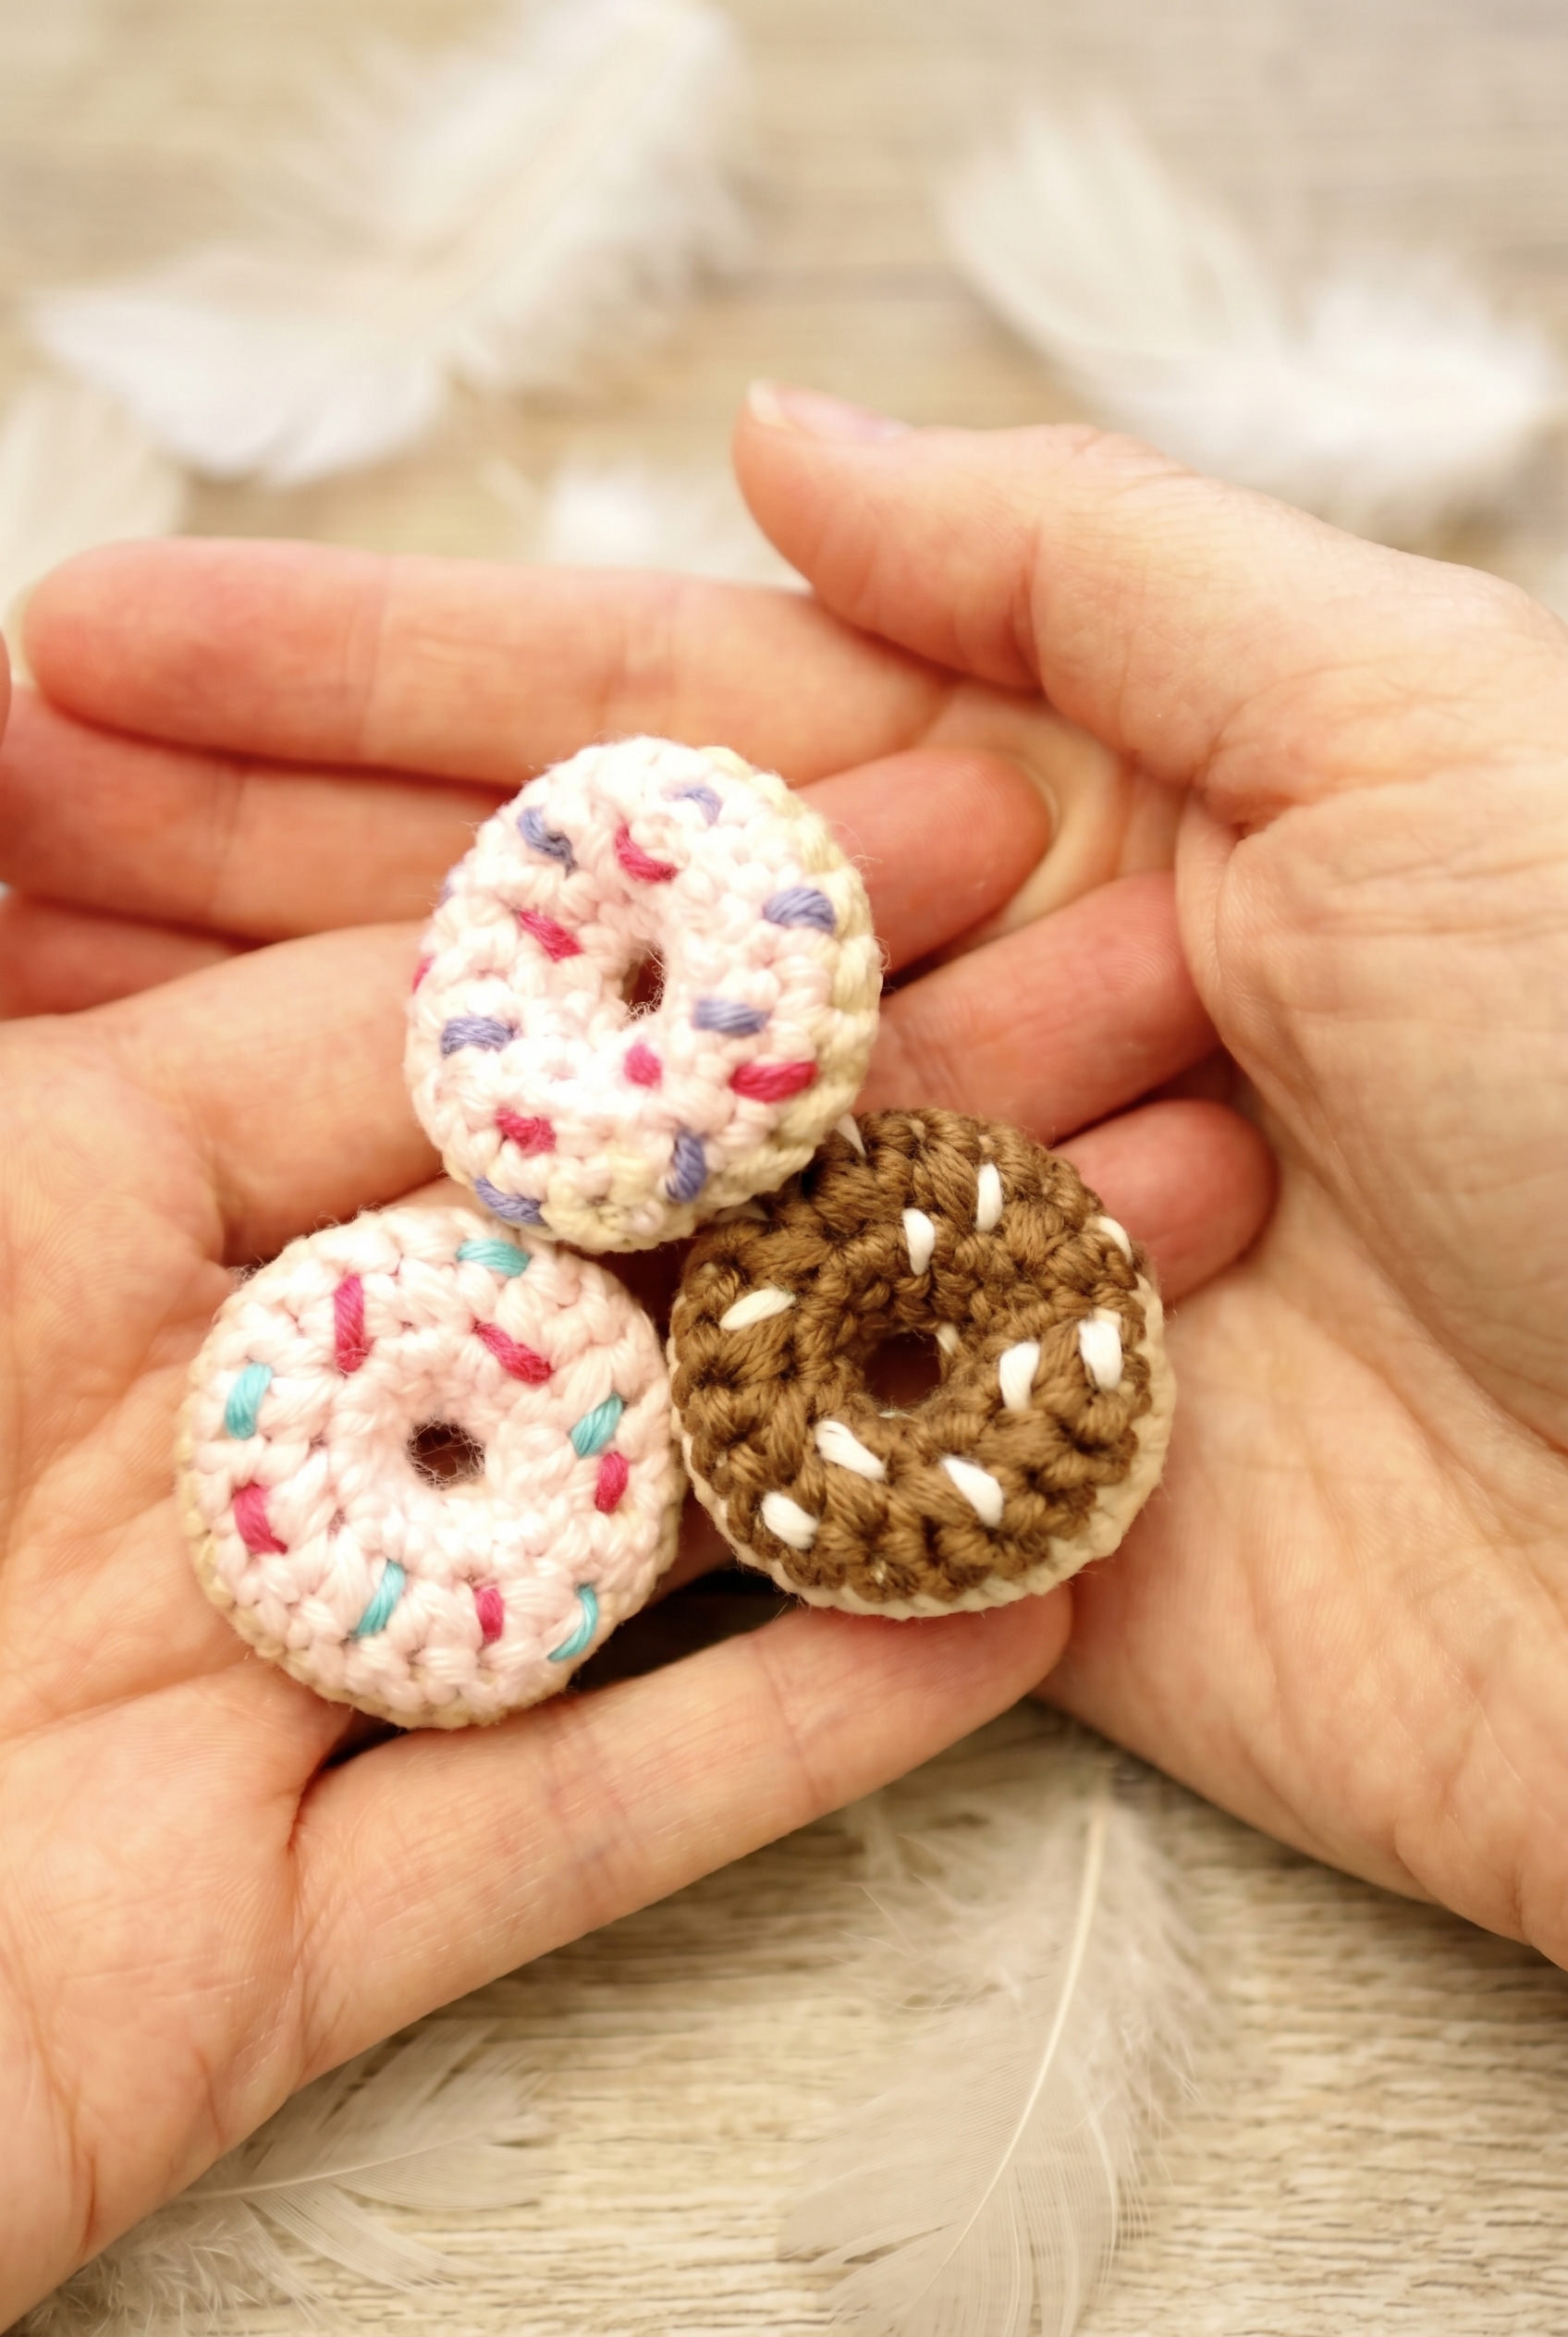
What I love about this one is how much personality you can pack into something so small. The sprinkle details are the part I keep coming back to, because they're not complicated to add, but they make the finished piece look so much more intentional. You can keep it simple or go wild with color, and either way it works. I've made a few of these as little gifts and they always land well, especially for kids or anyone who appreciates a good food-themed toy.
The construction is also just interesting enough to keep you engaged without being stressful. You're working in the round and shaping as you go, which is a really satisfying way to watch something take form. If you've been wanting a project that teaches you a bit about shaping without throwing you in the deep end, this is a good one to pick up.
Why You'll Love This Pattern
These tiny stuffed donuts are quick to make and genuinely fun to gift.
- Beginner Friendly: No complicated stitches here, so you can focus on learning shaping without getting overwhelmed.
- Fast to Finish: Each donut works up quickly, so you can realistically make several in a single sitting.
- Easy to Customize: Swapping colors for the base and sprinkle details means no two donuts have to look the same.
- Great for Gifting: Small, cute, and food-themed toys tend to be a hit with kids and adults alike, especially as stocking stuffers or party favors.
- Stash Friendly: These use so little yarn that they're a perfect way to use up small amounts of scrap yarn you've been holding onto.
Your Supply List
Four colors total, and the sprinkle shades only need a small scrap each.
- DK Weight / Light Worsted Yarn: You'll need four colors for this one: a warm beige or tan for the base, a soft pink or chocolate tone for the glaze, and small amounts of bright colors for the sprinkles. DK weight gives you enough stitch definition to see the shape clearly without the fabric going stiff, and the lighter weight keeps the finished piece neat and small. Yardage isn't specified in the pattern, but for a small crocheted treat like this, figure on roughly 20 to 30 meters for the base color, 10 to 15 meters for the glaze, and just a few meters each for the sprinkles. Check your yarn label for fiber content since the pattern doesn't call for a specific one, though a smooth DK cotton or cotton blend tends to hold the round shape nicely.
- 3.00 mm Crochet Hook: A 3.00 mm hook pairs well with DK weight here because it keeps the stitches tight enough that the stuffing won't show through the gaps.
- Small Amount of Stuffing: You only need a little. Stuff as you go before the opening closes up completely so you can adjust the firmness as you work.
- Also needed: yarn needle, scissors
Color Sequence & Yarn Changes
The base color goes first and makes up the bulk of the piece, then the glaze color comes in toward the top. The sprinkle colors are added last, either sewn on or worked in as surface details, so you don't need to carry them through the main construction at all.
Essential Info
A tiny stuffed donut worked in rounds, finished off with a hole in the center and whatever frosting color you like.
| Skill Level | Beginner |
| Pattern Gauge | Gauge is not critical for this project. Use a hook size that creates a tight, firm fabric so stuffing does not show through. |
| Finished Size | Approx. 2.5 in (6.5 cm) diameter donut (size will vary with yarn, hook, and stuffing) |
| Yarn Weight | 3 Light / DK |
| Fiber | Not specified — check the yarn label |
| Terminology | US |
Stitches & Abbreviations
Short list — just four things to know.
- ch = chain
- sc = single crochet
- sc2tog = single crochet 2 stitches together (insert hook into next st, yarn over, pull up a loop; insert hook into next st, yarn over, pull up a loop; yarn over, pull through all 3 loops on hook)
- st(s) = stitch(es)
Helpful Tips
This is a beginner-friendly project worked in rounds throughout. Each round closes with a slip stitch, and the next round always starts in that same stitch — not the next one over. It's a small detail but it keeps the shaping clean, so it's worth paying attention to.
Gauge doesn't matter here in the traditional sense, but your fabric density does. If you can see daylight through your stitches, go down a hook size. Stuffing poking through the gaps is the main thing to avoid with a project like this.
Because the finished size shifts with yarn weight, hook size, and how firmly you stuff it, treat the 2.5 in (6.5 cm) measurement as a general target rather than a hard spec.
How to Make the Mini Donut Crochet Pattern
This mini donut crochet pattern works up as a flat rectangle that you'll stuff and shape into a ring at the end.
Working the Donut Body
You're crocheting a small rectangular tube in rows, building the tan base first and then adding the glaze color partway through. The color shift happens mid-project, so have both yarns ready before you start.
Row 1: Using the tan/base color, ch 11. Sc in 2nd ch from hook and in each remaining ch. [10 sc] Ch 1, turn.
Row 2: 2 sc in each st across. [20 sc] Ch 1, turn.
Row 3: Sc in each st across. [20 sc]
Row 4: Sc in each st across. [20 sc]
Row 5: Join glaze color in the ch-1 space. Turn. Sc in each st across. [20 sc] Ch 1, turn. The glaze color joins at the turning space rather than mid-row, so the color transition sits cleanly at the edge.
Row 6: Sc2tog across (sc2tog over every 2 sts). [10 sc] Ch 1, turn. This brings the stitch count back down to match Row 1, setting up the two edges that you'll sew together later.
Row 7: Sc in each st across. [10 sc] Fasten off, leaving a length of yarn in each color for sewing.
Finishing
Now you'll close up the tube, stuff it, and curve it into the donut shape. Keep both yarn tails handy — you'll need them when sewing the ends together so the colors line up correctly.
Step 1: Fold the piece in half lengthways, aligning the 10 sts on each edge.
Step 2: Sew both long sides together, leaving both short ends open.
Step 3: Stuff the tube from each open end until the filling meets in the middle. Don't overstuff — you want the tube to curve naturally rather than stay rigid.
Step 4: Curve the stuffed tube into a ring shape and sew the two open ends together to form the ring silhouette, switching yarn colors as needed to keep the base and glaze sections matching.
Step 5: Embellish by sewing on small stitches in bright colors to mimic sprinkles, if desired.
Fasten off, weave in ends.
Care Instructions
Since this donut is stuffed, the main thing to watch is keeping the stuffing from clumping or shifting. Hand washing is the safest route: submerge gently, squeeze out the water without wringing, and reshape the ring before you set it down to dry. Lay it flat so the tube holds its circular shape while it dries. If the fiber content on your yarn label allows machine washing, use a mesh laundry bag and a gentle cold cycle, but I'd still air dry it rather than risk the stuffing bunching up in the dryer.
Baby & Child Safety Notes
This is a small stuffed toy, so if you're making it for a young child, check the seams before handing it over. The tube is sewn closed at both ends and along both long sides, so give each seam a firm tug to make sure nothing is coming loose. The sprinkle embellishments are surface stitches rather than attached pieces, but even so, inspect them periodically if the toy is getting heavy use from little hands. For babies and toddlers specifically, skip the sprinkle stitches entirely or use a single contrast color worked in very secure knots.
Frequently Asked Questions
How does the donut shape actually form? It looks like a flat piece of crochet.
The whole thing starts as a flat rectangular panel worked in rows. You fold it lengthways, sew the long edges shut to make a tube, stuff it from both open ends, then curve the tube into a ring and sew the short ends together. The color change between the base and glaze rows lands right where you want it once the ring is closed.
When do I switch to the glaze color?
The glaze color joins at Row 5, in the ch-1 space before you turn. Rows 1 through 4 are all worked in the base color. I leave a tail in both colors at the end for sewing, which makes it easier to match the seam colors when you close up the ring at the finishing stage.
How much stuffing should I use?
Stuff it fairly firmly from both open ends until the filling meets in the middle. A well-stuffed tube holds its round shape better once you curve it into a ring. Under-stuffing tends to leave the donut looking a bit flat and floppy, so don't be shy with it.
Do the sprinkles have to be sewn on, or can I skip them?
They're completely optional. The pattern describes them as small stitches in bright colors worked on the surface of the glaze section. You can skip them entirely, use one color, or go all out with five different shades. I've made versions both ways and the plain glaze version is just as cute.
The finished size says approximately 2.5 inches. What affects how big mine turns out?
Yarn weight, hook size, and how tightly you stuff the tube all play a role. The 3.00 mm hook and DK weight yarn are what I used to get that approximate 2.5 inch diameter, but if your tension runs loose or you use a slightly heavier yarn, yours will come out a bit larger. For a tiny keychain-style donut, go down a hook size and use less stuffing.
Now It's Your Turn!
I'd love to see what glaze color you go with, because honestly the chocolate version is giving me a hard time competing with the pink. If you make one, tag me on Instagram or drop a photo in the comments below. And if you're pinning this for later, the save button is right there waiting. Happy crocheting!


Leave a Reply