
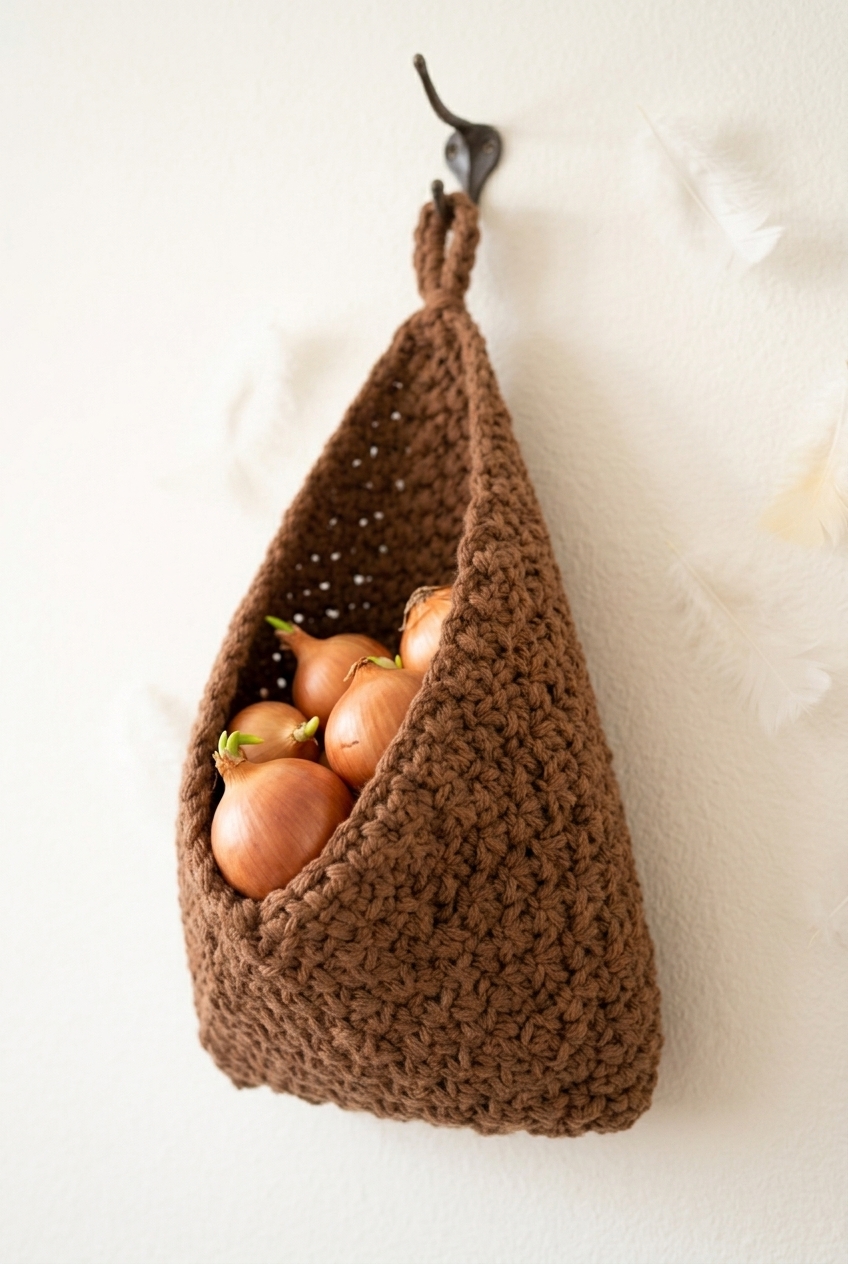
This Hanging Triangle Basket Crochet Pattern has been one of my favorite things to come out of it. It's a hanging pouch that actually stays put, looks intentional on the wall, and holds more than you'd expect. Pretty simple construction, honestly, and it works up faster than you'd think.

Jump to:
The Inspiration
I wanted something that could hang on a hook and actually be useful, not just decorative. A lot of wall storage options feel either too industrial or too precious, and I kept coming back to the idea of something crocheted that could hold its own shape without a frame or stiffener. That's what I love most about how this one turned out. The construction does the work for you.
This is also one of those projects I'd make as a gift without hesitation. It suits someone who's into a more minimal, natural-feeling home setup, and it's useful enough that it won't just sit on a shelf. I've made a few of these now and they genuinely get used.
Why You'll Want to Make This
It's a functional wall organizer that actually looks good hanging up.
- Skill level: This is an easy pattern, so if you're past the absolute beginner stage, you'll have no trouble at all.
- Time investment: It's a small project, which means you can realistically finish it in a single sitting or a couple of short sessions.
- Gifting potential: Practical, handmade, and useful in any room. It really does make a great housewarming or hostess gift.
- Technique value: The shaping in this pattern is a good intro to working a structured form without seaming or complicated construction.
- Versatile use: It can hang in a kitchen, bathroom, entryway, or craft room. Pretty much anywhere you need a little extra storage within reach.
Materials You'll Need
The supply list here is refreshingly short — yarn, a hook, and a couple of basic tools.
- Bulky Weight Yarn (Color A — Main Color, entire basket and hanging loop): This project works in bulky weight, and the fiber choice actually matters here depending on what you want the finished basket to do. A 100% wool in this weight gives the basket real structure and a bit of natural stiffness once it's worked up, so it holds its shape on a wall without flopping. A 100% cotton at this weight is softer and has more drape, so you'll hold it double strand to get the same kind of body. For the wool option, you'll need about 135 yards (one 100 g skein covers it with a little to spare). For the cotton option, you'll need about 230 yards held double, so plan on two skeins.
- L / 8.0 mm Crochet Hook: This size pairs well with bulky weight yarn and keeps the fabric dense enough that the basket walls don't gap out or go floppy.
- Chunky natural wood coat hooks (optional): These are for hanging the finished basket on a wall. Completely optional, but if that's the look you're going for, pick up a few before you finish the project so you can size the hanging loop accordingly.
- Also needed: scissors, tapestry needle
Alternative Yarns
The pattern notes that any yarn can work here as long as you adjust your hook size to match. If you don't have wool or cotton on hand, here are a couple of directions worth considering.
- Bulky weight acrylic: Easy to find and usually pretty affordable. It won't have the same natural stiffness as wool, so the basket may be a little softer, but it'll still hold a reasonable shape. Most bulky acrylics run around 130–200 yards per 100 g skein, so one skein should get you there.
- Bulky weight cotton-acrylic blend: A blend gives you some of the structure of cotton with a little more stretch and forgiveness. Look for something in the 120–150 yards per 100 g range, and consider holding it double if it feels too limp on its own.
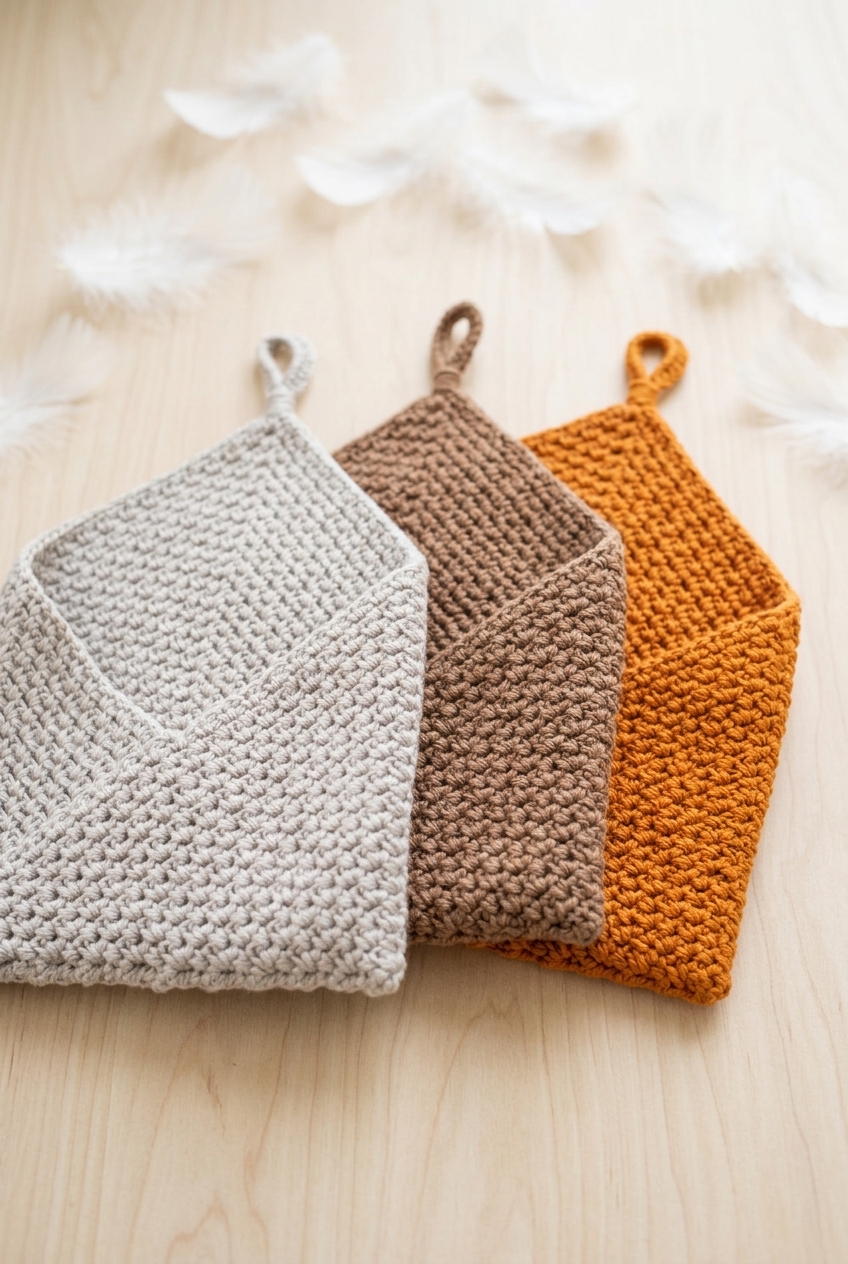
Project Info
A simple hanging basket worked in flat rows from a magic circle, sized to actually hold things on your wall.
| Skill Level | Easy |
| Pattern Gauge | Gauge is not critical for this project. Use a hook size that creates a sturdy fabric appropriate for a basket and adjust yarn/hook as needed. |
| Finished Size | 8 in wide x 12 in tall (not including hanging loop) |
| Yarn Weight | 5 Bulky |
| Fiber | 100% Peruvian Highland wool (Option A: WeCrochet Wool of the Andes Bulky); 100% cotton (Option B: WeCrochet Billow) |
| Terminology | US |
Customizing the Size
To make the basket taller, just repeat Row 4 more times before moving on. Each additional repeat adds a bit of height, so work as many as you need for your space.
Abbreviations & Stitches Used
Short list here — all standard stitches you've likely used before.
- ch = chain
- sc = single crochet
- sl st = slip stitch
- sp = space
- st(s) = stitch(es)
- inc'd = increased
Helpful Tips
The basket is worked flat in rows, turning at the end of each one. It starts with a magic circle, but that circle is not joined — you just work straight into it and keep going from there. The ch 1 at the beginning of each row is a turning chain only; it does not count as a stitch, so don't work into it at the end of the following row.
This pattern works with any yarn weight. If you go up or down in weight, just adjust your hook to match and aim for a fabric that feels sturdy rather than floppy. A little stiffness is what keeps the basket holding its shape on the wall. No blocking needed when you're done.
Hanging Triangle Basket Crochet Pattern Instructions
Here's how I work through this basket from the center out, building the triangle shape row by row before finishing the hanging loop.
Body
The body is the triangle itself, worked flat in rows from a magic circle at the top center point. Each row adds stitches outward from that central chain-2 space, so the triangle grows wider as you go. How many times you repeat Row 4 determines the final size of your basket, so keep your yarn yardage in mind as you work.
Row 1: Magic circle. 2 sc, ch 2, 2 sc into magic circle. Pull tight, do not join. Turn. [4 sc + ch-2 sp]
Row 2: Ch 1, sc in first st, ch 1, (sc, ch 2, sc) in ch-2 sp, ch 1, sc in last st. Turn. [6 sts + ch-2 sp]
Row 3: Ch 1, sc in first st, ch 1, sc in ch-1 sp, ch 1, (sc, ch 2, sc) in ch-2 sp, ch 1, sc in ch-1 sp, ch 1, sc in last st. Turn. [10 sts + ch-2 sp]
Row 4: Ch 1, sc in first st, ch 1, (sc in ch-1 sp, ch 1) until ch-2 sp, (sc, ch 2, sc) in ch-2 sp, (ch 1, sc in ch-1 sp) until 1 st remains, ch 1, sc in last st. Turn. The pattern of working into each chain-1 space across, then making the corner increase in the ch-2 space, stays the same every time you repeat this row.
Row 4 (repeat): Repeat Row 4 until desired size.
For WeCrochet Wool of the Andes Bulky (single strand): repeat Row 4 until approximately 135 yds are used.
For WeCrochet Billow (double strand): repeat Row 4 until desired size with approximately 230 yds used.
Hanging Loop Rows
Once the triangle is the size I want, I work two more rows to create the hanging loop at the top center. The first row forms the loop itself, and the second fills it in with single crochets so it's sturdy enough to hold the basket on a hook or peg.
Hanging Loop Row 1: Ch 1, sc in first st, ch 1, (sc in ch-1 sp, ch 1) until ch-2 sp, (sc, ch 10, sc) in ch-2 sp, (ch 1, sc in ch-1 sp) until 1 st remains, ch 1, sc in last st. Turn.
Note: You can increase the number of ch sts in the loop to fit your hook size.
Hanging Loop Row 2: Ch 1, sc in first st, ch 1, (sc in ch-1 sp, ch 1) until ch-2 sp, work 12–14 sc around the loop, (ch 1, sc in ch-1 sp) until 1 st remains, ch 1, sc in last st. Working the single crochets around the chain loop rather than into individual chain stitches is what gives it that clean, rounded look.
Note: You may need to adjust the number of sc worked around the loop depending on its size.
Step 3: Cut yarn, leaving a tail twice as long as the bottom of the triangle. Fasten off. That long tail is what you'll use to seam the basket closed, so don't trim it short.
Step 4: Secure the beginning tail at the magic circle with a knot and weave in ends.
Finishing
This is where the flat triangle becomes an actual basket. The folding and seaming are straightforward once the piece is in your hands.
Step 1: With the end tail on the left, fold the corners of the triangle into thirds. The right corner should overlap the left corner.
Step 2: Thread the tail onto a tapestry needle. Whip stitch across the bottom of the triangle, making sure to catch all layers. Working through all the folded layers at once is what holds the basket shape, so take your time here and make sure nothing has shifted before you stitch.
Step 3: When you reach the left corner, use a running stitch to lightly secure the right fold to the body of the basket.
Step 4: At the loop, you can leave it as-is, or wrap a piece of yarn around the base of the loop (like a ring) to gather and define it before hanging.
Care Instructions
If you made the wool version, spot clean it when possible. Wool doesn't love a full soak, and since this is a hanging basket that mostly holds dry things, you probably won't need to wash it often. If you do need to hand wash it, use cool water and lay it flat to dry so it holds its shape. The cotton version is a little more forgiving and can handle a gentle machine wash in a mesh bag, but I'd still air dry it rather than run it through the dryer.
Frequently Asked Questions
Do I need to block this basket?
No blocking needed. The basket gets its shape from how it's folded and seamed during assembly, not from wet blocking. Once you whip stitch the bottom and fold the triangle into thirds, it holds its form on its own.
How do I make the basket larger?
Repeat Row 4 more times before working the hanging loop rows. The pattern is built around that one repeating row, so you can just keep going until you reach the size you want. Use your yardage as a guide: roughly 135 yds for the single-strand wool version, or around 230 yds if you're working the cotton held double.
What's the difference between the two yarn options?
Option A uses WeCrochet Wool of the Andes Bulky worked as a single strand. Option B uses WeCrochet Billow, which is a cotton yarn held double to reach the same weight. The finished size is the same either way, but cotton will give you a slightly stiffer, more structured basket while wool has a softer feel.
Can I adjust the hanging loop to fit a different hook or rod?
The loop is made with a ch 10, but you can increase that chain count to fit a larger hook or rod. The next row works sc around the loop to fill it in, and you may need to adjust how many sc you work depending on how big you made the loop. Just eyeball it until it looks even.
Why does the pattern start with a magic circle instead of a foundation chain?
Starting from a magic circle lets the top point of the triangle close up tightly with no hole. A foundation chain would leave a small gap at the tip, and on a project this visible, that would be noticeable. The circle gets pulled snug and the beginning tail gets knotted off at the end.
Now It's Your Turn!
I'd love to see where you end up hanging yours. A mudroom, a bathroom, a little reading nook corner. Drop a photo in the comments or tag me on Instagram so I can see how it turned out. And if you want to save this for later, pinning it to your home decor board is always a good call since this one works up fast enough that you might end up making a few.


Leave a Reply