
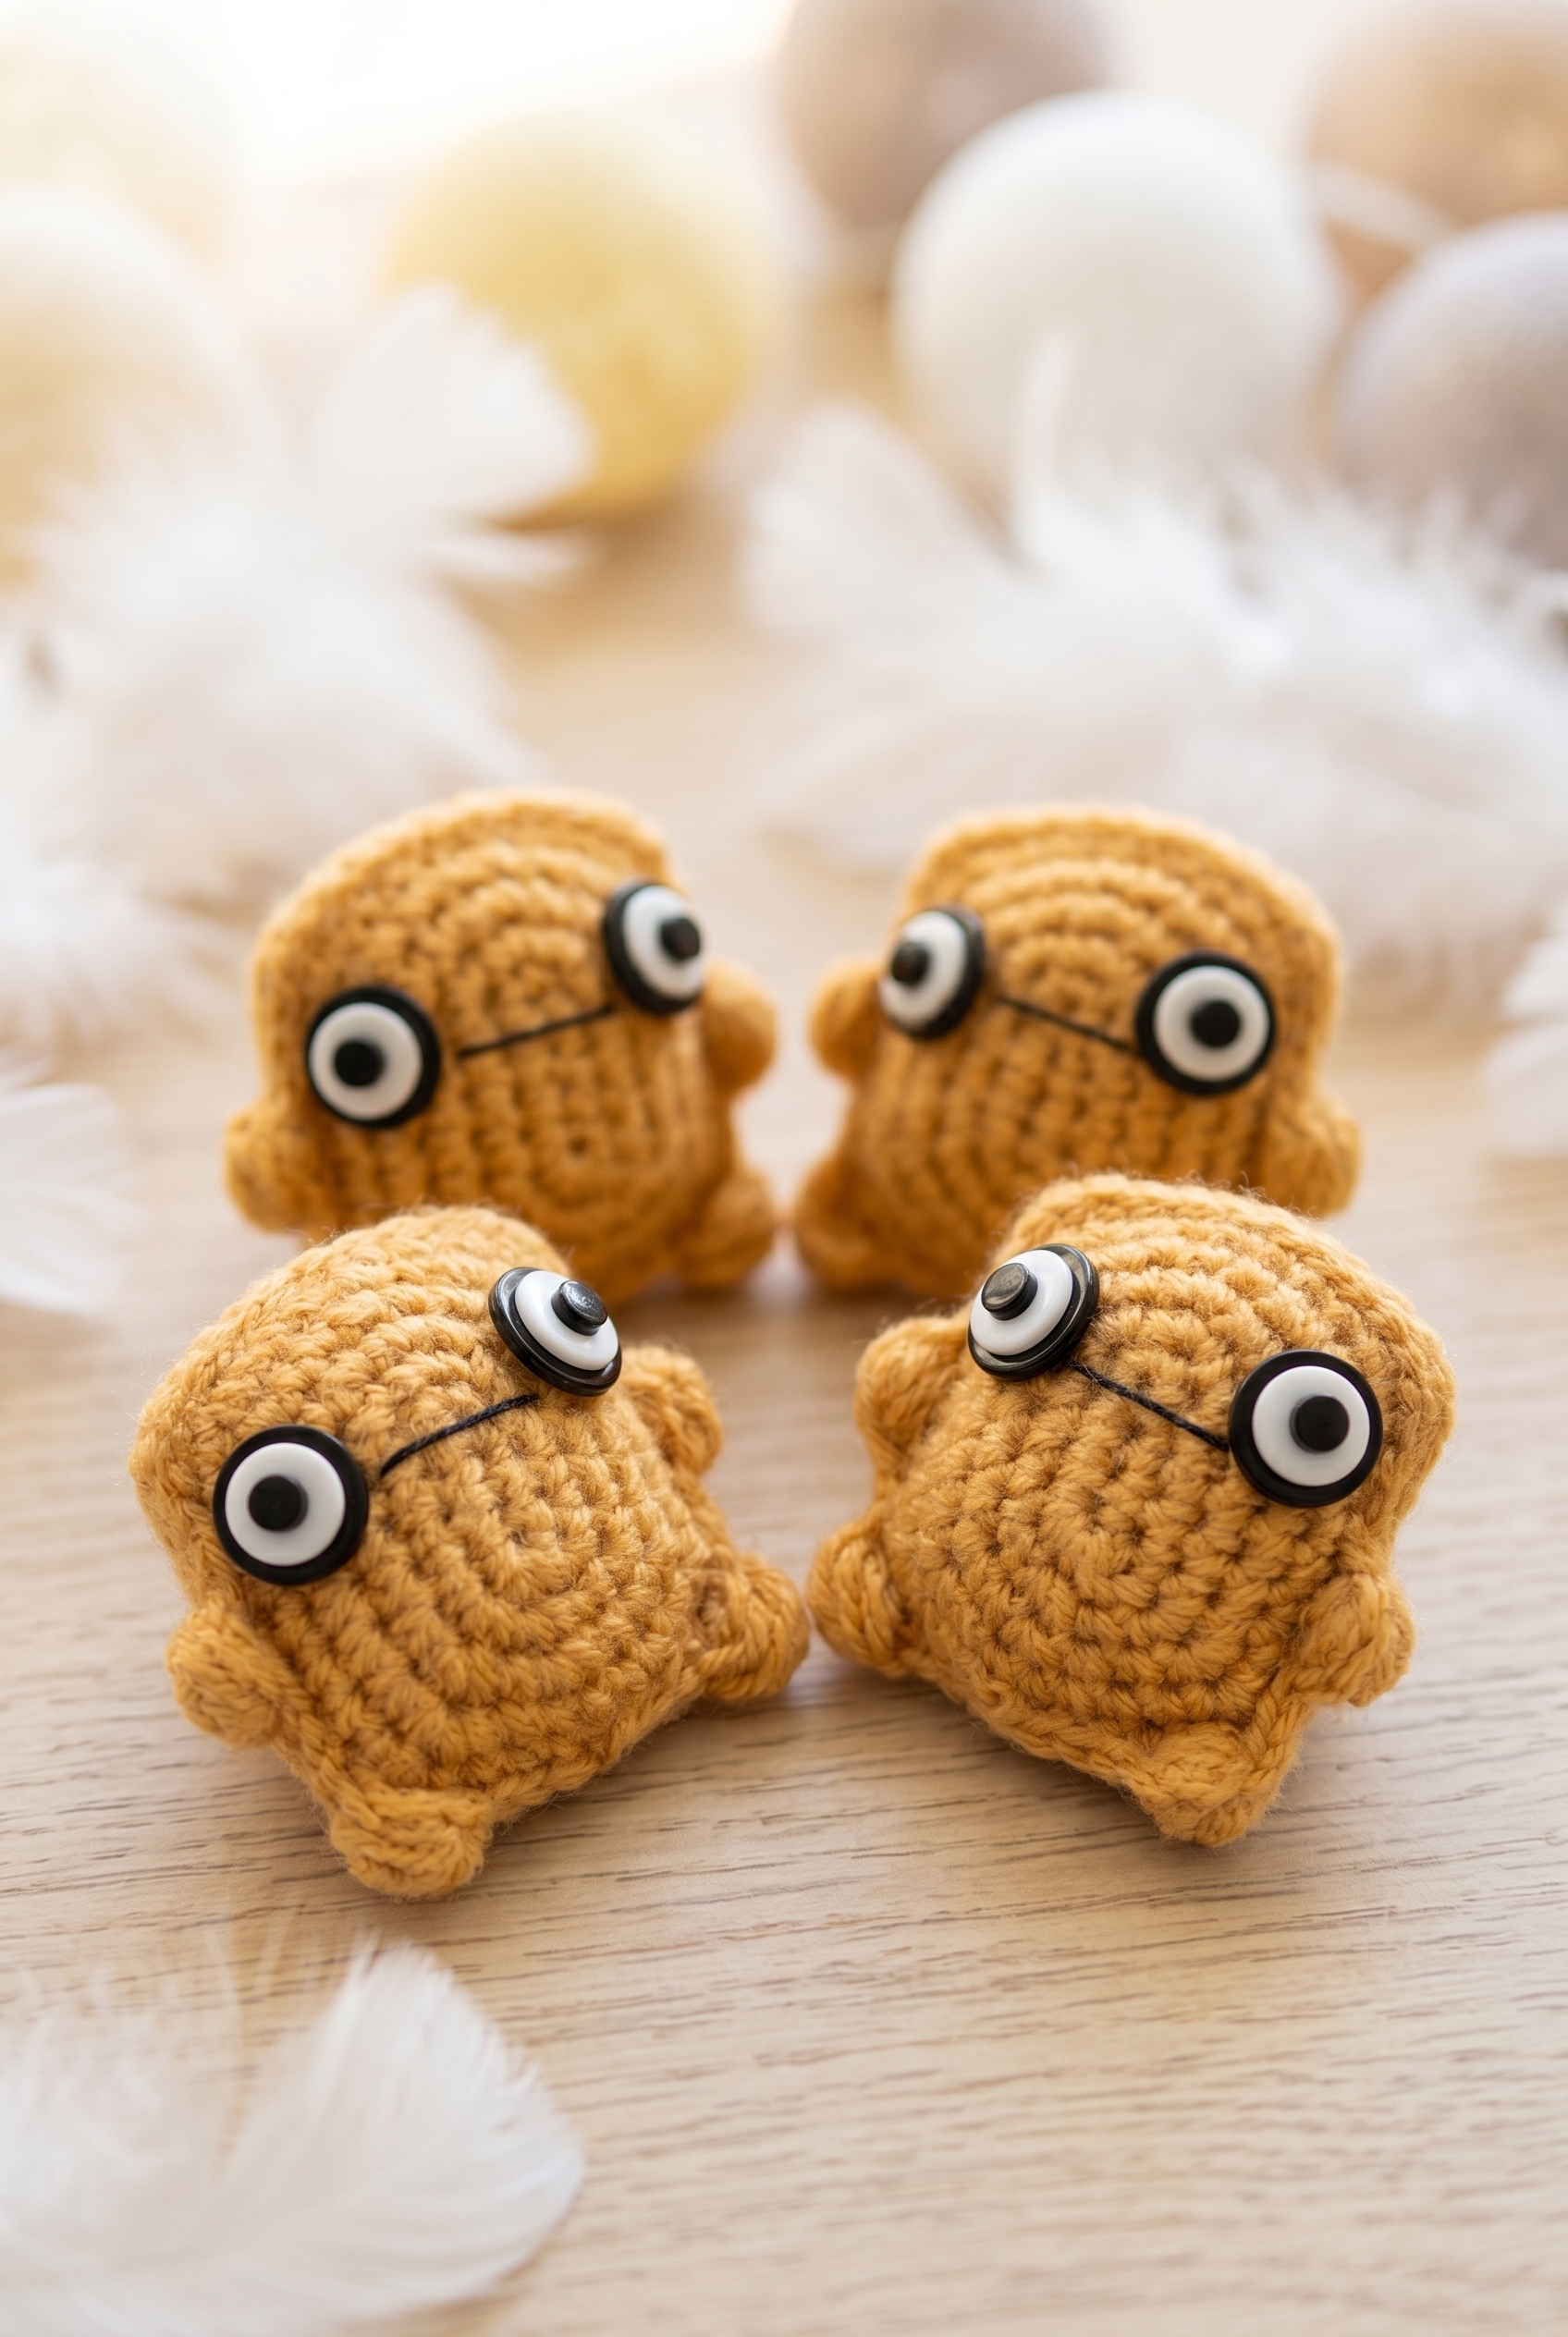
Sometimes you just need to make something small and a little ridiculous, and that is exactly how the Emotional Support Blob Buddy Crochet Pattern came to be in my project queue. This is a tiny amigurumi, quick to stitch up, and the kind of thing that makes people smile the second they see it sitting on a desk or tucked into a bag. I've made a few of these now and they keep finding homes with people who just needed a little something.

Jump to:
About This Project
What I like about this one is how much personality comes through in such a compact little project. The construction is pretty simple, but the finished result has this whole expressive quality that I didn't fully expect. It reads as a creature with feelings, and that is kind of the whole point. I made my first one as a joke gift and the person I gave it to put it on their monitor at work immediately.
It also works really well as a stash buster. You don't need much yarn at all, which means you can knock one out in an evening and feel genuinely accomplished. These are the kind of projects I reach for when I want to finish something.
Why You Need This on Your Hook
This tiny blob is the perfect quick make for anyone who needs a handmade gift that actually lands.
- Beginner friendly: The skill level is easy, so if you know basic amigurumi construction, you're already there.
- Fast finish: This is a one-sitting project for most people, which makes it great when you need something done quickly.
- Gifting potential: Small, lightweight, and oddly charming, it suits pretty much anyone on your list who could use a little cheering up.
- Stash friendly: You need almost no yarn, so this is a solid use for those small leftover bits you can't bring yourself to throw out.
- Technique practice: If you're newer to amigurumi, this is a low-stakes way to get comfortable with working in the round and shaping a small body.
Gather Your Supplies
The whole supply list fits in a small project bag, which is part of the charm with a tiny amigurumi like this.
- DK Weight Yarn (Color A: Mustard Yellow): You only need about 3 grams for the entire nugget, so this is a perfect use for DK scraps. A smooth DK acrylic or cotton blend works well here because the tighter gauge keeps the stuffing from showing through. The fabric needs to hold its shape once stuffed, so avoid anything too loosely spun or fluffy.
- 2.75 mm Crochet Hook: A smaller hook than you might expect for DK weight, but that is the point. Going down in hook size tightens the stitch fabric so the stuffing stays put and the little nugget shape stays crisp.
- Safety Eyes or Button Eyes: These go onto the front piece before you join both pieces together, so have them ready before you start closing up. If you are making this for a young child, skip the safety eyes entirely and embroider the eyes instead.
- Black Embroidery Thread: Used for the facial details. A single strand is usually enough for something this small.
- Stuffing: You only need a pinch. The pattern tells you when to stuff, so just keep a small amount nearby rather than digging through a bag mid-row.
- Keyring (optional): If you want to turn the finished nugget into a bag charm or keychain, clip one on before gifting. Completely optional otherwise.
- Also needed: scissors, embroidery needle
At a Glance
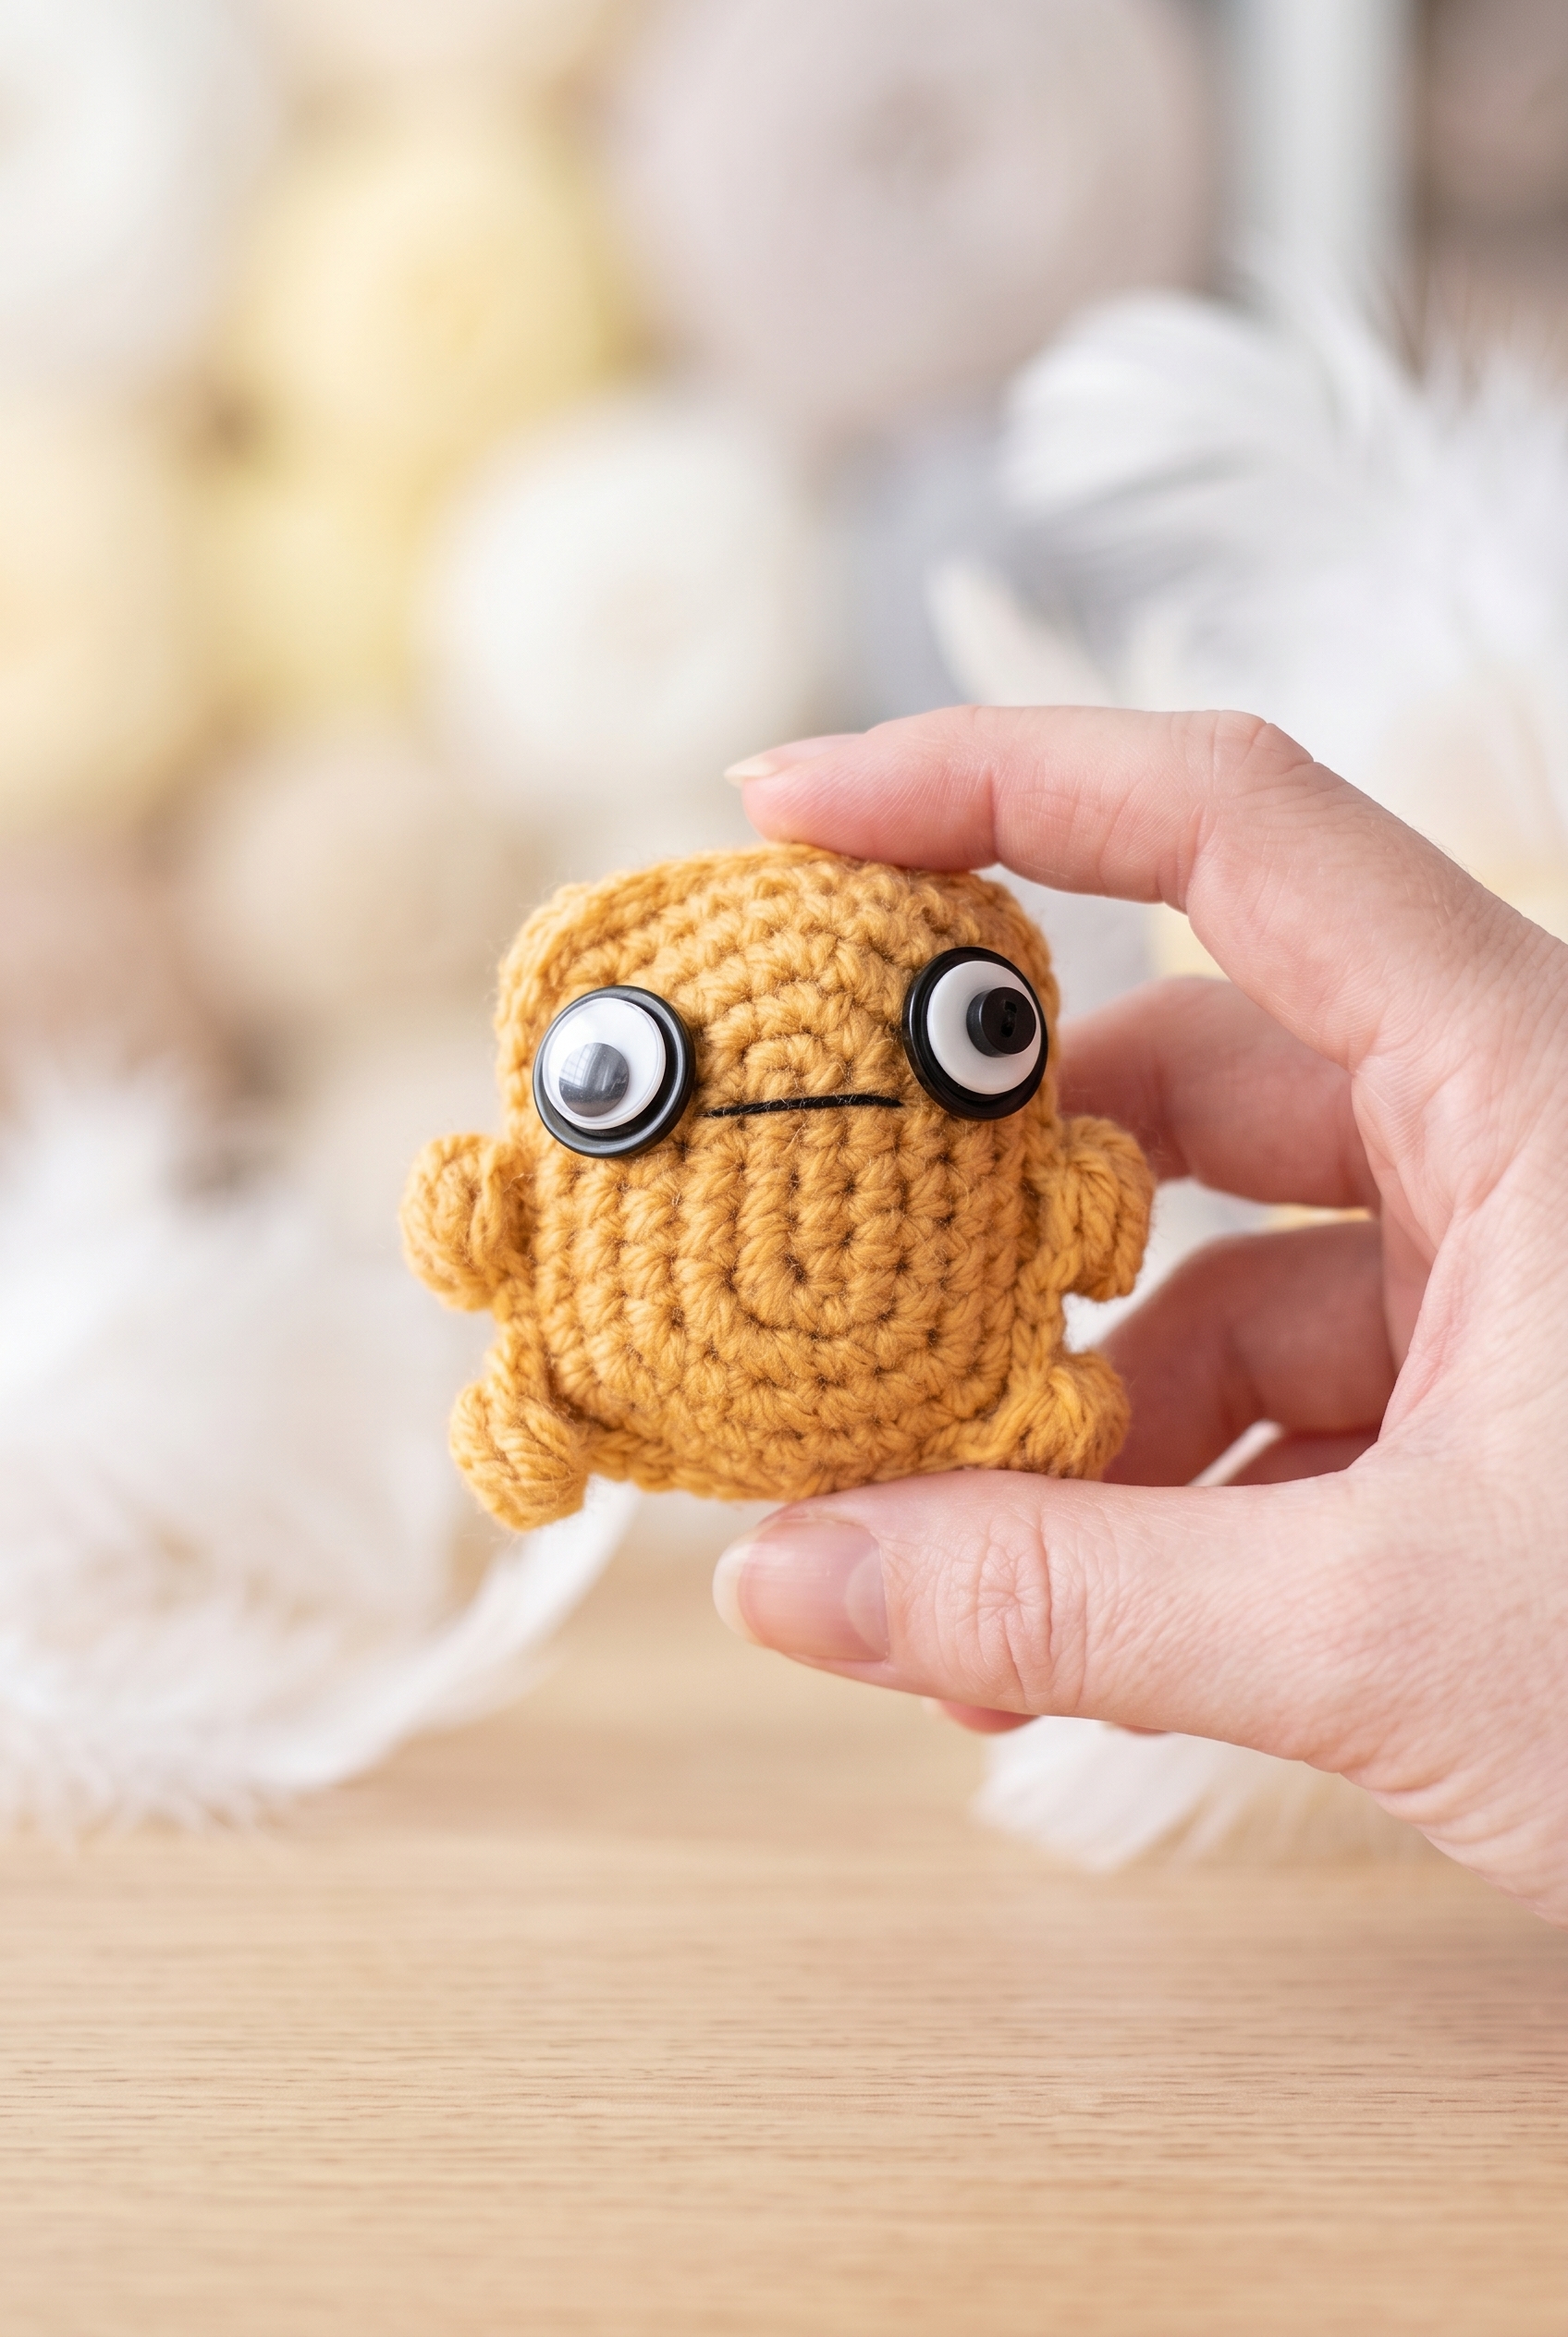
This tiny amigurumi comes together fast — the whole thing fits in your palm when it's done.
| Skill Level | Easy |
| Pattern Gauge | Gauge is not critical for this project. Use a hook size that creates a tight, firm fabric so stuffing does not show through. |
| Finished Size | 2" tall with DK weight yarn and a 2.75 mm hook |
| Yarn Weight | 3 Light / DK |
| Fiber | Not specified — check the yarn label |
| Terminology | US |
Abbreviations & Stitches Used
Short list — you probably know all of these already.
- ch = chain
- inc = increase (2 sc in same st, unless otherwise specified)
- rep = repeat
- sc = single crochet
- sl st = slip stitch
- st(s) = stitch(es)
Special Stitches
- Bead Stitch: Insert hook in indicated st, yarn over, pull up a loop, ch 1, sl st in same st.
Pattern Notes
I work this in the round throughout. There are two main pieces, a front and a back, and they stay separate until the very end. If you're using safety eyes, get those placed on the front piece first, about ⅓ of the way down, before you do anything else. Once they're in, you can't easily get back to them.
The closing round is where it all comes together. You'll be crocheting through both the front and back pieces at the same time to join them, and the arm and leg nubs get added in during that same step. Stuff the piece as you go, as directed in the instructions. Don't wait until the end or you'll run out of room to get the stuffing in evenly.
The Emotional Support Blob Buddy Crochet Pattern Steps
Here's how I make the Blob Buddy, worked in two flat oval pieces that get joined together at the end.
Part 1: The Back Piece
This piece is worked in Color A, starting from a foundation chain to build the oval shape. It's the back of your Blob Buddy, so no eyes or embellishments go on this side — just work through all six rounds and set it aside when you're done.
Round 1: Ch 6.
Round 2: 2 sc in 2nd ch from hook. Sc in next 3 ch back to the beginning ch. In the beginning ch, sc 3. On the opposite side of the ch, sc in each of the next 3 ch back to the first st of the round. 2 sc in the starting ch of the round. [12 sc] This round establishes the oval by working into both sides of the foundation chain — the increases at each short end are what give the blob its rounded shape.
Round 3: Continue in the round. Inc in first st. Sc 3. Inc in each of next 3 sc to turn the corner. Sc 3. Inc in the last 2 sts. [18 sc]
Round 4: Sc, inc. Sc 3. *Sc, inc* x 3. Sc 3. *Sc, inc* x 2. [24 sc]
Round 5: Sc 2. 3 sc in next st. *Sc 5. 3 sc in next st* x 3. Sc 3. [32 sc] The 3-sc corners here shift the shaping from a tight oval toward something a little blobby and irregular — that's intentional.
Round 6: Sc 3. 3 sc in next st. *Sc 7. 3 sc in next st* x 3. Sc 4. [40 sc]
Bind off. Weave in ends.
Part 2: The Front Piece and Joining
Still in Color A, repeat all rounds from Part 1 to make the front piece. If you're using safety eyes, insert them now onto the front side of this piece, about ⅓ of the way down — do this before you join the pieces, because you won't be able to reach the back once they're held together. Once the eyes are in, grab the back piece and hold it wrong side to wrong side with the front piece you're currently working. Align long edges to long edges and short edges to short edges. From here, you'll crochet through both pieces at the same time to close, adding the arm and leg nubs as you go.
Round 7: Sl st 4. Bead Stitch. Sl st 3. Bead Stitch. Sl st 17. Bead Stitch. Sl st 3. Stuff now. Bead Stitch. Sl st 5. [32 sl st, 4 Bead Stitch] The Bead Stitches worked through both layers create the little nub limbs as you close the body — the placement in this round determines where the arms and legs land, so follow the sequence carefully.
Stuff now.
Bind off. Weave in ends.
Finishing & Assembly
With the body closed and stuffed, the last thing to do is finish the face. If you're using button eyes instead of safety eyes, sew them to the face area about ⅓ of the way down from the top of the head. For the layered button look, stack a 6 mm black button, an 11 mm white button, and a 15 mm black coat or clown button on top of each other and sew all three through the fabric together. Once the eyes are on, sew the mouth between them using embroidery thread or a scrap of black yarn. If you want to add a keyring so the Blob Buddy can live on a bag or keys, attach it now before calling it done.
Care Instructions
Hand wash this little guy gently in cool water and lay it flat to dry. The stuffing can clump if you wring it out, so just press the water out carefully and reshape it while it's still damp. If you used the stacked button eyes, keep those away from heat since the plastic can warp. Once it's fully dry, it stores fine just about anywhere.
Baby & Child Safety Notes
The stacked button eyes and safety eyes used in this pattern are a choking hazard for young children. If you're making this for a small child, skip the eyes entirely and embroider them instead using the black embroidery thread. Also check the seam where the front and back pieces are joined before giving it to a child. That closing round takes some tension to get right, and if it's loose at all, the stuffing can work its way out.
Frequently Asked Questions
When exactly do I insert the safety eyes?
Insert the safety eyes onto the front piece after you finish crocheting it but BEFORE you hold it together with the back piece. About ⅓ of the way down from the top is where I place mine. Once you start that closing round with both pieces held together, you can't get in there anymore.
How does the stuffing work if both pieces are crocheted separately?
You hold the front and back pieces wrong side to wrong side and crochet through both at the same time to close them up. There's a specific point mid-round where the instructions say 'Stuff now' and that's your window. Do it then, before you finish the round, because there's no opening left after.
What is a Bead Stitch and how does it fit into the closing round?
The Bead Stitch creates the little arm and leg nubs on the blob. You work four of them during that final closing round, spaced out at specific points. It's what gives the finished piece its character, so pay attention to the placement in Round 7 rather than rushing through the slip stitches.
How do I stack the button eyes correctly?
Layer them smallest to largest: the 6 mm black button on top, then the 11 mm white button in the middle, then the 15 mm black coat or clown button on the bottom. Sew all three together as a unit onto the face, about ⅓ of the way down. I use a double strand of thread and go through all three buttons a few times to keep them from shifting.
How much yarn do I actually need for this?
Just 3 grams of DK weight yarn in mustard yellow. That's a tiny amount. You could easily make several of these from a single leftover skein.
What does the finished blob actually look like in terms of size?
Mine came out about 2 inches tall using DK weight and a 2.75 mm hook. It's genuinely small, more of a charm or bag clip than a desk toy. If you want it bigger, going up in yarn weight will get you there without changing the pattern.
Final Thoughts
This little blob is one of those projects I keep coming back to when I need something small and satisfying to make between bigger projects. Three grams of yarn and a couple of hours, and you've got something with a surprising amount of personality for its size. If you make one, I'd love to see it, so tag me on social or drop a photo in the comments. And if you're saving patterns for later, this one pins well because it's so quick to come back to when you've got a bit of leftover DK sitting around.


Leave a Reply