
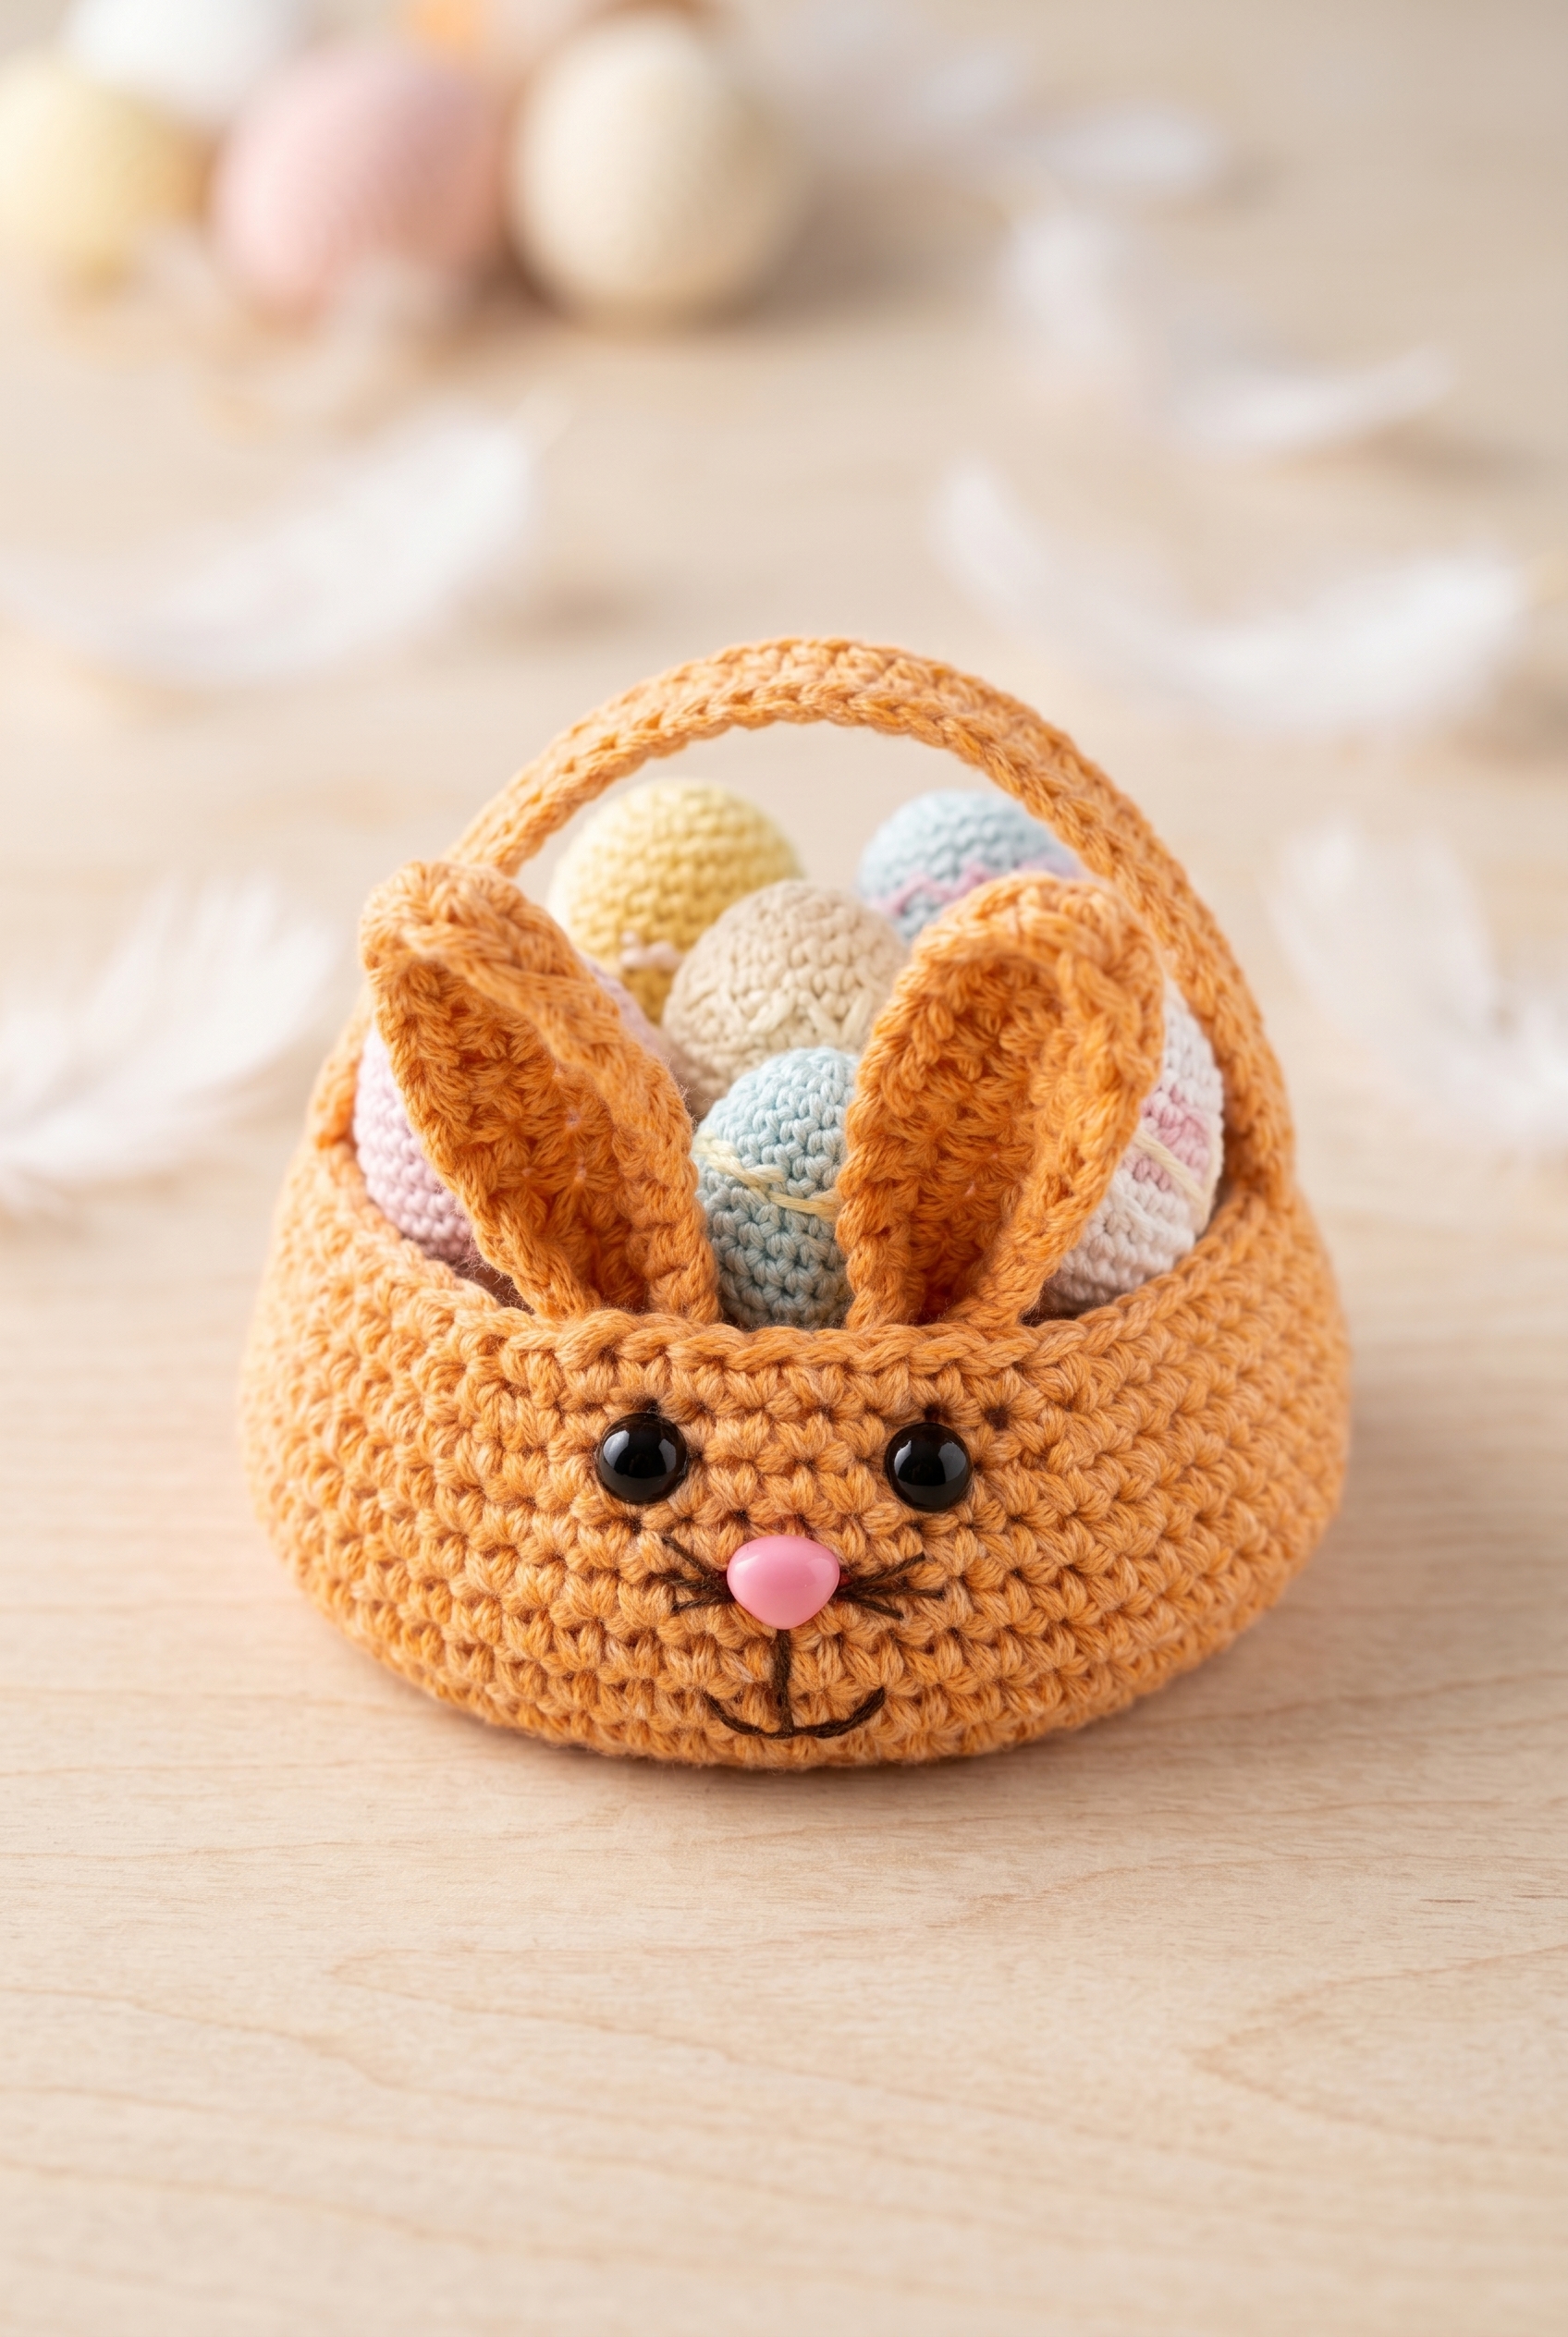
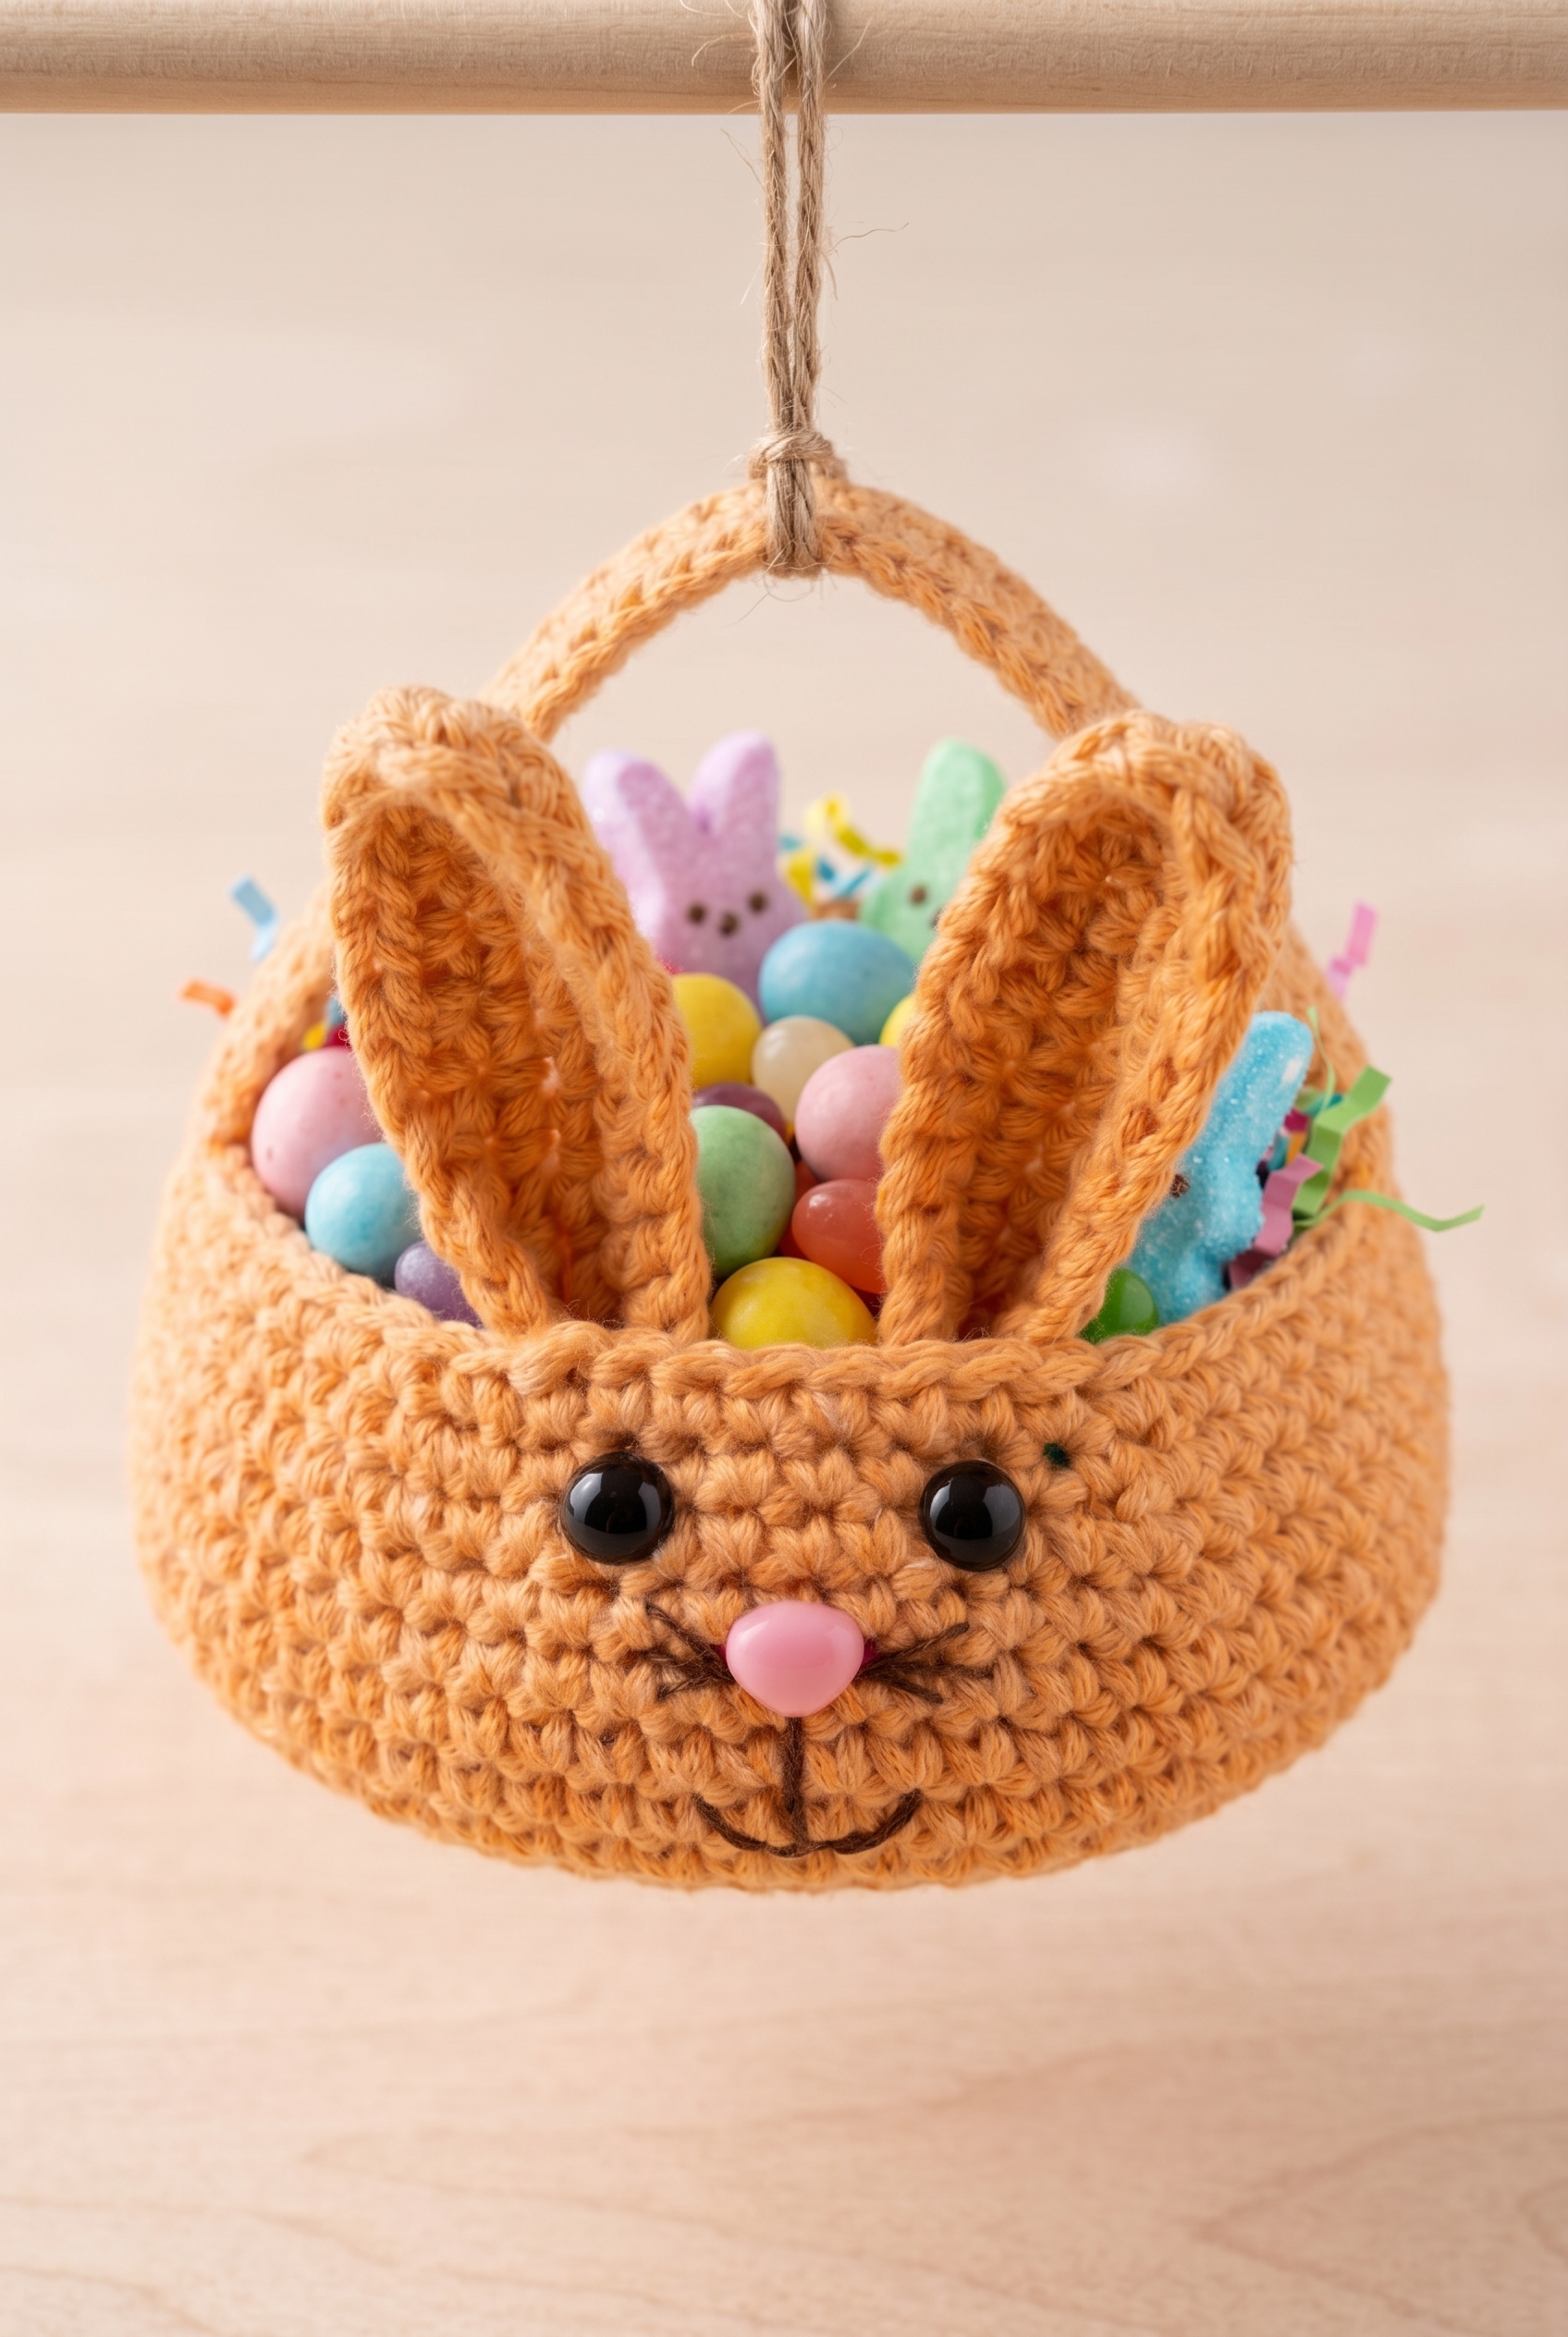
Spring is right around the corner, and I just finished up this little Easter Bunny Basket Crochet Pattern that I think you're really going to love making. It's a small, functional basket with a handle and the cutest bunny face detail on the front, and it works up faster than you'd expect. Perfect for filling with a handful of treats or small gifts, and honestly just a fun quick project to have in your queue right now.

Jump to:
The Inspiration
I wanted to make something that felt seasonal without being over the top. Easter baskets are everywhere this time of year, but I kept thinking about how nice it would be to have one that's actually handmade and reusable, something a kid could keep on their shelf long after the candy is gone. That's really where this one came from.
What I like most about how this turned out is that the construction is really satisfying. You build the whole thing in the round, add the ears, and finish with the face details, and each step feels like a little reveal. It's the kind of project I'd make more than once, whether for a niece, a neighbor's kid, or just to have something cheerful sitting on the table for the season.
Why You'll Want to Make This
This basket is a genuinely sweet handmade gift that's quick enough to finish before Easter actually arrives.
- Beginner Friendly: This is an easy-level pattern, so you don't need a lot of experience to get a great result.
- Quick to Finish: It's a compact project, which means you can realistically complete it in one or two sittings.
- Great for Gifting: Small enough to fill with treats or tiny gifts, and personal enough to feel like something special.
- Reusable Every Year: Unlike a paper basket, this one holds up and can come back out next spring without a second thought.
- Fun Detail Work: The face embellishments are a nice introduction to adding character to your projects if you haven't done much of that before.
What You'll Need
Two colors of cord yarn, a handful of embroidery thread, and one safety nose in pink — that is pretty much it.
- Bulky Weight Cord Yarn (Weight 5): This basket uses 4 mm cord yarn, which is a thick, rope-like yarn that holds its shape without any stiffening or internal structure. That rigidity is what makes the basket actually function as a basket. You'll need less than 50 g each of orange and peach — these two colors work together for the body, handle, and ears, so having both on hand from the start makes things easier.
- 7 mm Crochet Hook: A 7 mm hook pairs well with bulky cord yarn at this thickness. It keeps the stitches tight enough that the basket walls stay firm and upright, but not so tight that your hands are working against the material the whole time.
- 12 mm Black Safety Eyes (1 pair): This pattern uses 12 mm black safety eyes. Insert and secure these before the opening closes up — they're not going in after the fact.
- 15 mm Pink Safety Nose (1): One pink safety nose, 15 mm. The size is worth paying attention to here because it's slightly larger than what you'd use on a standard amigurumi, and it sits center-stage on the cat face.
- Embroidery Thread: Dark brown or black thread for the whiskers and mouth, plus orange or peach thread to sew the ears. These are small amounts — you won't need more than a length or two of each.
- Also needed: stitch marker, scissors
Yarn Substitutes
Cord yarn is a specific construction, not just a weight, so substituting it takes a little thought. You want something that behaves like rope — structured, not drapey — or the basket won't hold its shape.
- Cotton Macrame Cord (4 mm): Bulky weight, typically 100–200 g per ball. It's stiff, durable, and holds a round shape well. The texture is a little rougher than cord yarn but works fine for a basket that's meant to sit on a shelf.
- Twisted Cotton Rope Yarn: Also bulky weight, around 50–100 g per ball depending on the brand. The twist gives it that same structural quality. Look for something labeled as basket yarn or rope yarn and you're in the right territory.
Color Sequence & Yarn Changes
The orange and peach don't alternate in a strict stripe sequence — they're used in separate sections, so you're not constantly switching back and forth. That said, it helps to keep both colors accessible at the same time since the ears and handle pull from whichever color you're working with for that piece.
Key Information
A compact little cord basket that stays put and holds its shape without any fuss.
| Skill Level | Easy |
| Pattern Gauge | Gauge is not critical for this project. Use a hook size that creates a firm fabric appropriate for a basket so it holds its shape. |
| Finished Size | 6 2/8" diameter |
| Yarn Weight | 5 Bulky |
| Fiber | Not specified — check the yarn label |
| Terminology | US |
Stitches & Abbreviations
Nothing unusual here, just the basics.
- BLO = back loop only
- ch = chain
- dc = double crochet
- dec = decrease
- FO = fasten off
- hdc = half double crochet
- inc = increase
- MR = magic ring
- sc = single crochet
- sl st = slip stitch
- st = stitch
Pattern Notes
This basket is worked with a 4 mm thick cord, which is what gives it that sturdy, structured look. Gauge isn't something you need to stress over here. What matters more is tension. You want a firm fabric that holds its shape on its own, so if your stitches are feeling loose, go down a hook size. The cord does a lot of the structural work for you, but tight stitches help.
The Pattern
Here's everything you need to crochet your Easter Bunny Basket, worked in sections from the base up.
The Basket
This is the main body of the basket, crocheted in the round starting from a flat base and then built up into the sides. The base expands gradually through rounds 1–11, then the sides rise straight before tapering slightly at the top.
Round 1: 6 sc in MR. [6 sc]
Round 2: inc around. [12 sc]
Round 3: *1 sc, 1 inc* repeat 5 more times. [18 sc]
Round 4: *2 sc, 1 inc* repeat 5 more times. [24 sc]
Round 5: *3 sc, 1 inc* repeat 5 more times. [30 sc]
Round 6: *4 sc, 1 inc* repeat 5 more times. [36 sc]
Round 7: *5 sc, 1 inc* repeat 5 more times. [42 sc]
Round 8: *6 sc, 1 inc* repeat 5 more times. [48 sc]
Round 9: *7 sc, 1 inc* repeat 5 more times. [54 sc]
Round 10: *8 sc, 1 inc* repeat 5 more times. [60 sc]
Round 11: *9 sc, 1 inc* repeat 5 more times. [66 sc]
Round 12: 66 sc BLO. [66 sc] Working through the back loops only here is what creates that defined ridge at the base of the sides — it's a small detail that makes the basket sit more cleanly.
Rounds 13–17: 66 sc. [66 sc] Five straight rounds with no shaping, building up the walls of the basket.
Round 18: *9 sc, 1 dec* repeat 5 more times. [60 sc]
Round 19: *8 sc, 1 dec* repeat 5 more times. [54 sc]
The Handle
The handle is worked directly onto the basket body rather than made separately, so keep your basket handy and don't fasten off until the very end of this section.
Step 1: Ch 30 and join on the opposite side, on 27 st, with a sl st. The chain bridges across the opening of the basket — make sure you're attaching it directly across from where you started the chain, not at an angle.
Step 2: Turn, 30 sc in the ch sts of the handle, sl st in next st of the basket body.
Step 3: Turn, 30 sc, sl st in next st of the basket body. This second pass reinforces the handle and anchors it securely on both ends.
Step 4: FO.
The Ears (Make 2)
Make two of these. They start from a foundation chain and are shaped with a mix of stitches to give them that pointed bunny ear profile.
Round 1: Ch 10.
Round 2: Turn, 8 sc, 3 sc in last ch, 8 sc on the other side of the chain. [19 sc] You're working around both sides of the foundation chain here, with the 3 sc in the last stitch forming the tip of the ear.
Round 3: Turn, ch 1, 4 sc, 3 hdc, 1 dc, 3 dc in next st, 1 dc, 3 hdc, 5 sc. [21 sts] The shift from sc to hdc to dc is what gives the ear its pointed shape — the taller stitches cluster at the tip.
Round 4: FO, folding the lower end.
Final Touches
Once both ears are finished and folded at the base, I sew them onto the basket body. Position them on opposite sides of the basket wherever feels right to you — I usually pin them in place first and step back to check the placement before committing. A few secure stitches through the folded base of each ear and into the basket wall is all it takes to hold them in place.
Care Instructions
Spot-cleaning is your best bet with this basket since it's made from cord yarn and has a safety nose and safety eyes embedded in it. Submerging the whole thing can loosen the hardware over time, and cord yarn doesn't always bounce back well after a full soak. If it needs a deeper clean, use a damp cloth with a little mild soap and let it air dry completely before storing or using it again. Keep it somewhere it won't get crushed so the basket holds its round shape.
Frequently Asked Questions
What does the BLO round do in this basket pattern?
Round 12 is worked in the back loops only, and that's what creates the defined ridge that separates the flat base from the sides of the basket. It gives the basket that clean, structured look where the walls sit upright instead of just curving up gradually. It's a small step but it makes a real difference in how the finished basket looks.
How are the ears attached to the basket?
The ears are crocheted separately, two of them, then sewn onto the basket body. The lower end gets folded before you finish off, which helps shape them a bit before sewing. Use the orange or peach thread to sew them on so the seam blends in with the cord yarn.
When do I attach the safety eyes and nose?
Attach the 12 mm black safety eyes and the 15 mm pink safety nose before the basket sides get too tall to reach inside comfortably. The basket does decrease slightly at rounds 18 and 19, so getting the hardware in place earlier makes it much easier to press the backs on securely from the inside.
How is the handle made and attached?
The handle starts with a chain of 30, joined to the opposite side of the basket with a slip stitch. You work three rows of single crochet back and forth across those chain stitches, anchoring each end with a slip stitch into the basket body. It's a flat, sturdy little handle that sits right on top.
Do I need a lot of cord yarn for this basket?
Less than 50 g of the 4 mm cord yarn covers the entire basket body, handle, and ears. That's a pretty small amount, so if you have a partial spool left over from another project, there's a good chance it's enough. Just check that it's the 4 mm thickness since that's what gives the basket its 6 2/8" diameter.
Final Thoughts
This little Easter bunny basket is one of those projects that comes together faster than you'd expect and ends up looking SO much more polished than the stitch count suggests. The cord yarn does a lot of the heavy lifting in terms of structure, and those embroidered whiskers really pull the whole face together at the end. If you make one, I'd love to see it: come tag me on Instagram or drop a photo in the comments below. And if you want to save this for later, the Pinterest button is right there waiting for you.


Leave a Reply