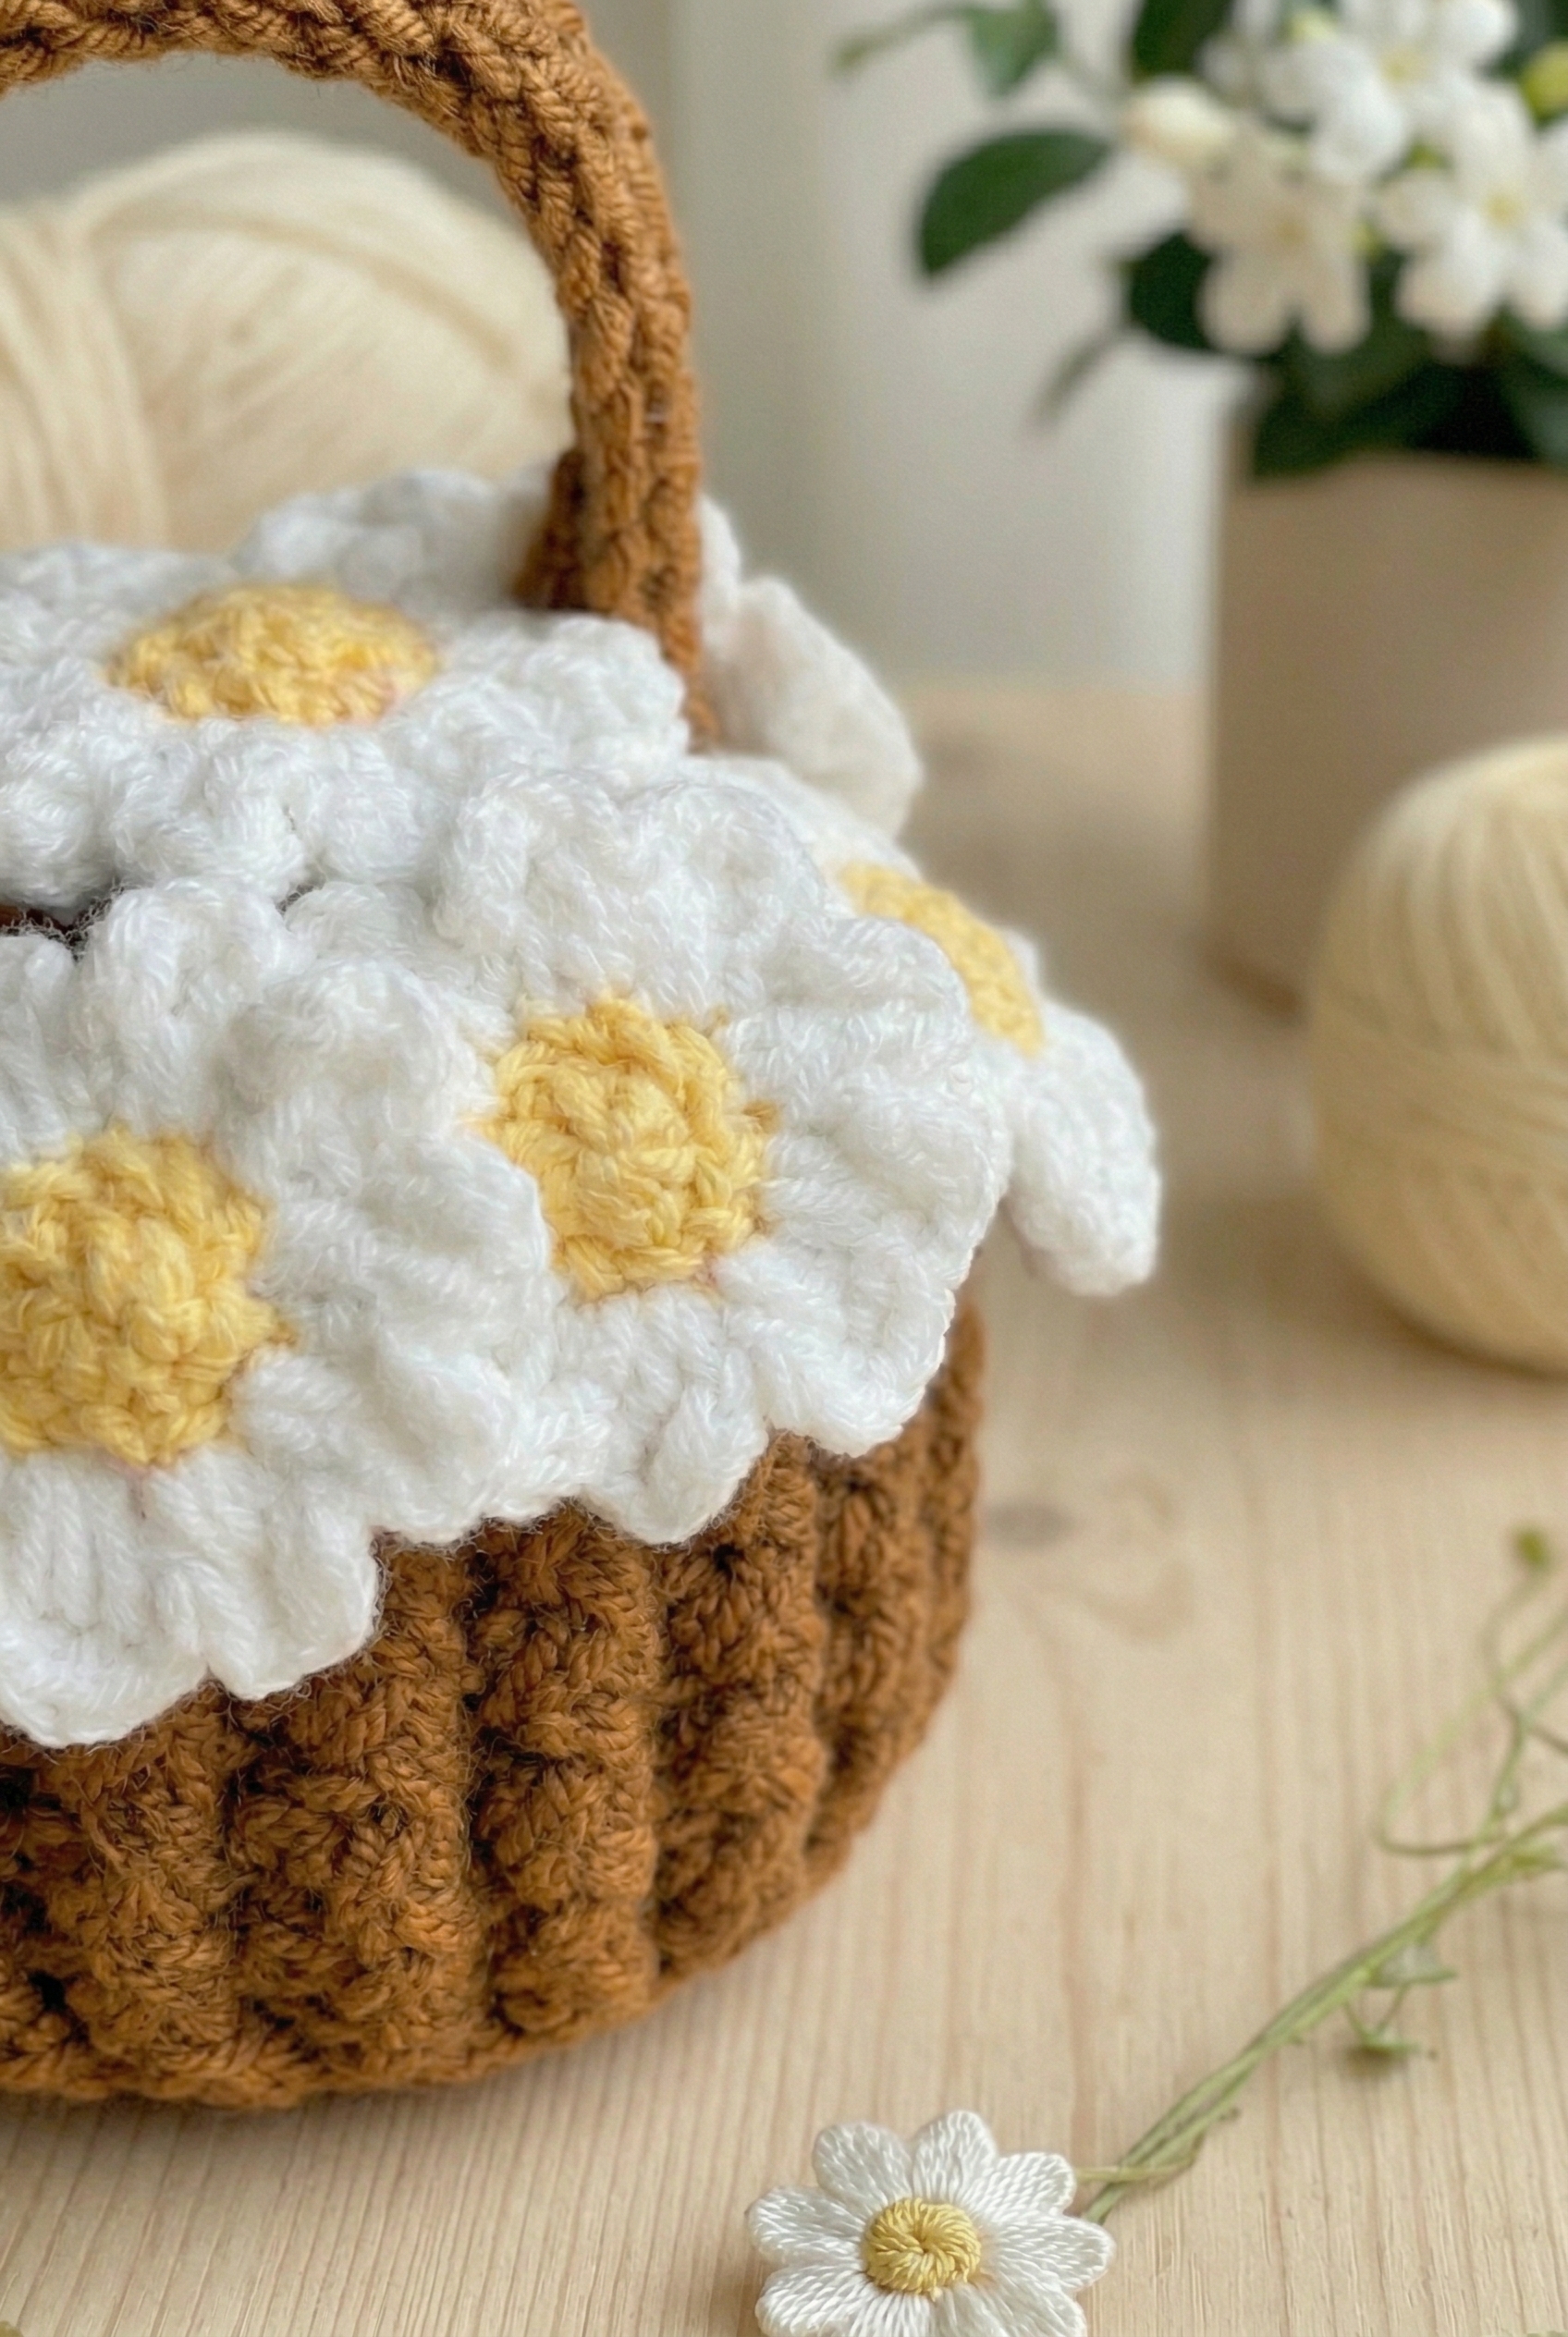
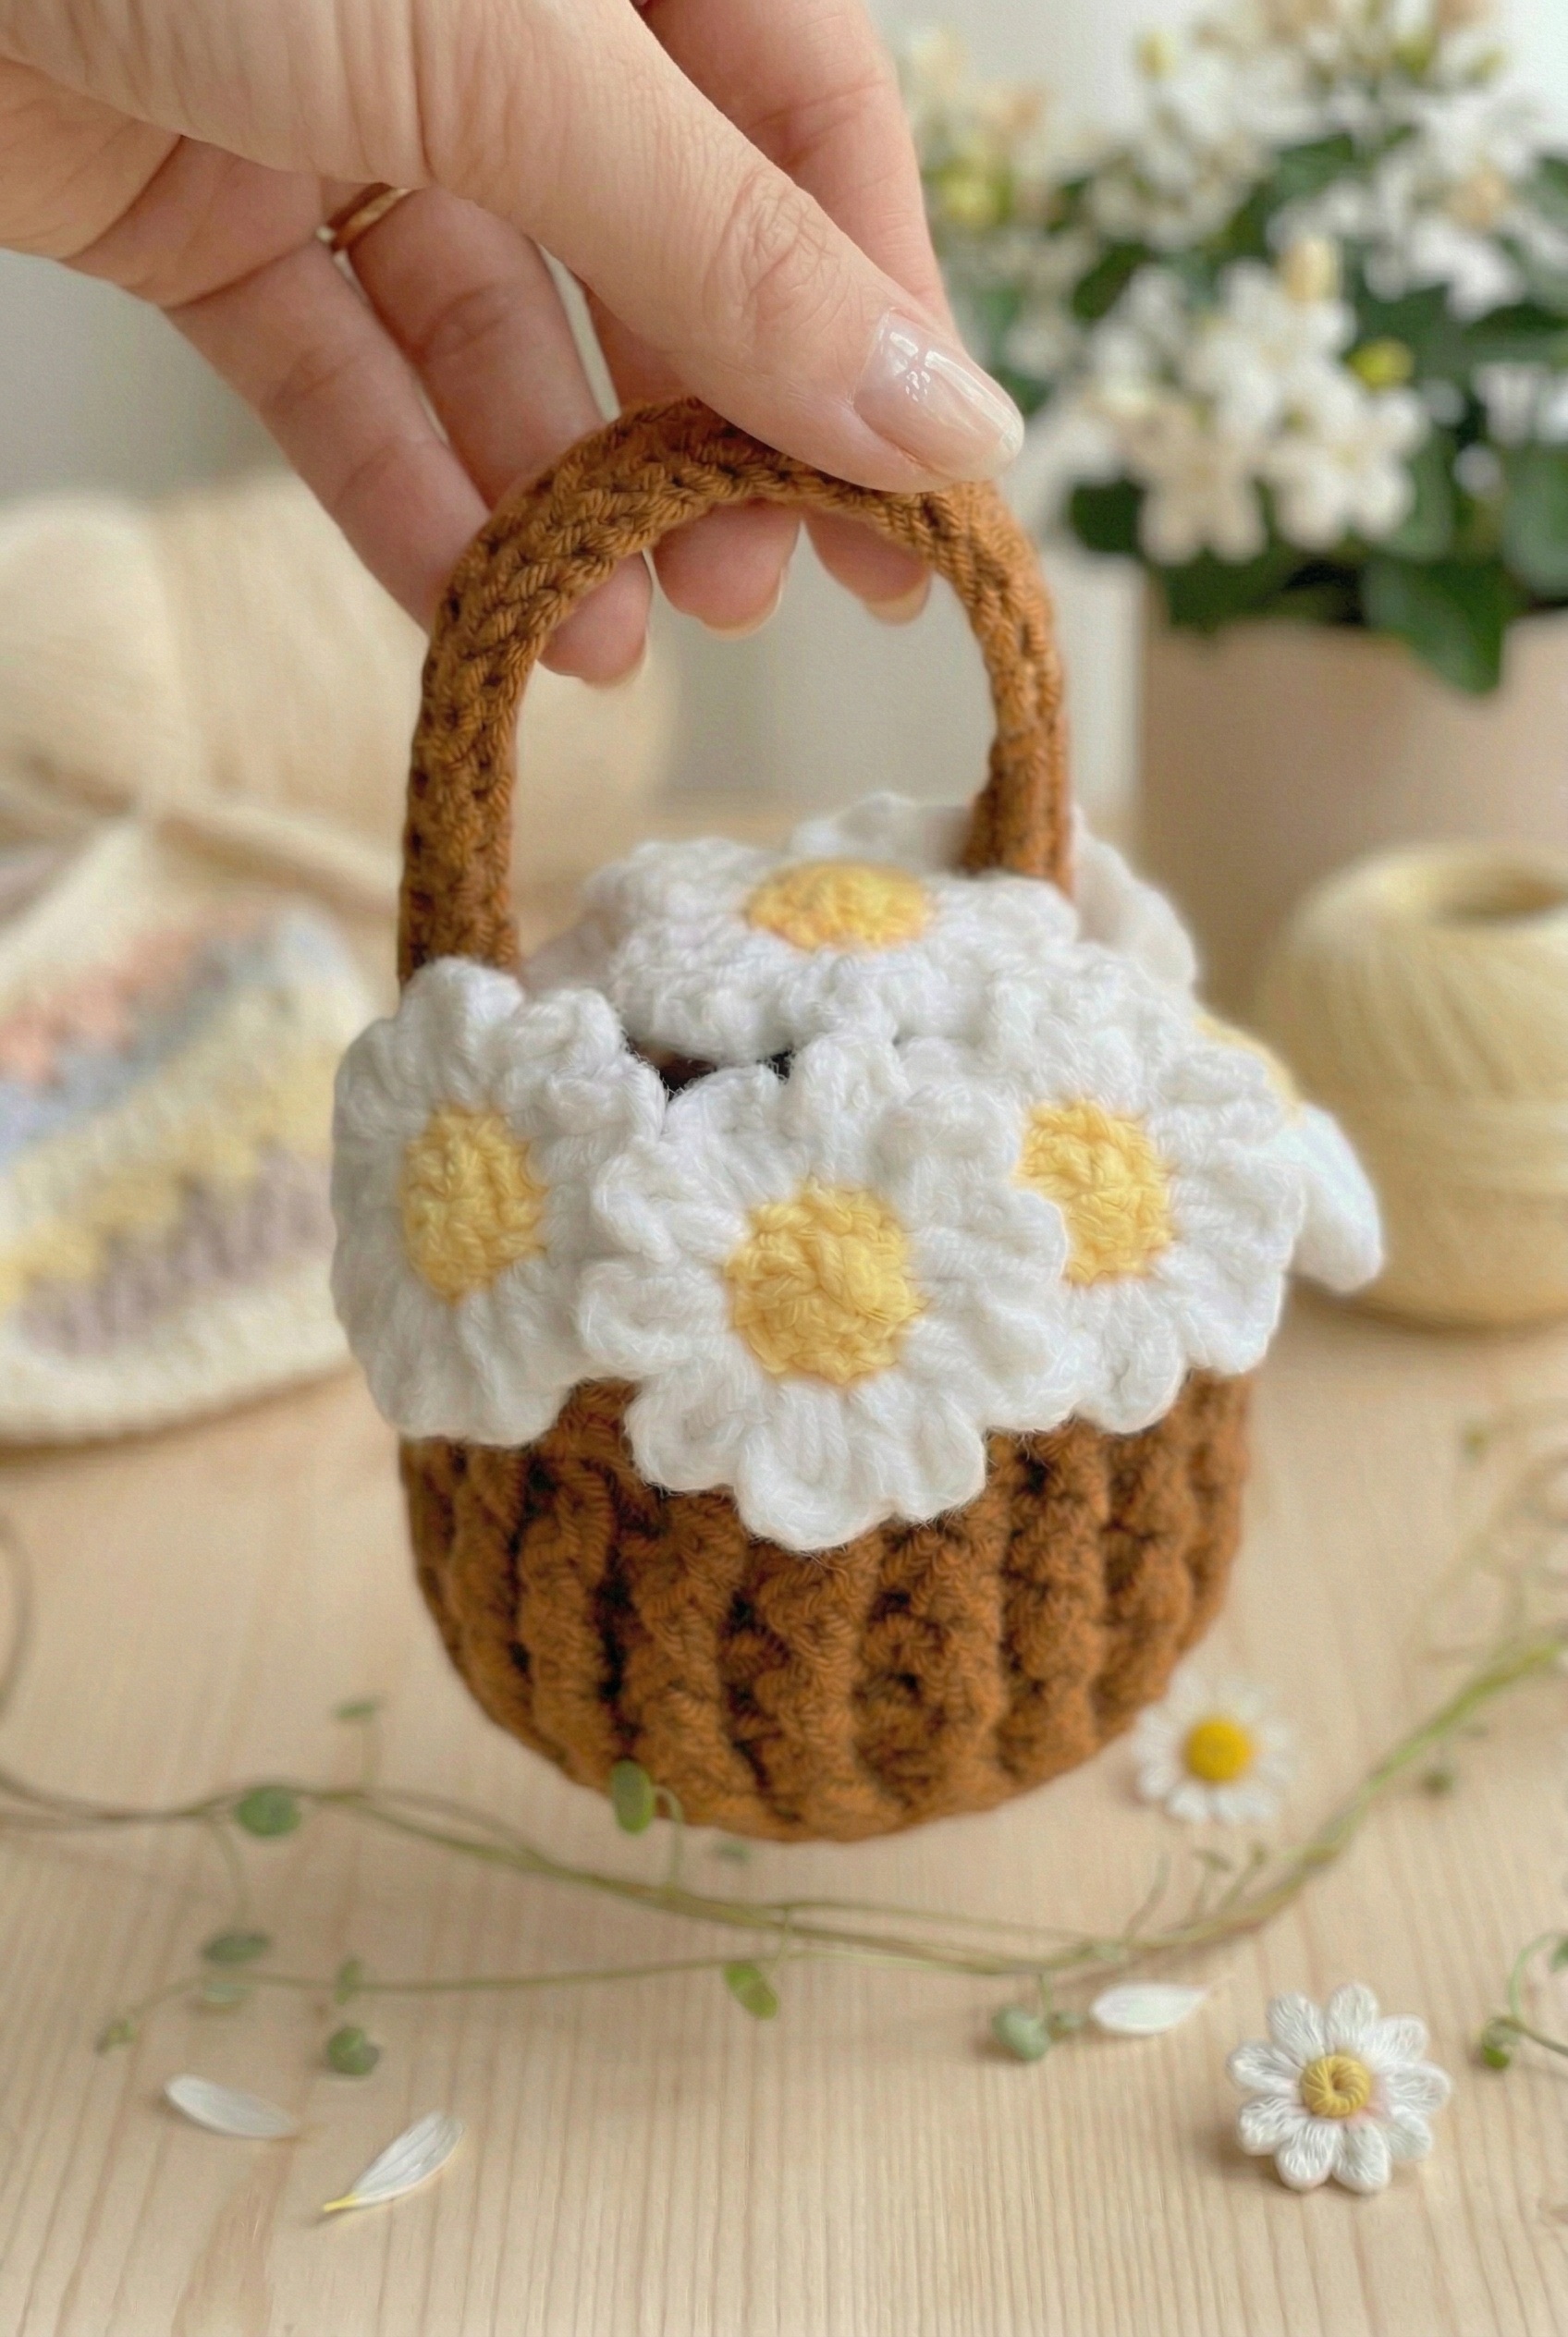
This free Daisy Flower Pot Crochet Pattern gives you a sweet little crocheted basket with a chunky ribbed texture, a single arched handle, and a ring of crocheted daisies sitting right along the top edge. It's a really lovely thing to have on a windowsill or shelf, and it makes a great handmade gift for spring or Mother's Day.

Jump to:
The Inspiration
I wanted to make something that felt a little cottage-y and warm, and this is pretty much exactly what came out. The pot itself is worked in a warm brown yarn with a ribbed stitch that gives it that chunky, almost woven look around the sides. The shape is round and bucket-like, so it sits nicely without flopping. Then around the top, I added a band of small daisies with white petals and pale yellow centers. They sit right at the rim, overlapping just a little, and they're what really make the whole thing.
Why You'll Love This Pattern
The daisies around the rim turn a simple basket into something you'll actually want to display.
- Beginner-friendly construction: The basket is worked in straightforward rounds, so there's no complicated shaping to navigate.
- A functional finished piece: It's sized to actually hold small items like a succulent pot, a candle, or a little bundle of dried flowers.
- The daisies are separate: Working the flowers individually means you can adjust how many you add, or swap in different colors without reworking anything.
Gather Your Supplies
You'll be working with five colors total, including one that's listed in the materials but doesn't actually show up in the instructions, so don't stress if white sits unused in your pile.
- Sport weight yarn in brown, dark brown, green, and yellow: For this kind of small-scale botanical project, I reach for a sport weight yarn with a smooth, consistent twist. It works up neatly at a tight gauge and holds the structure of the pot and flower pieces without getting stiff or bulky. The brown for the pot gets held double strand, so keep that in mind when you're pulling from your stash. Yardage isn't specified for any of the colors, but these are small pieces, so you won't need much of any of them by any means.
- Crochet hooks: 2.5 mm (C) and 3.5 mm (E): Two hooks are needed here. The smaller 2.5 mm keeps your stitches tight and tidy for the detailed flower pieces, and the 3.5 mm is the right size for the pot worked in double strand.
- Fiberfill: You'll use this to stuff the pot, so have a small amount on hand. Not a lot, just enough to give it a little body.
- Floral stems: These get wrapped into the finished piece and are pretty central to how the whole thing comes together structurally. Worth picking up before you start if you don't already have them.
- Hot glue gun: Used for finishing and assembly. A low-temp glue gun works fine here, so there's that.
- Also needed: stitch marker, scissors
Color Sequence & Yarn Changes
The colors each have pretty defined roles in this pattern: brown builds the pot, dark brown handles the soil layer, yellow and green work through the flower and stem pieces separately. Green does the most work across the pattern, showing up in the peduncle, the petal join round, and the stem wrapping, so it's worth keeping that ball easy to reach.
Pattern Overview
Here's everything you need to know before you pick up your hook.
| Skill Level | Level 2 — Easy |
| Pattern Gauge | Gauge is not critical for this project. Use a hook size that creates a tight, firm fabric so stuffing does not show through. |
| Finished Size | Approx. 4 in (10 cm) tall pot with flower (size will vary with yarn, hook, and tension) |
| Yarn Weight | 2 Fine / Sport |
| Terminology | US |
Stitch Guide & Abbreviations
Keep this list open while you work.
- BLO = back loop only
- BPdc = back post double crochet
- ch = chain
- dc = double crochet
- dec = decrease
- FO = fasten off
- FPdc = front post double crochet
- hdc = half double crochet
- inc = increase
- MR = magic ring
- puff = puff stitch
- sc = single crochet
- sl st = slip stitch
- tog = together
Special Stitches
- Puff Stitch (puff): (yo, insert hook in indicated st, yo and pull up a loop) 3 times in same st — 7 loops on hook. Yo and pull through all loops. Ch 1 to close unless otherwise stated.
- Front Post Double Crochet (FPdc): Worked around the post of the stitch from the previous round, inserting the hook from front to back to front.
- Back Post Double Crochet (BPdc): Worked around the post of the stitch from the previous round, inserting the hook from back to front to back.
The Critical Details
The pot is worked in the round using 2 strands of brown yarn held together throughout. Doubling up the yarn gives the pot its structure and helps it hold its shape once stuffed. The flower and peduncle are crocheted as two separate pieces: one in yellow, one in green. You'll stuff the pot as you go, so don't wait until the end to add the filling. The pieces are assembled after all components are complete.
Step-by-Step Instructions
Here's how I work through each piece of this daisy flower pot crochet pattern, from the base of the pot up to the finished bloom.
The Pot
Use brown yarn held double throughout this section, with a 3.5 mm hook. The pot starts flat at the base and then shifts into textured post-stitch ribbing for the sides. One note on the round numbering: the post-stitch rows are listed with duplicated numbers in the original instructions, so just work the stated number of rows total rather than treating each number as a unique round.
Round 1: 18 sc in MR. [18]
Round 2: inc 8 times. [16] Wait — this is an increase-only round, so you're working an increase in 8 of the 18 stitches from the previous round. Double-check your count lands at 16 before moving on. If the source count reads 16 here, work accordingly.
Round 3: (sc, inc) 8 times. [24]
Round 4: (2 sc, inc) 8 times. [32]
Round 5: (3 sc, inc) 8 times. [40]
Round 6: BLO: 40 dc. [40] Working through the back loop only here creates a defined ridge that marks the transition from the flat base to the upright sides of the pot. The double crochet gives the walls their height.
Round 7: 1 FPdc, 1 BPdc (40) 3 rows total. [40]
Round 8: 1 FPdc, 1 BPdc (40) 3 rows total. [40]
Round 9: 1 FPdc, 1 BPdc (40) 3 rows total. [40]
Round 10: 1 FPdc, 1 BPdc (40) 3 rows total. [40] Rounds 7 through 10 together make up the ribbed post-stitch section. Alternating front post and back post double crochets creates that raised, woven texture you see on a classic terracotta pot. Keep your tension consistent here — post stitches can pull tighter than regular stitches if you're not used to them.
Round 11: 40 sc. [40] This final round of single crochet finishes the top rim cleanly before you attach the handle.
Fasten off, weave in ends.
Hanging Basket Handle
This section is worked in rows and forms the arched handle that sits across the top of the pot. It's a quick piece — just two rows.
Row 1: Ch 41, start in 2nd ch from hook: 40 hdc. [40] Starting in the 2nd chain from the hook means the turning chain doesn't count as a stitch here, so you'll have 40 actual hdc across.
Row 2: Turn, 40 sl st. [40]
Sew across to the opposite side on the rim of the pot, 14 crochet stitches away from the hanging basket handle.
Fasten off, leave a tail for sewing.
The Soil
Switch to dark brown yarn and a 2.5 mm hook for this piece. The soil is a stuffed cylinder that sits inside the pot, and like the pot, the round numbering includes duplicated labels for the straight rounds — just work the stated number of rows total.
Round 1: 18 sc in MR. [8] Note that the end count here is 8 as given in the pattern data — work from your magic ring accordingly.
Round 2: inc 8 times. [16]
Round 3: (sc, inc) 8 times. [24]
Round 4: (2 sc, inc) 8 times. [32]
Round 5: (7 sc, inc) 4 times. [36]
Round 6: 36 sc (36) 7 rows total. [36]
Round 7: 36 sc (36) 7 rows total. [36]
Round 8: 36 sc (36) 7 rows total. [36]
Round 9: 36 sc (36) 7 rows total. [36]
Round 10: 36 sc (36) 7 rows total. [36]
Round 11: 36 sc (36) 7 rows total. [36]
Round 12: 36 sc (36) 7 rows total. [36] Rounds 6 through 12 are all the same — 36 sc per round, 7 rounds total. This is the straight body of the soil cylinder. Keep your tension even and your stitch count consistent through these rounds.
Round 13: (7 sc, dec) 4 times. [32]
Round 14: (2 sc, dec) 8 times. [24]
Round 15: (sc, dec) 8 times. [16]
Stuffing. Add your fiberfill now, before the opening gets too small to work with comfortably. You want it firm enough to hold its shape inside the pot.
Round 16: dec 8 times. [8]
FO and cut the yarn.
Flower: Peduncle Pieces (Make 2 — One Yellow, One Green)
Use a 2.5 mm hook for these. You'll make two small flat circles: one in yellow and one in green. These two pieces get paired together before you work the petals, so don't skip either one.
Round 1: MR, 8 sc. [8]
Round 2: (sc, inc) 4 times. [12]
Cut the yarn.
Flower: Petals
Hold the two peduncle pieces together and use green yarn to crochet the petals around the edge of the joined circles. The puff stitches here give each petal a rounded, dimensional shape.
Round 1: (ch 3, puff (3 loops), ch 3, sl st) 10 times. [10] Each repeat of this sequence forms one petal. The puff stitch uses 3 loops — work it into the same stitch as the ch 3 before it, then chain 3 again and slip stitch to close the petal before moving to the next one. Keep your chain tension relaxed so the petals can fan out naturally.
Cut the yarn.
Finishing Touches: The Flower Stem
Use green yarn and a hot glue gun to finish the flower stem. I wrap the floral wire or pre-made floral stem with green yarn to cover it, then use a small amount of hot glue to secure the end of the stem before inserting it up through the peduncle. The wrapping doesn't need to be perfect — just snug and even enough that the wire is fully covered. Take your time with the glue gun and let each section set before moving on.
Fasten off, weave in ends.
Finishing
Once all the pieces are done, here's how I put everything together. Start with the handle: sew the hanging basket handle across to the opposite side on the rim of the pot, 14 crochet stitches away from where the handle begins. Counting those 14 stitches carefully matters here — it keeps the handle centered and the pot balanced when it hangs.
Next, pair the two peduncle pieces together — the yellow one and the green one — and crochet the flower petals around them with green yarn as described in the Petals section. The two circles sitting together form the center of the daisy, so line them up evenly before you start.
The soil piece should already be stuffed and closed from Round 16. Place it inside the pot so it sits flush with or just below the rim.
For the stem: use a hot glue gun to attach the end of the floral stem, then insert it up through the peduncle so the flower sits on top. Once that's secure, wrap the wire or floral stem with green yarn to finish it off. I work from the base of the stem upward, keeping the wraps tight and close together so no wire shows through. A small dab of glue at the top and bottom holds the yarn in place.
Frequently Asked Questions
Can I use a different yarn weight for this pattern?
You can, but the finished size will change. I use a fine/sport weight yarn here, and the pot comes out around 4 inches tall. Go up to a DK or worsted and you'll end up with something noticeably bigger. That might be exactly what you want, so there's that. Just know the proportions between the pot and the flower can shift a bit depending on how much you size up.
Why does this pattern use two different hook sizes?
The 2.5 mm hook gives the pot a tighter, sturdier fabric so it holds its shape. I switch to the 3.5 mm for the daisy petals, where a slightly looser tension looks better and lets the flower sit more naturally on top.
Is this pattern suitable for a beginner?
It sits at an easy level, so it's not the very first thing I'd hand someone on day one. If you're comfortable with basic stitches and working in the round, you'll be fine. The two hook sizes might feel like a small extra step, but it's really just a matter of picking up the other hook at the right point.
My finished pot looks smaller than 4 inches. What went wrong?
Probably nothing went wrong, I think. Tension varies from person to person, and sport weight yarn can run quite fine depending on the brand. If the fabric feels dense and the shape is holding, your pot is doing its job. The 4-inch measurement is approximate by any means, and a slightly smaller version is still a perfectly good finished piece.
Can I make multiples of this as a gift?
These work really well in a set. I'd pick two or three coordinating yarn colors for the flowers and keep the pot color consistent across all of them. Because the finished size is small and the project is relatively quick, making a few in a row isn't a big undertaking. They look great grouped together on a windowsill.
Happy Crocheting
I'd love to see your finished daisy pots, so if you make one, tag me on Instagram or drop a photo in the comments below. These little guys photograph so well on a bookshelf or kitchen counter, and if you want to save this for later, pinning it to your crochet home decor board on Pinterest is always a good call. Let me know in the comments if you tried a different color combination for the daisy, because I'm always curious what other people reach for when they sit down with this one.


Leave a Reply