
I've been making a lot of small motif projects lately, and this Daisy Flower Crochet Pattern has been a really satisfying one to work through. It's the kind of quick, compact project you can finish in a single sitting, and it works up so neatly that you'll want to make a whole pile of them. If you've been looking for a simple flower motif to add to your crochet rotation, this is a good one to reach for.

Jump to:
About This Project
What I really like about this flower is how the construction gives you something that feels finished and intentional without a lot of fuss. The petals form up with a satisfying structure as you go, and by the time you fasten off, it actually looks like something you'd see in a shop. I find that really rewarding with a project this small.
I keep coming back to motifs like this one because they're genuinely useful. You can attach them to just about anything: a headband, a bag, a clip, a gift wrap topper. I've made a few as little standalone gifts and people always love them. It's the kind of pattern that earns its place in your library because you'll actually use it.
Why You Need This on Your Hook
This little flower works up fast and gives you something genuinely pretty to show for it.
- Skill Level: Easy. You don't need much experience to get a clean result with this one.
- Quick to Complete. This is a single-sitting project, so it fits into even a short window of free time.
- Great for Gifting. Small, sweet, and easy to make in multiples, it's a natural choice when you need a handmade touch for a gift.
- Versatile Attachment. Because it's a motif, you can use it on practically anything, which makes it worth knowing how to make.
- Motif Skills Practice. If you're building confidence with working in the round, this pattern is a low-stakes way to get comfortable with it.
Materials You'll Need
Two colors, one hook, and 100 g of yarn total — that covers the whole project.
- Weight 2 Fine Linen-Cotton Blend Yarn: Fine weight yarn is the right call here. It gives the flowers a crisp, defined shape without being stiff, and a linen-cotton blend has just enough body to hold the petals without drooping. You'll need 50 g in linen (color no. 103) and 50 g in off white (color no. 08).
- 3 mm / C Crochet Hook: A 3 mm hook pairs well with fine weight yarn and keeps your stitches tight enough that the flower structure holds its shape cleanly.
- Also needed: scissors, tapestry needle
Alternative Yarn Suggestions
Linen-cotton blends can be harder to track down depending on where you shop, so here are a couple of substitutes worth considering. The main thing to look for is a fine weight yarn with low stretch and a bit of structure.
- Fine weight 100% cotton: A sport or fine weight cotton works well as a substitute. It's widely available, holds its shape nicely, and comes in a huge range of colors. Look for something around 150-180 m per 50 g ball.
- Fine weight linen: Pure linen yarn is another solid option if you want to keep that natural, slightly textured feel. It can be a little stiffer to work with at first but softens up, and the stitch definition is really good for floral motifs.
Color Sequence & Yarn Changes
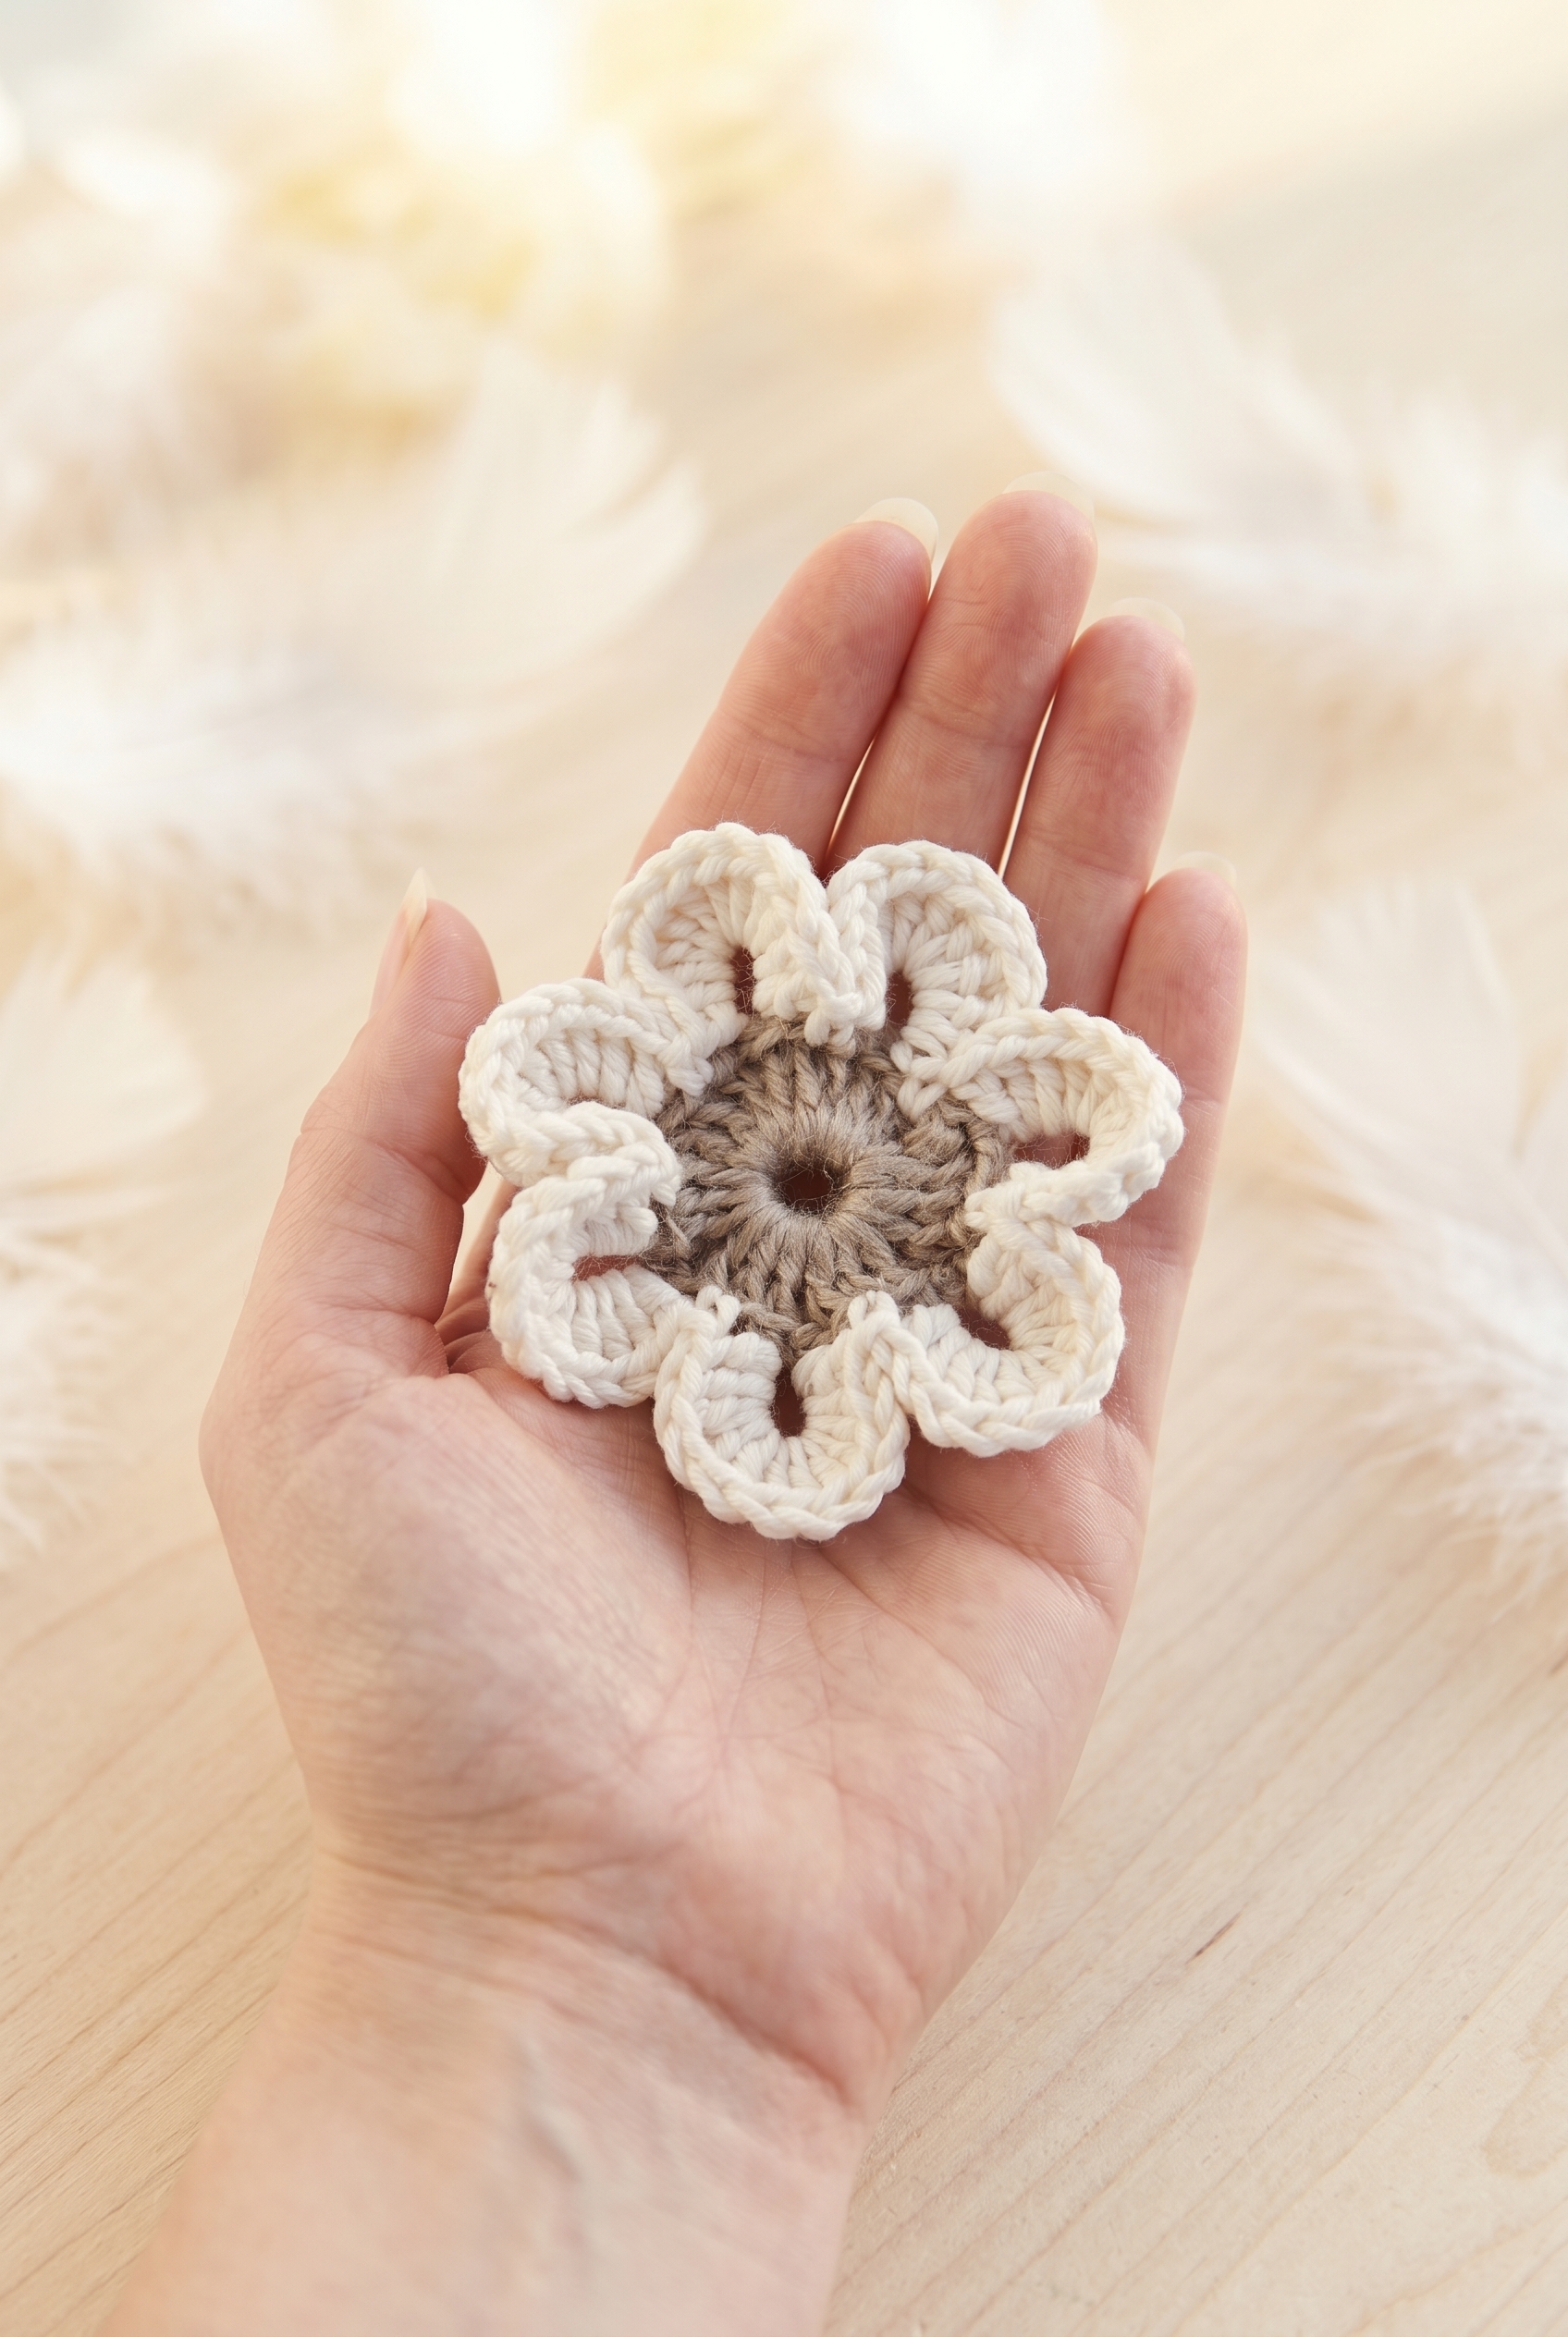
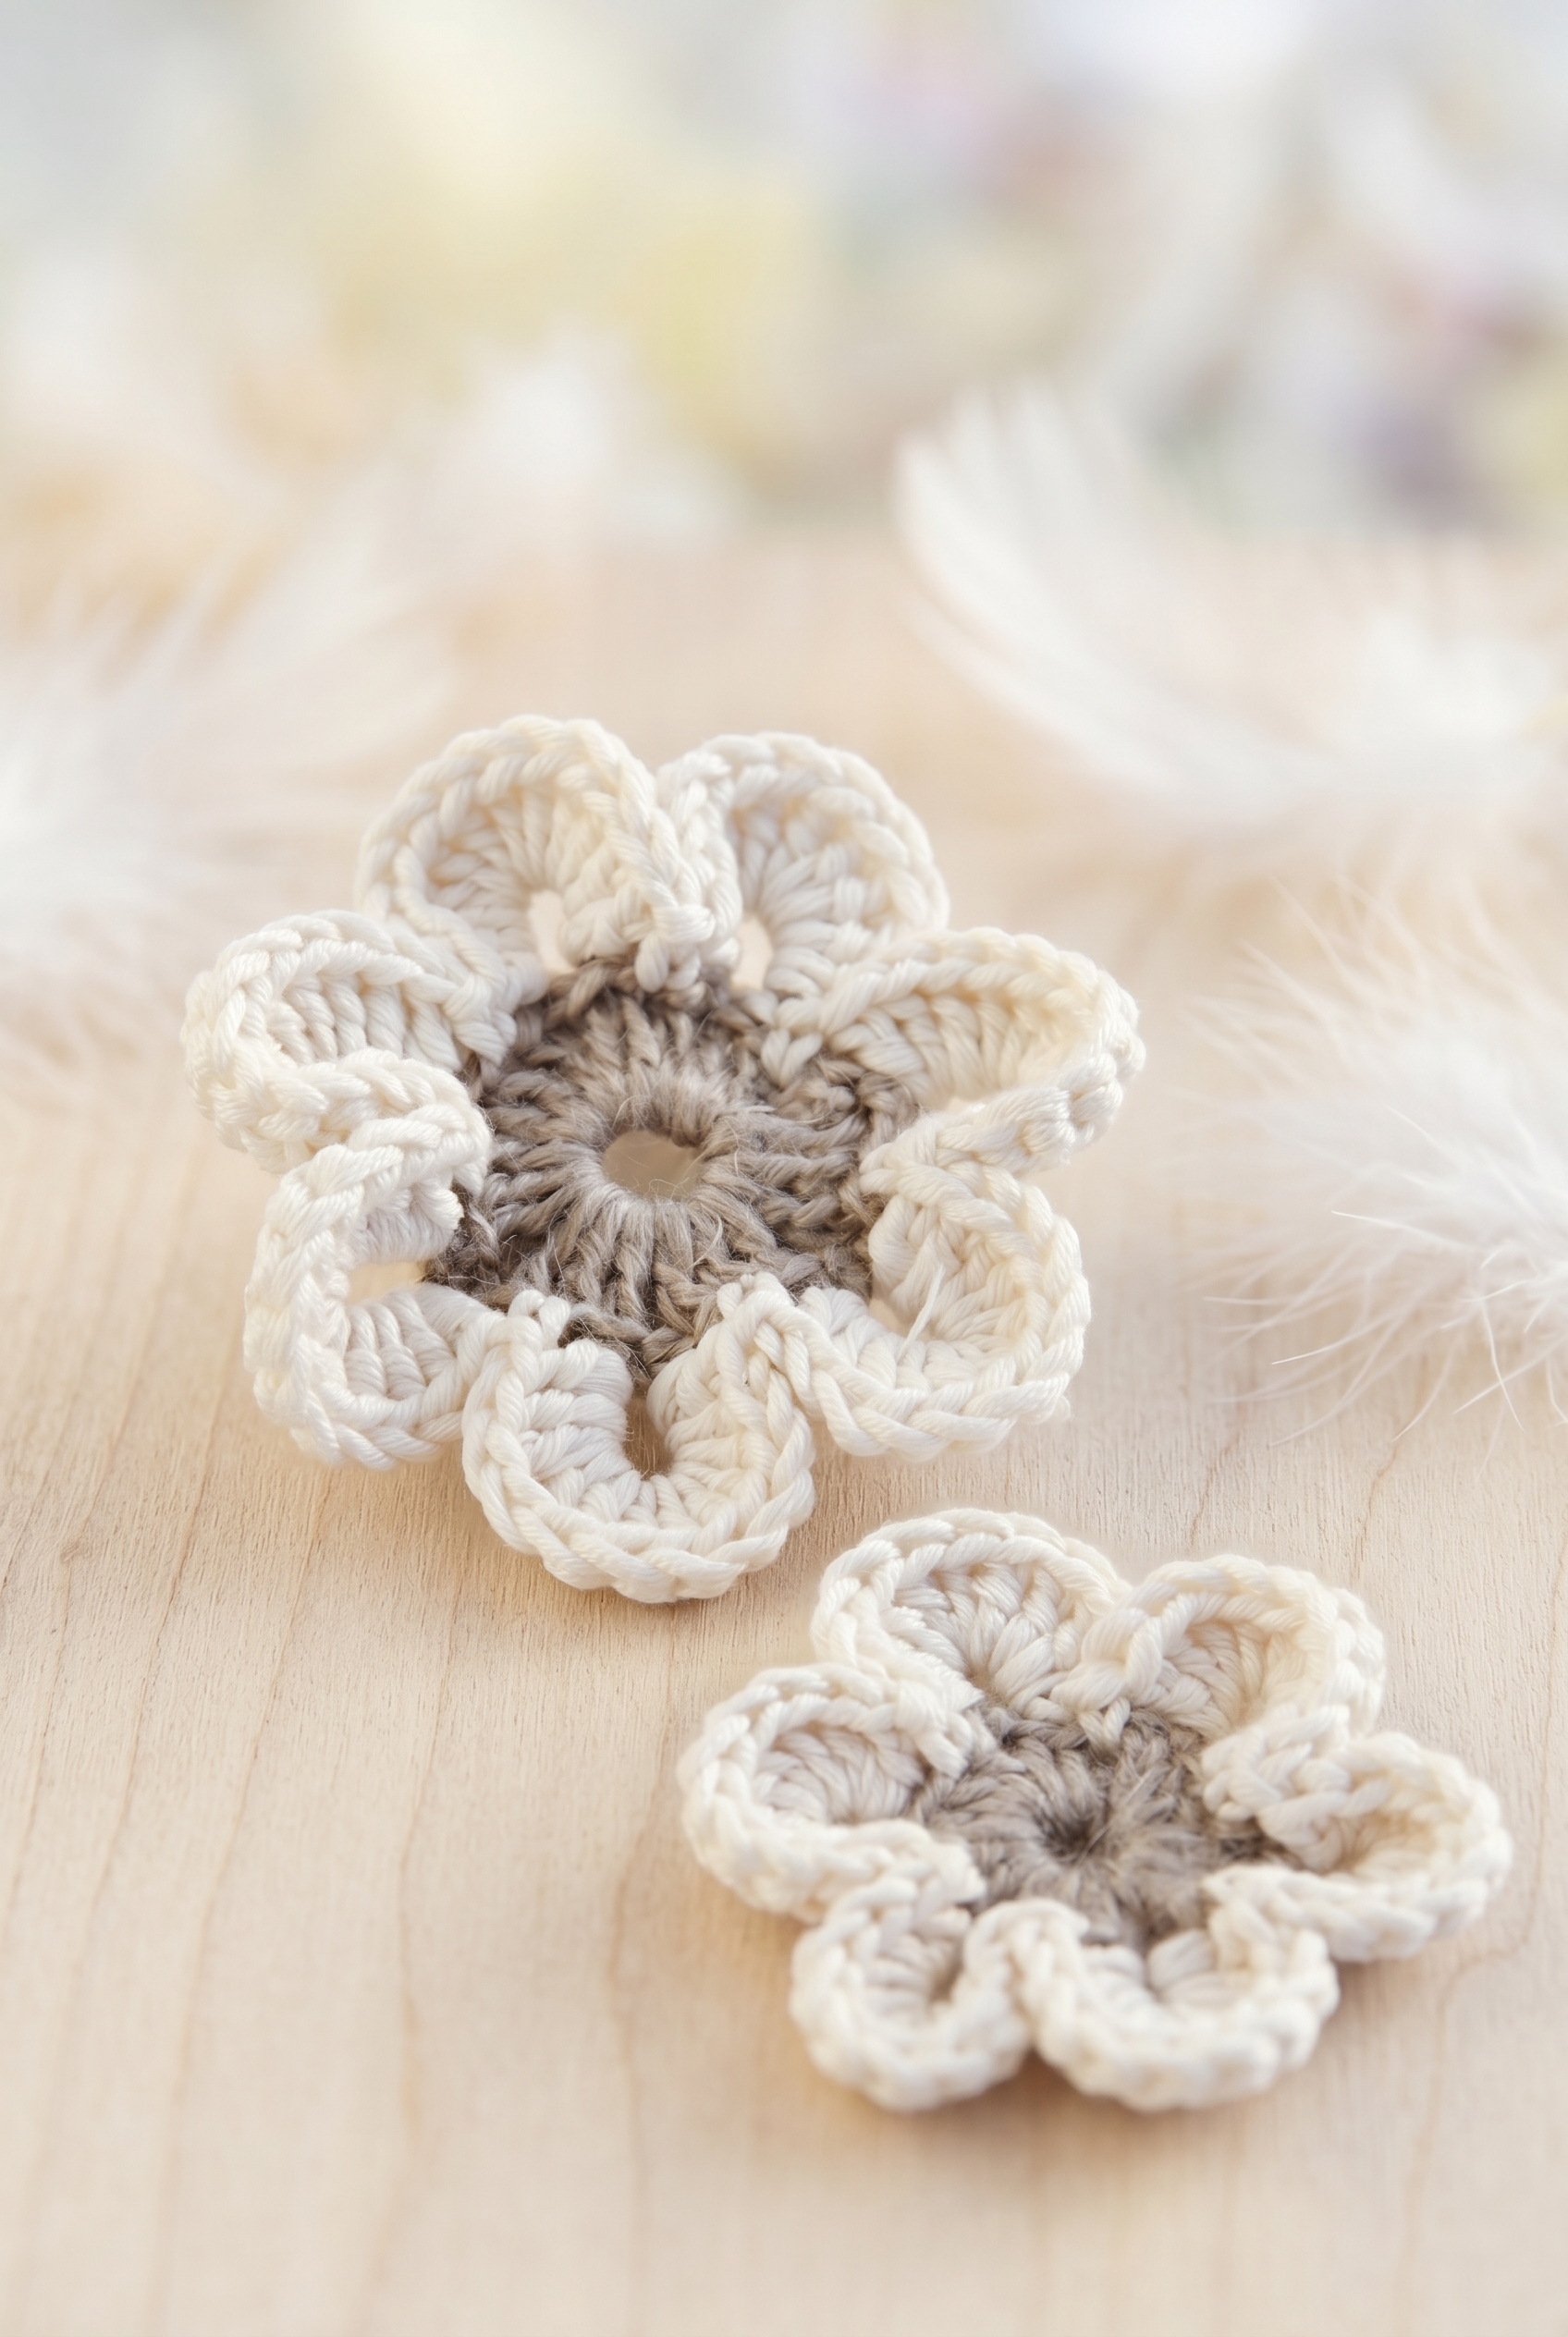
Both the large and small flowers follow the same color order: linen for Rounds 1 and 2, then off white for Round 3. The switch happens just once per flower, so there's no complicated carrying involved — just a clean join at the start of Round 3 and you're done.
Project Summary
A lightweight crocheted flower accessory worked in linen and cotton, sized to suit whatever hook gives you a fabric you like.
| Skill Level | Easy |
| Pattern Gauge | Gauge is not critical for this project. Use a hook size that creates a neat fabric and yields the flower size you want. |
| Finished Size | One-size |
| Yarn Weight | 2 Fine |
| Fiber | DROPS LIN (linen) + DROPS MUSKAT (100% Cotton) |
| Terminology | US |
Stitch Guide & Abbreviations
All familiar stitches here, nothing unusual.
- ch = chain
- sc = single crochet
- hdc = half double crochet
- dc = double crochet
- sl st = slip stitch
- beg = beginning
- tog = together
- *...* = repeat instructions between asterisks as directed
Before You Begin
This is a one-size flower accessory, so there are no dimensions to hit. Pick a hook that gives you a fabric you're happy with and go from there. Because the pattern uses two different yarns, DROPS LIN and DROPS MUSKAT, it's worth swatching a few rows with each to see how they behave on your chosen hook before you start. Linen has a bit more structure than cotton, so they'll feel slightly different in the hand even at the same weight.
Let's Make the Daisy Flower Crochet Pattern
Here's how I work through both flowers, starting with the large version and then the small.
Large Crochet Flower
This is the showpiece of the two. It works up in three rounds: a foundation ring, a spoke round that sets up the petals, and a final round in a contrast color that fills those spokes out into full petals.
Round 1: Ch 7 with Lin and form a ring with 1 sl st in first ch.
Round 2: Ch 3 (= 1 dc), 2 dc in ch-ring, *ch 6, 1 sc in last dc made, 3 dc in ch-ring* repeat 6 times total and finish with ch 6 and 1 sl st in 3rd ch from beg of round. [7 ch spaces with 3 dc between each] Fasten off. The sc worked back into the last dc creates a little picot-style anchor at the tip of each chain space — that's what gives the petals their pointed shape later.
Round 3: Switch to Muskat. Work 1 sc in the middle of the first 3 dc on round, *12 dc in ch space, skip 1 dc, 1 sc in next dc, skip 1 dc* repeat around and finish with 1 sl st in first sc from beg of round. Fasten off. Join Muskat with a standing sc or a slip knot join so you're starting cleanly at the center dc of that first group.
Small Crochet Flower
The small flower follows the same logic as the large one but uses half double crochets instead of doubles, and one fewer petal. It's a quicker make and pairs well alongside the large flower.
Round 1: Ch 6 with Lin and form a ring with 1 sl st in first ch.
Round 2: Ch 2 (= 1 hdc), 2 hdc in ch-ring, *ch 5, 1 sc in last hdc made, 3 hdc in ch-ring* repeat 5 times total and finish with ch 5 and 1 sl st in 2nd ch from beg of round. [6 ch spaces with 3 hdc between each] Fasten off. Same picot anchor technique here as in the large flower, just with a ch-5 instead of ch-6, so the petal spaces come out a touch narrower.
Round 3: Switch to Muskat. Work 1 sc in the middle of the first 3 hdc on round, *10 dc in ch space, skip 1 hdc, 1 sc in next hdc, skip 1 hdc* repeat around and finish with 1 sl st in first sc from beg of round. Fasten off. Ten dc per petal rather than twelve, keeping the proportions right for the smaller ring.
Care Instructions
Both DROPS LIN and DROPS MUSKAT are natural fiber yarns, so hand washing in cool water is the safest route. Lay the flowers flat to dry rather than hanging them, since the petal loops can stretch out of shape under their own weight when wet. If you've attached these to a hair clip or brooch pin, keep that hardware away from prolonged soaking. A quick reshaping by hand while the flowers are still damp will keep the petals looking neat.
Frequently Asked Questions
What is the difference between the large and small crochet daisy flowers?
The large flower starts with a ch-7 ring and uses double crochet throughout, giving you 7 petals with 12 dc each. The small flower starts with a ch-6 ring and uses half double crochet in the base rounds, resulting in 6 petals with 10 dc each. The construction is nearly identical, just scaled down.
Why does Round 2 end with a slip stitch into a chain rather than into a stitch?
Round 2 on both flowers ends with a slip stitch into the 3rd (or 2nd) chain from the beginning of the round, not into a regular stitch. This closes the round cleanly and sets up the ch-space for the petal row. It can feel a little awkward the first time, but once you see the ch-spaces sitting evenly around the ring it makes sense.
Do I need to fasten off between colors, or can I carry the yarn?
You do fasten off between colors here. Rounds 1 and 2 are worked in linen, then you fasten off and join the off-white Muskat for Round 3. Carrying the yarn across the join would create a visible strand behind the petals, so a clean fasten-off and new join looks much neater on these small flowers.
Where exactly do I join the off-white yarn for Round 3?
Join Muskat with a single crochet in the middle stitch of the first group of 3 dc (or 3 hdc on the small flower). That center stitch is your anchor point for each repeat around the ring. Finding it is easier if you count your stitches before joining rather than eyeballing it.
Can I use a different hook size or yarn weight to make the flowers larger or smaller?
Going up in hook size or yarn weight will give you a noticeably bigger flower, and going down will shrink it. Since there's no gauge requirement here, feel free to experiment. Just keep in mind that the petal loops are worked into chain spaces, so a much bulkier yarn can make Round 3 feel crowded.
Before You Go
These little daisies are the kind of project I find myself coming back to whenever I need something quick and satisfying, and I'd love to see what you do with them. Pin this pattern to your accessories board so you can find it again, and if you make one, tag me on Instagram so I can see your finished flowers. If you have a question I didn't cover above, drop it in the comments and I'll get back to you.


Leave a Reply