
This Chunky Mustard Basket Crochet Pattern is honestly one of the most satisfying things I've made in a while. It's sturdy, it's functional, and it's the kind of project that looks like you put in way more effort than you actually did.

Jump to:
About This Project
What I love about this one is how purposeful it feels. The built-in handles are part of the construction from the start, not an afterthought, and that really does make a difference in how the whole thing holds together. I made mine for my living room and it's been holding blankets ever since. Could just as easily go in a bathroom, a nursery, a home office. It's one of those pieces that just finds a job and keeps it.
It's also a genuinely good intermediate project. Not so simple that it feels boring halfway through, but not so complicated that you're dreading picking it back up. The construction keeps you engaged.
Why You'll Want to Make This
This basket is a practical, beautiful make that earns its place in any room.
- Skill level fit: Intermediate crocheters will find this engaging without it ever feeling overwhelming.
- Gifting potential: A handmade basket is one of those gifts that works for pretty much any occasion and any person.
- Technique value: You'll work through integrated handles and structured base construction, both genuinely useful skills to have.
- Practical result: This isn't a decorative-only project. It holds things, it gets used, and it holds up.
What You'll Need
Four balls of yarn, one hook, and a handful of basic tools — that's the whole list.
- Super Bulky Weight Yarn (80% Acrylic, 20% Wool), 4 balls: A weight 6 super bulky works well here because the thick strand builds up the basket walls quickly and holds its shape without a lot of fuss. The wool content gives it just enough structure and a little grip, so the stitches don't slide around on each other. You'll be holding two strands together throughout, so keep all four balls on hand from the start.
- 9 mm Crochet Hook: A 9 mm is the right call when you're working doubled strands of super bulky. It keeps the fabric tight enough that the basket holds its form but not so tight that your hands wear out after two rounds.
- Locking stitch markers: These are genuinely essential for this pattern, not just a nice-to-have. You're working in a continuous spiral with no joining rounds, so markers are how you track round beginnings and corner increases. Grab a few — you'll want more than one placed at a time.
- Also needed: scissors, yarn needle
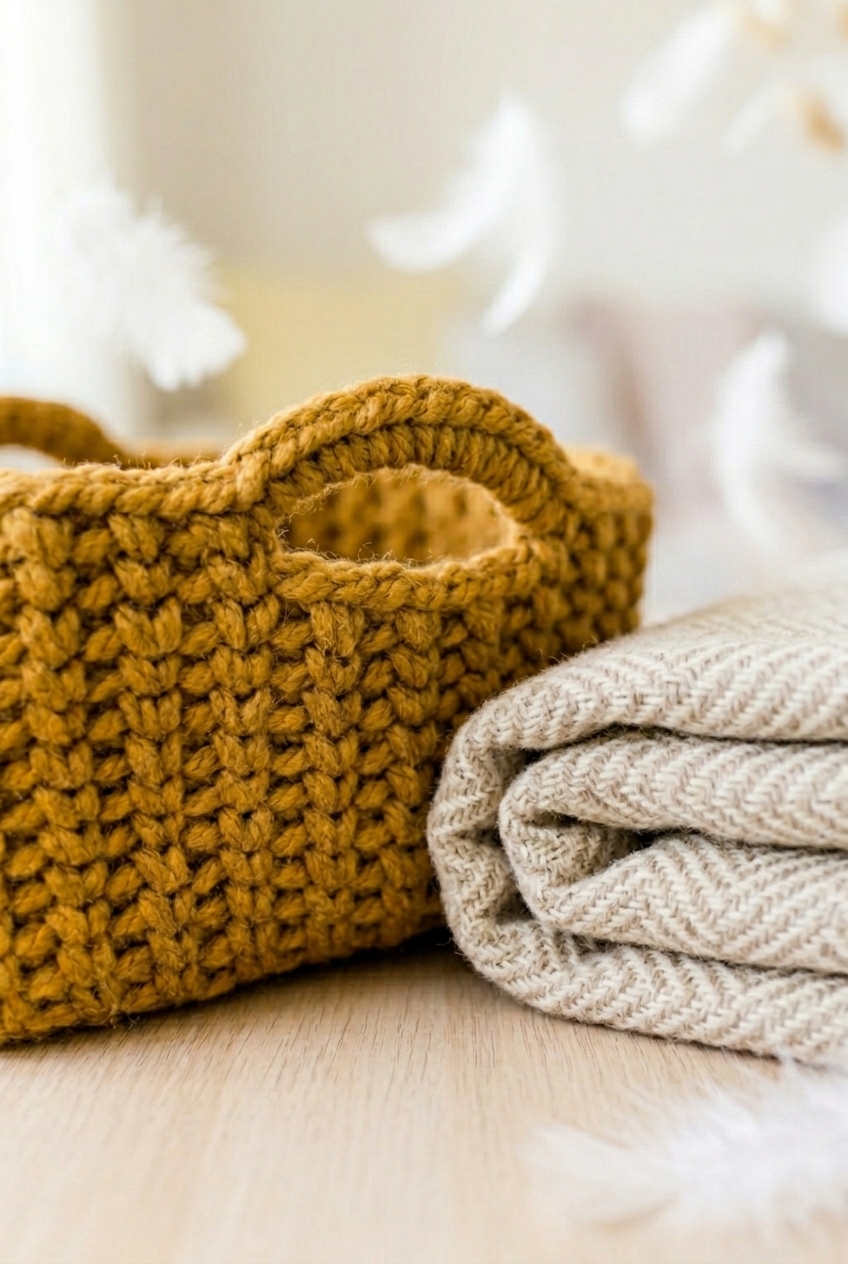
Project Summary
A sturdy, structured storage basket worked in the round with doubled yarn and waistcoat stitch sides.
| Skill Level | Intermediate |
| Pattern Gauge | Gauge is not critical for this project. Use a hook size that creates a tight, firm fabric so the basket holds its shape. |
| Finished Size | 14″ wide × 6″ deep × 7″ tall |
| Yarn Weight | 6 Super Bulky |
| Fiber | 80% Acrylic, 20% Wool |
| Terminology | US |
Customizing the Size
To make a larger basket, repeat Base Round 3 additional times before moving on to the sides. For a taller basket, add more repeats of Sides Round 2 before working Rounds 12 through 13. Both adjustments will affect your yarn requirements, so wind a little extra before you start.
Stitch Guide & Abbreviations
Short list, mostly familiar stitches, with one specialty stitch worth reading before you start.
- BLO = back loop only
- ch = chain
- ch-sp = chain space
- hdc = half double crochet
- lp = loop
- sc = single crochet
- sk = skip
- sl st = slip stitch
- sp = space
- st(s) = stitch(es)
- wcs = waistcoat stitch: Insert hook into the middle of the post between the "V" of the stitch, push hook to the back of work, yo, pull up a loop, yo, pull through both loops on hook.
Special Stitches
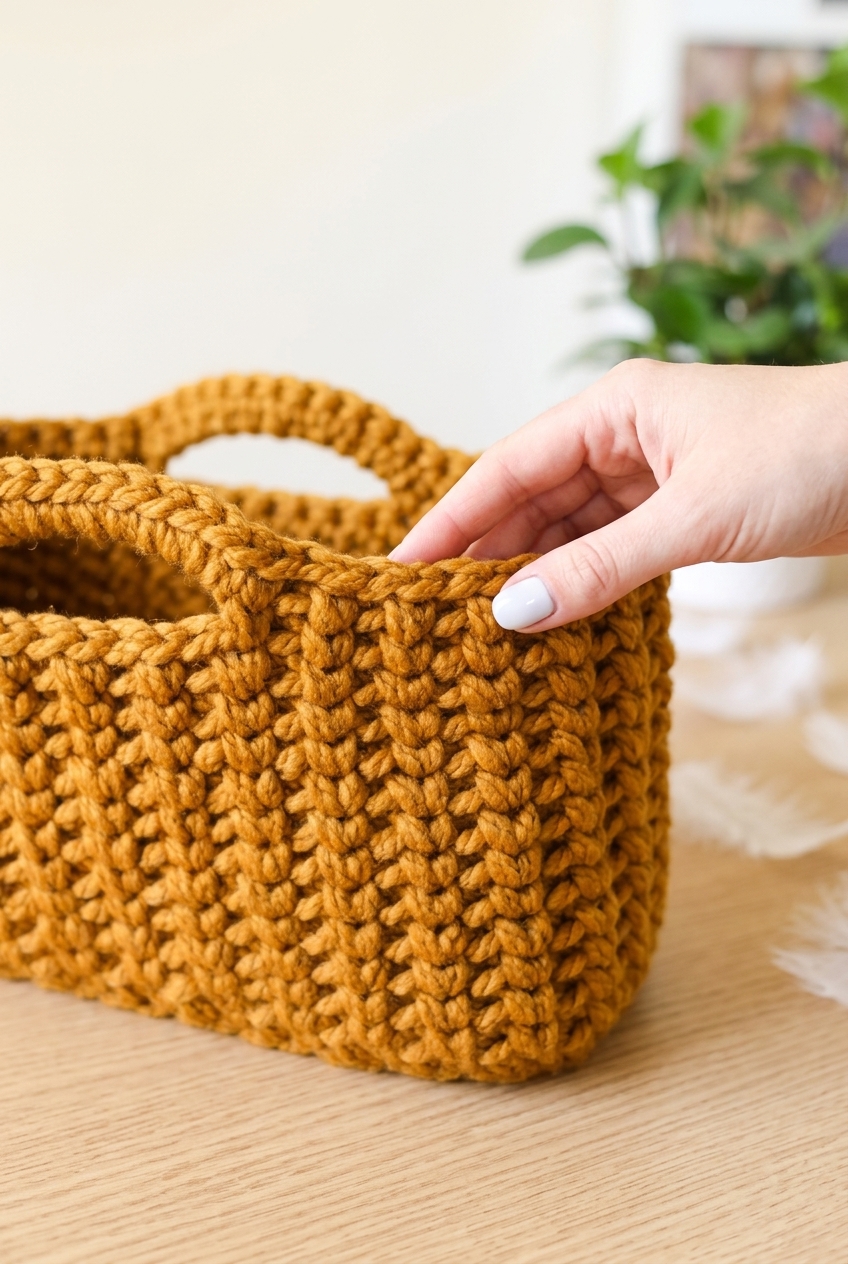
- Waistcoat Stitch (wcs): Insert hook into the middle of the post between the "V" of the stitch, push hook to the back of work, yo, pull up a loop, yo, pull through both loops on hook. This is what gives the sides that tight, woven-looking texture. It reads like a single crochet but the entry point is different, so take a moment to get comfortable with it before diving into the sides.
The Critical Details
Hold two strands of yarn together for the entire pattern. Not just the base, not just the sides. Every stitch, start to finish, is worked doubled. This is what gives the basket its structure and lets it actually stand up on its own.
The base and sides are worked in a continuous spiral with no joining rounds. You'll never slip stitch to close a round here. Because of that, stitch markers aren't optional. Place them at each corner increase and use one to track where your round begins and ends, or you'll lose count faster than you'd expect.
Gauge isn't something to stress over for this one. What matters is that your fabric feels firm and dense when you squeeze it. If it's floppy, go down a hook size.
Let's Make the Chunky Mustard Basket Crochet Pattern
Here's how the basket comes together, worked from the bottom up in two main sections.
Building the Base
The base is worked in rounds starting from a foundation chain, and the oval shape comes from working increases at both ends of that chain. You'll be placing stitch markers as you go, so have a few on hand before you start.
Round 1: Ch 16. Starting in 2nd ch from hook, sc 14, 5 sc in last ch (mark the 2nd and 4th st). Working on the opposite side of the ch, sc 13, 4 sc in the last st (mark 2nd and 4th st). [36 sts] The increases at each end of the chain are what give the base its oval shape. Mark those stitches carefully — they're your increase points for the next several rounds.
Round 2: Continuing to work in a spiral, sc in next st (mark as first st of the round — this is the beginning marker). [Sc to next marker, 3 sc in marked st (move marker to 2nd st)] 4 times. [44 sts] Moving the marker to the 2nd stitch of each 3-sc increase keeps it centered on the increase point for the following round.
Round 3: Sc around, placing 3 sc in marked sts and moving marker to 2nd st. Move beginning marker to first st. [52 sts]
Round 4: Repeat Round 3. [60 sts]
Round 5: Hdc around, placing 3 hdc in marked sts. Do not replace increase markers. Move beginning marker to first st. [68 sts] Switching to hdc here adds a bit of height and firmness to the outer edge of the base. The instruction says not to replace the increase markers after this round — you're done shaping the base, so those markers have done their job.
Working the Sides
The sides build straight up from the base using a textured stitch pattern that gives the basket its woven look. The wcs (waistcoat stitch) alternating with back-loop single crochet is what creates that effect, so keep your tension consistent throughout.
Round 1: Sc in back loop and 3rd loop around. Move beginning marker to last st (this marker now indicates the last stitch instead of the first stitch of the round). Working into both the back loop and the third loop at the same time pulls the sides up at a clean right angle from the base. Note that your beginning marker shifts to track the last stitch from here on rather than the first.
Round 2: (Wcs 1, sc BLO 1) around. Move marker to last st. This establishes the alternating stitch pattern you'll carry through most of the basket.
Rounds 3–11: Repeat Round 2. Keep moving the ending marker to the last stitch at the end of each round. Nine rounds of the same pattern — a good stretch to settle into the rhythm of the waistcoat stitch.
Round 12 (Handle Round): (Wcs 1, sc BLO 1) 2 times, wcs 1, ch 9, sk 7, (wcs 1, sc BLO 1) 13 times, wcs 1, ch 9, sk 7, (wcs 1, sc BLO 1) in remaining sts of round. Move ending marker to last st. The two chain-9 spans are your handles. Skipping 7 stitches under each chain creates the opening. Make sure both handles are positioned symmetrically on opposite sides of the basket before you continue.
Round 13 (Final Round): (Wcs 1, sc BLO 1) to first ch-sp, sc 13 in ch-sp, (wcs 1, sc BLO 1) to next ch-sp, sc 13 in ch-sp, (wcs 1, sc BLO 1) to last st, sl st BLO in last st. Working 13 sc across each chain span fills in the handle arches. The slip stitch at the very end closes the round cleanly.
Fasten off. Weave in all ends.
Care Instructions
Because this basket is worked with Lion Brand Wool-Ease Thick & Quick held double, it's got that 20% wool content to think about. I'd spot-clean it rather than tossing it in the wash. A damp cloth handles most dust and light marks just fine. If you do need a deeper clean, hand wash it gently in cool water and reshape it while it's still damp so the sides stay upright and the base stays flat. Let it air dry completely before loading it back up with whatever you're storing in it.
Frequently Asked Questions
Do I really need to hold two strands together the whole time?
Yes, and it makes a bigger difference than you'd think. Holding two strands of the Wool-Ease Thick & Quick together with a 9 mm hook is what gives the basket its structure. Single strand would come out too floppy to hold its shape as a basket. Don't skip this step.
What does working in the back loop AND the 3rd loop mean for the sides?
When you start Round 1 of the sides, you're inserting your hook into both the back loop and the 3rd loop of each stitch at the same time. That combination creates a very clean, defined ridge where the base meets the sides, and it helps the basket sit flat on the bottom rather than curving up.
How do the handles work? Are they sewn on separately?
The handles are crocheted directly into the basket in Round 12. You chain 9 stitches, skip 7 stitches, and continue the round. Then in Round 13 you work 13 single crochets across each chain space to fill in the handle opening. No sewing, no separate pieces.
Why are stitch markers so important for this pattern?
The base is worked in a spiral with corner increases, and without markers at those increase points you will lose track of where to place your 3-sc increases fast. I use locking markers because they're easy to move as you go. The beginning-of-round marker also shifts to the last stitch once you start the sides, so keeping up with it matters.
Can I make this basket a different size?
The pattern builds in both options. To make it wider, repeat Round 3 of the base additional times before moving to the sides. To make it taller, add more repeats of Sides Round 2 before working the handle and final rounds. Both adjustments are pretty straightforward once you understand how the spiral is growing.
Final Thoughts
This chunky mustard basket is one of those projects that looks impressive on a shelf but doesn't take forever to finish, which I always appreciate. If you make one, I'd love to see where it ends up in your home. Tag me on Instagram or drop a photo in the comments below. And if you're saving this for later, go ahead and pin it to your crochet projects board so it doesn't get buried.


Leave a Reply