
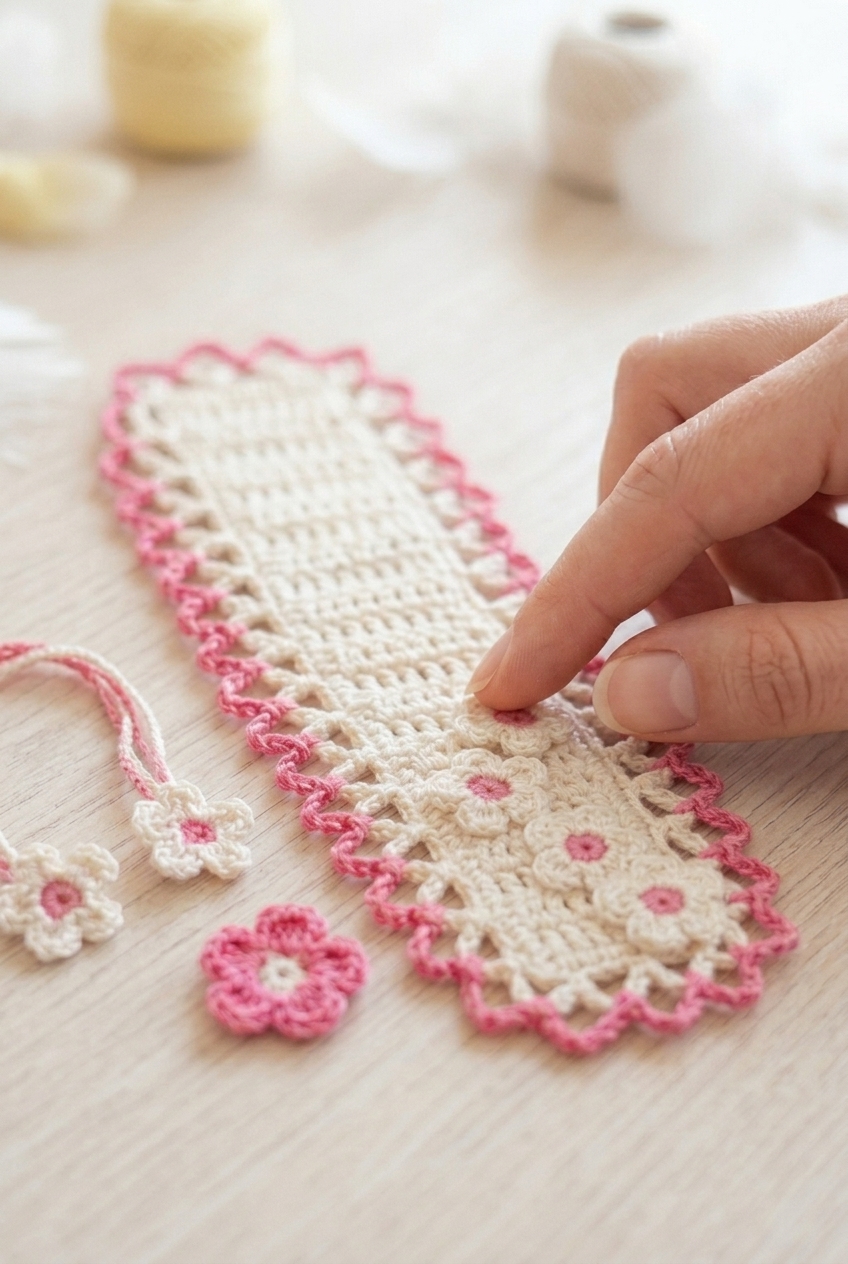
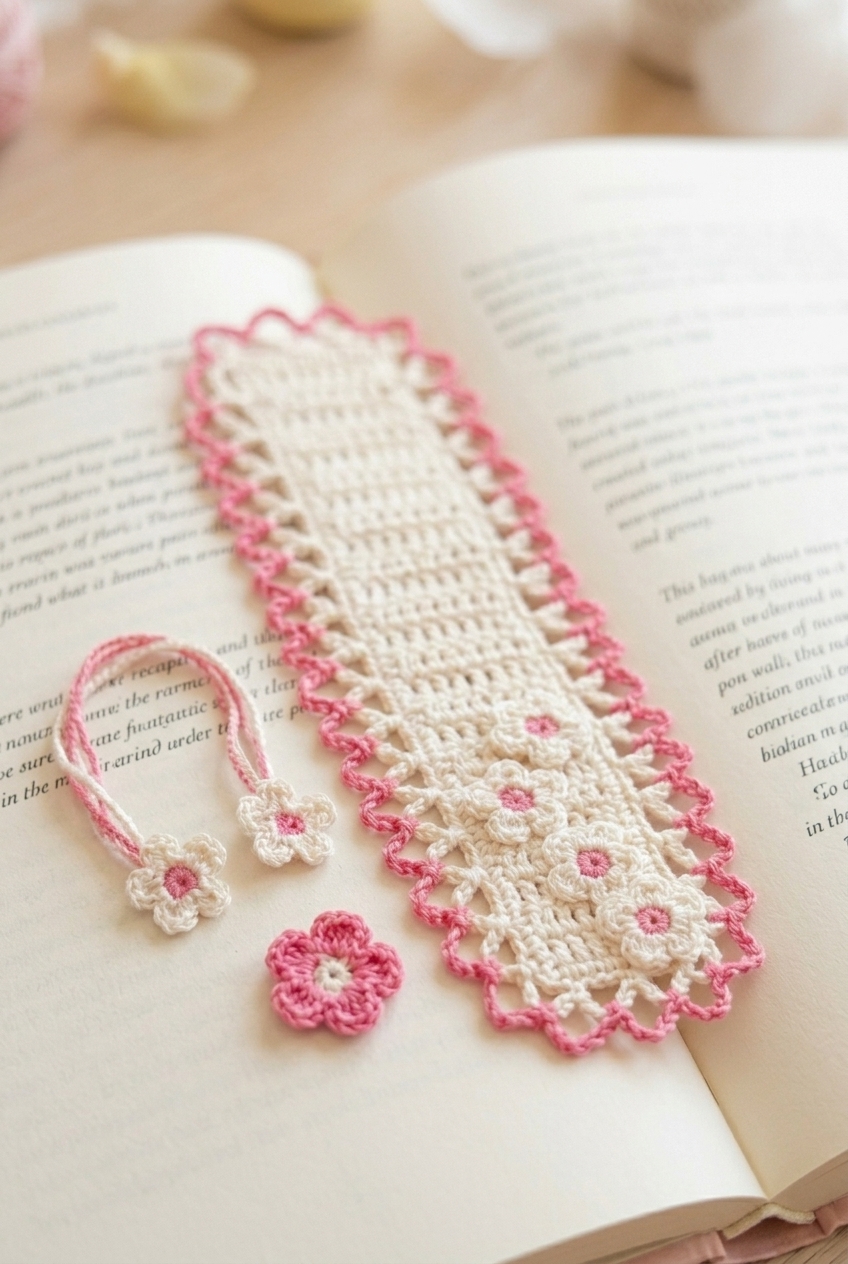
I've made a lot of bookmarks over the years, but this Blossom Bookmark Crochet Pattern is honestly one of my favorites to gift. It's the kind of project that feels special without being complicated, and the little flower details make it look so much more involved than it actually is. Perfect for when you want to make something that feels genuinely thoughtful.

Jump to:
About This Project
What I love about this one is that it's actually a set. You get the bookmark itself, a little cord tie to go with it, and a separate flower applique, so there are a few moving pieces but none of them are complicated on their own. I find that really satisfying. Each part is quick to finish, and when you put them all together it feels like a complete, polished little gift rather than just a single crocheted strip.
I'd make this for any book lover, honestly. It's the kind of thing that works for a birthday, a teacher appreciation gift, a holiday stocking stuffer. Someone who reads a lot will actually USE it, which is the whole point.
Why You Need This on Your Hook
This set makes the most charming handmade gift for any reader in your life.
- Beginner-friendly skill level: This is rated Easy, so newer crocheters can tackle it with no trouble at all.
- Quick to finish: Each piece in the set is small, so you can realistically complete this in a single sitting or two.
- Great for gifting: A coordinated set feels way more intentional than a single item, and this one looks like you spent a lot more time than you did.
- Make multiples fast: Once you get the rhythm down, whipping up a few of these for a gift pile is pretty simple.
- Technique variety: You get to practice a little openwork, some border work, and small flower motifs all in one project.
Gather Your Supplies
About 30 yards of cotton and a handful of notions — that is genuinely the whole list.
- Fine weight cotton yarn (Weight 2): Cotton is the right call here because it holds its shape after stiffening in a way that acrylic really doesn't. A fine weight cotton gives the finished bookmark enough structure to feel polished without being stiff before you even block it. You'll need approximately 30 yards, so this is a perfect project for leftover fingering or fine cotton from your stash.
- Size E/4 (3.5 mm) crochet hook: This size pairs well with a fine weight cotton and keeps the fabric tight enough that the petal shape reads cleanly. A looser gauge would make the whole thing look a little floppy, which is not what you want in something meant to sit flat inside a book.
- Fabric stiffener (or hair spray/spray starch): This is the step that takes the bookmark from a cute crocheted thing to something that actually looks finished. Any of the three options work — fabric stiffener gives the crispest result, but spray starch from the laundry aisle does the job without a special trip to the craft store.
- Metal key ring: The rope section of the bookmark attaches through this, so it's a structural piece, not just decorative. A standard small key ring from a hardware or dollar store works fine.
- Phone or same-sized piece of cardboard: Used to wrap the tassel to a consistent length. Your phone works perfectly well as a form — just wrap around it and slide the loops off when you're done.
- Also needed: yarn needle, scissors
Pattern Overview
A crocheted flower bookmark with a rope and tassel, sized to slip between pages without bulking up the spine.
| Skill Level | Easy |
| Pattern Gauge | Gauge is not critical for this project. Use any yarn weight; thinner yarn makes a smaller bookmark. Use a hook size that creates a neat fabric appropriate for a bookmark. |
| Finished Size | Petal: 3.5" across Rope: 9" Tassel: 4" |
| Yarn Weight | 2 Fine |
| Fiber | 100% Cotton |
| Terminology | US |
Customizing the Size
The rope section is the easiest thing to adjust. Add or remove chains there to match the height of whatever book you're making this for. A standard paperback sits around 7 to 8 inches tall, but a hardcover or journal might need a couple extra chains. The flower and tassel stay the same regardless.
Stitches & Abbreviations
Just the basics here, nothing unfamiliar.
- ch(s) = chain(s)
- dc = double crochet
- rep = repeat
- sc = single crochet
- sk = skip
- sl st = slip stitch
- st(s) = stitch(es)
- MR = magic ring
Before You Begin
Read through the full pattern before you start. The flower, rope, and tassel are worked as connected pieces rather than separate elements sewn together afterward, so knowing where things are headed helps.
Chains at the beginning of rounds count as a stitch throughout this pattern. Keep that in mind when you're counting, especially on the flower rounds.
Cotton is the recommended fiber here for a reason. It holds its shape well after blocking or stiffening, and it won't add much bulk between pages. Chunky yarns aren't a great fit for this one. They can stress the pages and the spine, particularly in older books.
For yarn weight, fine (#2) is what this pattern is written for, but you can go thinner. A lighter yarn just produces a smaller bookmark. If you go up in weight, adjust your hook accordingly and keep the fabric neat and firm rather than loose and drapey.
Fabric stiffener, hair stiffener, or spray starch all work for finishing. Stiffening the flower in particular helps it keep its petal shape over time instead of flopping flat.
Blossom Bookmark Crochet Pattern Instructions
This blossom bookmark crochet pattern comes together in three separate pieces — the petal, the tassel, and the rope — then joins into one finished bookmark.
Crocheting the Petal
The petal is the centerpiece of the whole bookmark, so I work it first and set it aside with the yarn still attached. A note on Round 1: the ch 3 counts as your first dc here and throughout the petal, so don't work a dc into that same stitch. If you'd rather skip the magic ring, Round 1 (Alternative) gives you a chain-ring start instead — both get you to the same 15 dc. When you finish Round 3, don't fasten off. Set the petal aside with the working yarn live; you'll need it for the rope.
Round 1: Make a MR, ch 3 (counts as first dc here and throughout), 14 dc into MR, join with a sl st to beginning ch. [15 dc]
Round 1 (Alternative): Ch 4, join with a sl st to first ch to form a ring, ch 3, 14 dc into ring, join with a sl st to beginning ch. [15 dc]
Round 2: Ch 3, dc in next st. *Ch 5, dc in next 3 sts; rep from * to last st, ch 5, dc in last st, join with a sl st to top of ch 3. [5 ch sps, 15 dc] The five chain spaces you're creating here will each become a petal arch in the next round.
Round 3: Ch 3, sk first st. *(4 dc, ch 5, 4 dc) in ch sp, sk next 3 sts; rep from * to end, join with a sl st to top of ch 3. [5 ch sps, 40 dc]
Do not fasten off. Set petal aside.
Making the Tassel
The tassel hangs at the bottom of the bookmark and takes just a few minutes to make. How thick you wrap in Step 1 is entirely up to you — more wraps means a fuller tassel.
Step 1: Wrap yarn around a phone or same-sized piece of cardboard multiple times (thickness determines tassel volume).
Step 2: Cut yarn at the bottom.
Step 3: Slip the bundle off.
Step 4: Cut a separate 15" length of yarn, fold in half, wrap tightly around the top of the bundle, and secure firmly. This is the tie that holds the tassel together, so wrap it a few times and knot it well before moving on.
Step 5: Cut the bundle at the bottom fold.
Step 6: Trim ends to even length. Set aside.
Working the Divider / Rope
This is where the petal and tassel come together into a finished bookmark. You're picking up the live yarn from the petal and chaining a length that fits your book, then using the tail to attach the tassel.
Step 1: Pick up the petal (still attached).
Step 2: Ch 40 (or desired length to suit your book). The ch 40 is a starting point — measure against your book if you want a snugger or longer rope before you cut.
Step 3: Leave a long yarn tail, then cut yarn.
Step 4: Attach the tassel to the long tail left from the rope.
Finishing the Petal
One last step before the bookmark is complete: stiffening the petal so it holds its shape between the pages.
Step 1: Spray the petal with fabric starch or hair stiffener to block and stiffen it. I pin the petal flat while it dries so the arches stay open and even.
Keychain Variation
If you'd like to turn this into a keychain instead of a bookmark, there's a simple modification you can make right at the end of the petal.
Step 1: This pattern can also be made as a keychain: after Round 3, ch 12, pass through a metal key ring, sl st to first ch, and fasten off.
Blocking
The petal does benefit from a little shaping, and the pattern already covers this: spray it with fabric stiffener, hair stiffener, or spray starch, then let it dry flat. Because this is 100% cotton, it holds the stiffener really well and keeps its shape once dry. I pin mine out into a circle while it's still damp so the petals sit evenly, but honestly even without pinning it comes out pretty nice.
Care Instructions
Cotton bookmarks hold up fine to hand washing in cool water. Just keep in mind that the stiffener will wash out, so if you want to keep that crisp petal shape after washing, you'll need to re-apply it and let the bookmark dry flat again. The rope and tassel don't need much, but give the tassel a gentle finger-comb once dry so it doesn't clump. Store it flat or hanging rather than stuffed in a drawer where the petal could get bent out of shape.
Frequently Asked Questions
How long should the rope section be?
The pattern uses 40 chains as a starting point, which gives you a 9-inch rope. That fits most standard paperbacks well. If you're making this for a larger hardcover or a thicker book, just add more chains. I'd hold it up against the actual book before cutting the yarn, since it's easy to adjust at that stage.
Can I use a different yarn weight for this bookmark?
You can, and the pattern actually encourages it. Thinner yarn makes a smaller petal, thicker yarn makes a larger one. The one thing to avoid is chunky yarn. It can split the pages of a book rather than sitting flat between them, so anything bulky or above isn't a great fit here. Fingering or sport weight work nicely.
How do I attach the tassel to the rope?
When you finish the rope section, you leave a long yarn tail before cutting. That tail is what you use to attach the tassel. Wrap it around the top of the tassel bundle and secure it firmly, the same way you'd tie off any tassel. The long tail makes it easier to wrap several times and get a tight hold.
Can this pattern be made into a keychain instead of a bookmark?
Yes, there's a note in the pattern for exactly that. After Round 3 of the petal, chain 12, pass through a metal key ring, slip stitch to the first chain, and fasten off. You'd need a metal key ring, which is listed as an optional notion. It's a nice way to use up the leftover yarn from the bookmark.
How much yarn do I actually need for one bookmark?
Around 30 yards covers the petal, rope, and tassel together. That's a small amount, so this is a good stash-buster. One 50-gram skein of fingering or fine weight cotton will make several bookmarks, which is part of why these work well as batch gifts.
Now It's Your Turn!
I'd love to see what colors you reach for with this one. Cotton comes in so many beautiful shades and this bookmark is small enough that it's a great excuse to use up those single skeins you've been holding onto. If you make one, tag me on Instagram or drop a photo in the comments below. And if you're saving this for later, pin it to your crochet projects board so it doesn't get lost in the scroll.


Leave a Reply