
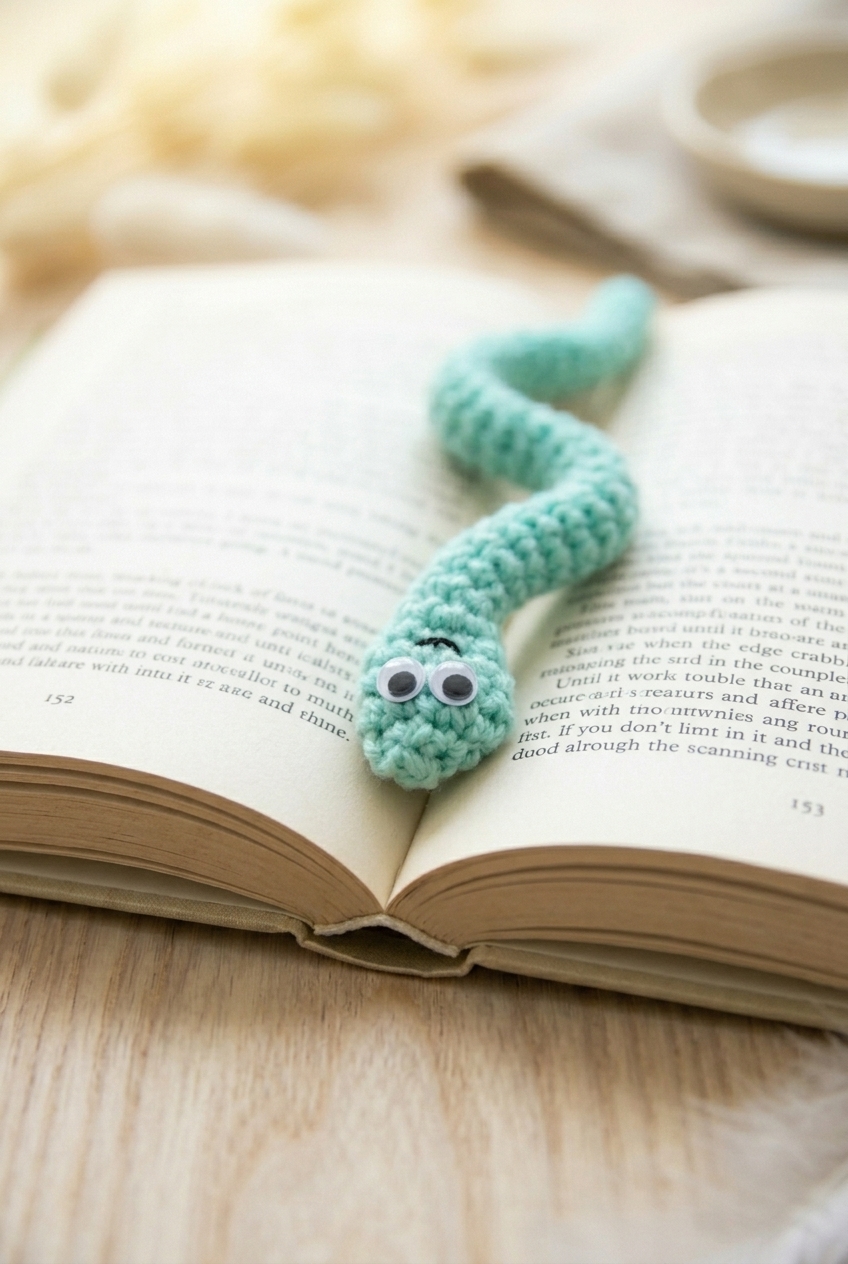
I made this little guy on a whim one afternoon and honestly could not stop. The Bendable Worm Bookmark Crochet Pattern is one of those projects that sounds simple on paper and then just completely wins you over once it's done. It works up fast, it's beginner-friendly, and the finished result is genuinely fun to use.

Jump to:
Behind the Pattern
What I love about this one is that it's a bookmark that actually does something. Most bookmarks just sit flat on a page. This one bends and holds its position, so you can curl it around a page corner or tuck it in however you like. That little detail makes it feel more like a toy than a bookmark, which is exactly why it works so well as a gift.
I keep thinking about how many people I want to make these for. Kids are the obvious answer, but honestly? Adults who are into cute, quirky things are going to love it just as much. It's a pretty satisfying make, and the construction is interesting enough to keep you engaged without ever getting stressful.
Why This Pattern Stands Out
A bendable stuffed bookmark that's actually fun to use, not just cute to look at.
- Beginner Friendly: No advanced techniques here, just straightforward crochet that works up without frustration.
- Quick to Make: This is a small project you can realistically finish in one sitting.
- Great for Gifting: Works for kids and adults alike, and it's the kind of gift people actually remember.
- Scrap Yarn Project: The small size means you can use up leftover yarn you already have on hand.
- Technique Value: Working in the round on a small tube is a skill that carries over into a lot of other patterns.
Your Supply List
Most of this can come straight from your scrap bin, including the yarn.
- Worsted Weight Acrylic Yarn (Seaglass, body and head): A 100% acrylic worsted works really well here because it holds its shape without being stiff, and the stitch definition stays clean even at a tighter gauge. Since this uses scrap yarn, yardage is flexible. Any worsted weight scrap you have on hand will do the job, though you want enough to crochet a piece that works up to 11 inches long, so a generous scrap rather than a tiny leftover.
- 4.0 mm Crochet Hook: This size pairs naturally with worsted weight acrylic and keeps the fabric tight enough that the pipe cleaner inside won't poke through or shift around.
- Pipe cleaner: This is what gives the finished piece its poseable structure. You'll insert it before the piece is fully closed off, so have it nearby before you get to the end.
- 2 googly eyes and glue: Standard craft googly eyes attached with a dab of glue. Nothing fussy, just make sure the glue is strong enough to bond to acrylic yarn or whatever surface you're attaching them to.
- Also needed: scissors, tapestry needle
Essential Info
A slim, worked-in-rounds accessory that stays narrow the whole way through — just keep repeating until you hit your length.
| Skill Level | Beginner |
| Pattern Gauge | 5 sts x 4 rows = 1 square inch |
| Finished Size | 14 x 0.6 inches |
| Yarn Weight | 4 Medium / Worsted |
| Fiber | 100% Acrylic |
| Terminology | US |
Customizing the Size
Length is easy to adjust here. The pattern tells you to repeat Round 2 until the piece measures 11 inches before finishing — just work more or fewer repeats depending on how long you want it. Gauge is 5 sts x 4 rows per square inch, so you can calculate the length as you go. Width stays fixed by the stitch count, so that part doesn't change.
Abbreviations & Stitches Used
Short list — mostly basics, with one decrease worth reading through before you start.
- ch = chain
- inv sc dec = invisible single crochet decrease (insert hook through front loops of next 2 sts, yo, pull through 2 loops, yo, pull through 2 loops)
- magic ring = adjustable starting ring
- sc = single crochet
- sl st = slip stitch
- st(s) = stitch(es)
Special Stitches
- Invisible Single Crochet Decrease: Insert hook through front loops of next 2 sts, yo, pull through 2 loops, yo, pull through 2 loops. Working through the front loops only is what keeps the decrease tidy on the outside of the piece.
- Magic Ring: An adjustable starting ring that lets you pull the center closed completely. If you haven't used one before, a quick video search will make it click faster than any written description.
Read Before Starting
Use a stitch marker to track the beginning of each round. This piece is worked in rounds, so it's easy to lose your place without one. Gauge is 5 sts x 4 rows = 1 square inch — worth checking if the finished length matters to you, since the main body is built entirely by repeating Round 2. Keep repeating that round until the piece reaches 11 inches, then move on to finish. All terminology in this pattern is US standard.
Step-by-Step Instructions
Here's how I make this bendable worm bookmark crochet pattern, from the first magic ring all the way through the finished face.
Crocheting the Body
The body is the long tube that makes this bookmark actually work — it wraps around pages and holds its shape because of the pipe cleaner you'll add later. You're working in continuous rounds from a magic ring, so keep that stitch marker handy.
Round 1: Make a magic ring, 6 sc into ring, close ring. Use a stitch marker. [6 sc]
Round 2: 1 sc in each st around. [6 sc]
Repeat Round 2 until piece is 11 inches long. [6 sc] This is the bulk of the work — just keep going until your tube measures 11 inches. Move your stitch marker up each round so you don't lose track of where the round starts.
Shaping the Head
Once the body is long enough, you'll shape the head directly onto it with a few rounds of increases and then decreases to close it off. The pipe cleaner goes in before you fully close up, so have it ready.
Round 3: *2 sc in first st, 1 sc in next st* repeat around. [9 sc]
Round 4: *1 sc in each of next 3 sts, 2 sc in following st* repeat around, finish with 1 sc. [11 sc]
Round 5: 1 sc in each st around. [11 sc]
Round 6: 1 sc in each st around. [11 sc]
Round 7: inv sc dec around, finish with 1 sc. Insert pipe cleaner now. [6 sc]
Insert pipe cleaner now. Slide the pipe cleaner into the tube before you continue — once Round 8 closes the head, you won't be able to get it in. Bend the ends so nothing pokes through the fabric.
Round 8: inv sc dec around. Weave through front loops of last round, fasten off, and weave in ends. [3 sc]
Weave through front loops of last round, fasten off, and weave in ends. Threading your yarn needle through just the front loops of those final stitches and pulling snug is what closes the head neatly without a visible gap.
Finishing the Face
Just two quick steps to bring the worm to life — this is the fun part.
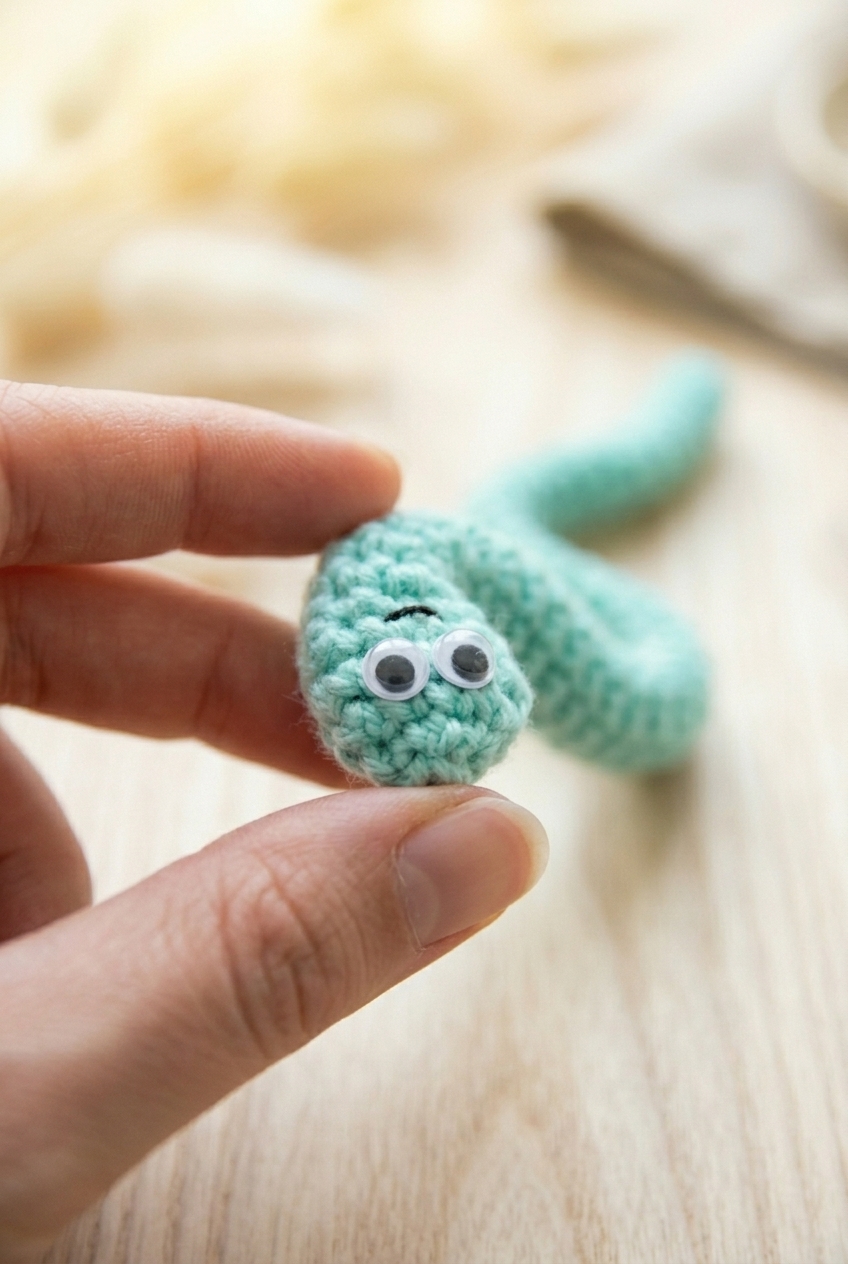
Step 1: Glue on the 2 googly eyes.
Step 2: Optionally, sew on a mouth.
Care Instructions
Because there's a pipe cleaner inside, I'd skip the washing machine entirely. Spot clean the worm with a damp cloth and a tiny drop of dish soap if it gets grubby, then lay it flat to dry. The pipe cleaner can rust if it stays wet for too long, so the faster it dries, the better. The googly eyes are glued on, so soaking is definitely out.
Baby & Child Safety Notes
This one isn't for little ones. The pipe cleaner inside can poke through the yarn over time, and the glued googly eyes are a choking hazard for young children. Keep it as a bookmark for older kids and adults only.
Frequently Asked Questions
When exactly do I insert the pipe cleaner?
Insert the pipe cleaner during Round 7, right after you work the decrease round on the head. That's when the opening is still just large enough to feed it through before you close everything up in Round 8. If you wait until after Round 8, the opening is too small and you'll have a hard time getting it in without distorting the head.
How long should the pipe cleaner be?
The finished worm is 14 inches long, so you want a pipe cleaner that runs the full length of the body and into the head. Standard pipe cleaners are 12 inches, so you may need to twist two together end-to-end to get enough length. Fold or trim any sharp end before inserting so it doesn't poke through the yarn.
How do I know when the body is long enough before starting the head?
Repeat Round 2 until the tube measures 11 inches. I just lay it flat next to a ruler every few rounds once I'm getting close. The head adds a bit more length, which brings the whole thing to around 14 inches finished.
Can I use a different color for the head to make it stand out?
The pattern uses one color throughout, but switching to a contrasting color at Round 3 when the head shaping begins would be an easy way to make the face pop. Just join the new color at the start of Round 3 and weave in the tail from the body color before closing up.
What's the purpose of the stitch marker in this pattern?
The body is worked in continuous rounds with no slip stitch joins, so the stitch marker is how you track where each round begins. Without it, the rounds spiral and it's easy to lose count, especially over the many repeats of Round 2 needed to reach 11 inches. I move mine up every round.
Now It's Your Turn!
I'd love to see what colors you pick for your worm. Scrap yarn is basically made for this project, so if you've got a bright green, a deep burgundy, or some chaotic variegated sitting in your stash, now's the time to use it. If you make one, tag me on Instagram or drop a photo in the comments. And if you want to save this for later, pinning it to your bookmarks board on Pinterest is a great way to keep it handy for your next quick make.


Leave a Reply