
Small Basket Crochet Pattern is honestly one of my favorite things I've made in a while. It's the kind of project that looks like it took way more effort than it actually did, which is always a win. Perfect for a desk, a nightstand, a bathroom counter. Wherever you need a little something to hold the small stuff.

Jump to:
Behind the Pattern
What I really like about this one is the construction. Working a basket in the round with a handle is actually a fun challenge, and there's something satisfying about the way it all comes together into something so functional. I made mine thinking about gifting it, honestly. It's the kind of thing that looks thoughtful without being over the top, and it's small enough to fill with a little something extra if you want to make it a proper gift.
It's an intermediate pattern, so there are a few techniques to work through. Nothing that'll stop you cold, but enough to keep it interesting from start to finish.
Why This Pattern Stands Out
A fully structured basket with a handle that's actually worth gifting.
- Skill level fit: Intermediate, so it's a real project with a handle construction that teaches you something new.
- Gift potential: The finished size is just right for gifting, especially paired with a small treat or a skein of yarn.
- Technique value: Working in the round plus a separate handle attachment gives you skills you'll use again and again.
- Time investment: Small enough to finish in a sitting or two, which makes it a pretty satisfying weekend project.
- Versatile use: Works in any room of the house, so you can make several and not run out of places to put them.
Materials You'll Need
The supply list here is refreshingly short. One hook, one yarn, and whatever you already have in your notions bag.
- Bulky Weight Yarn (Weight 5): A bulky weight yarn is the right call here. It works up quickly and gives the finished piece enough body to hold its shape without a lot of fuss. The fiber content isn't specified in this pattern, so check your label and go with whatever feels right for the project. For a single item at this weight, somewhere around 100 to 150 yards is a reasonable estimate, but grab a little extra just in case.
- 6.00 mm Crochet Hook: This size pairs well with bulky weight yarn and gives you a fabric that's firm enough to be useful without feeling stiff. It's a pretty standard match for weight 5 yarns.
- Also needed: scissors, tapestry needle, stitch markers
Pattern Overview
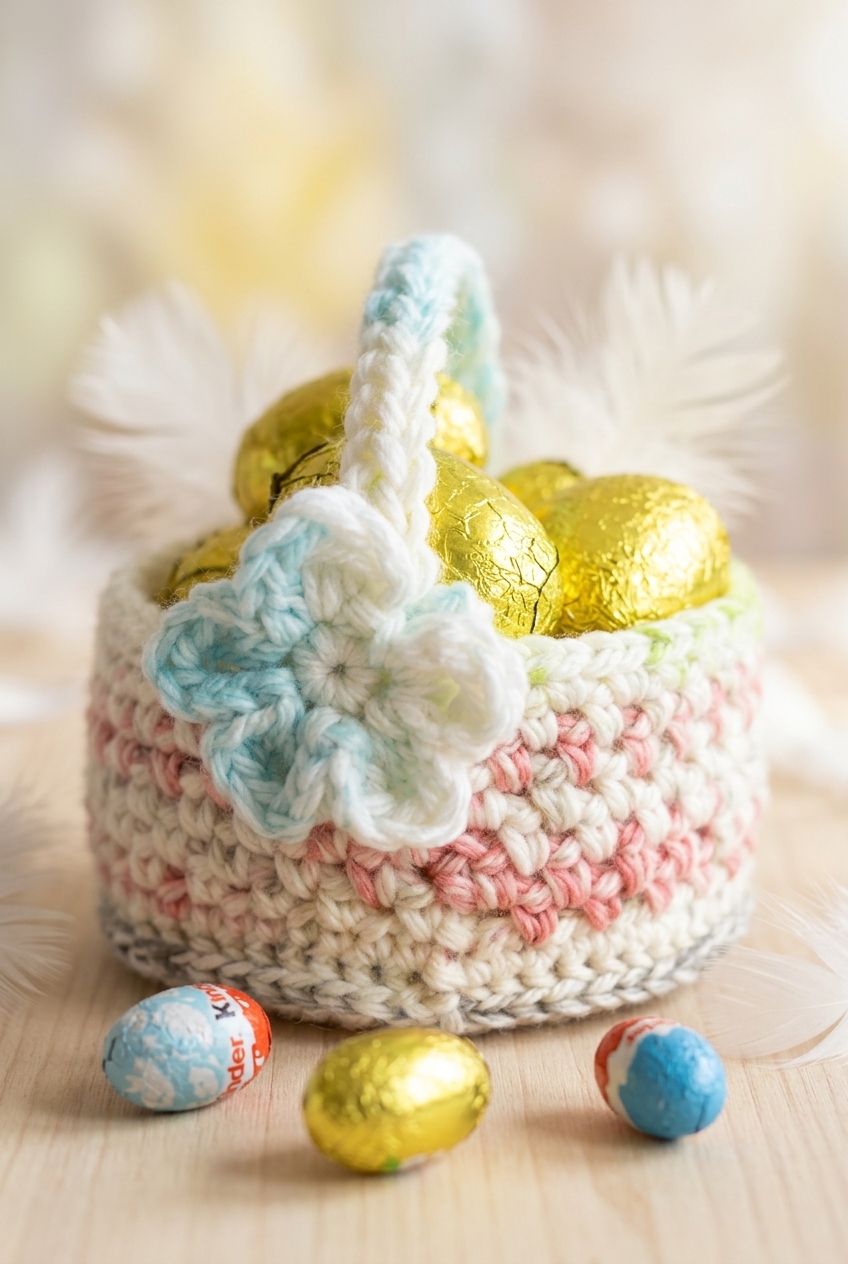
A small, sturdy basket with a crocheted flower detail worked in bulky yarn.
| Skill Level | Intermediate |
| Pattern Gauge | Gauge is not critical for this project. Use a hook size that creates a firm fabric suitable for a sturdy basket. |
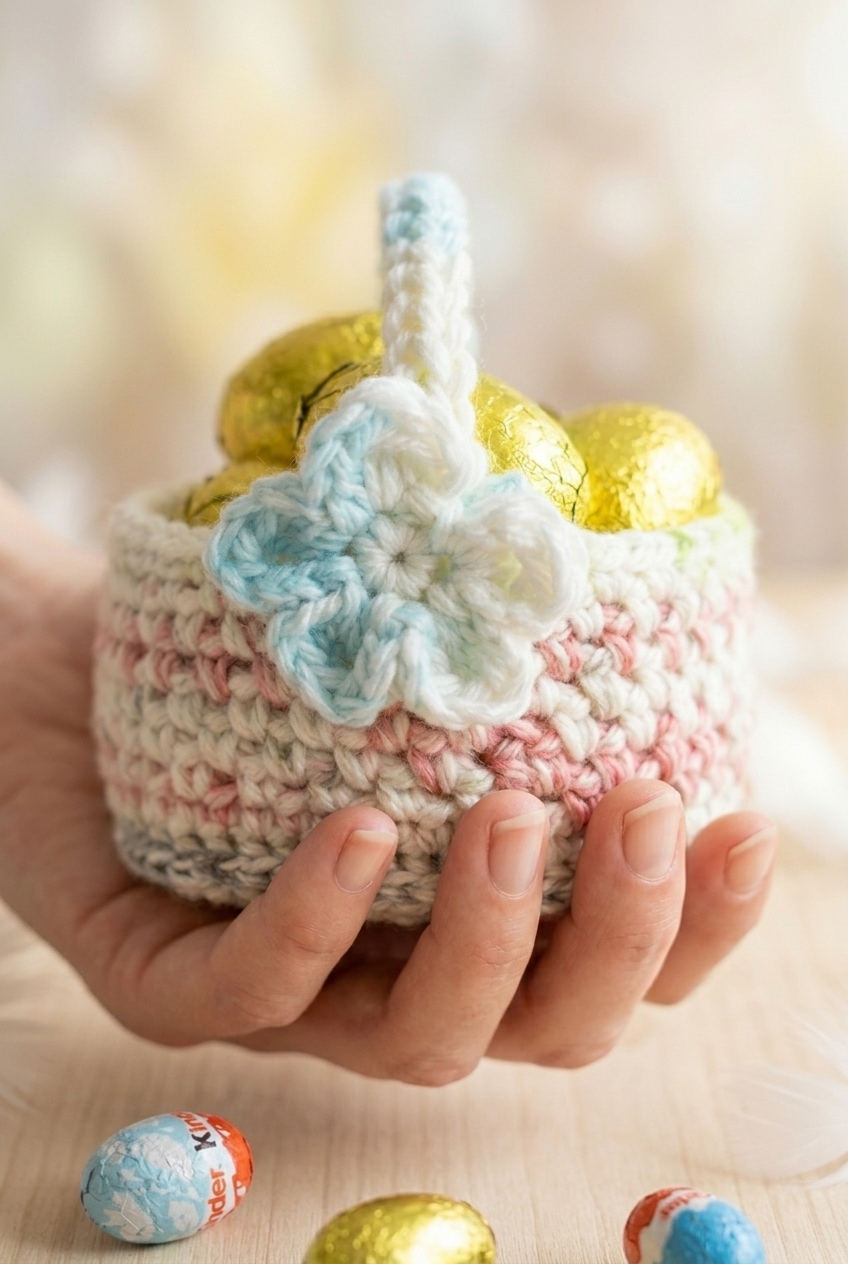
| Finished Size | Measures approximately: 12 cm x 12 cm (5" x 5") |
| Yarn Weight | 5 Bulky |
| Terminology | US |
Abbreviations & Stitches Used
Short list, mostly familiar stitches with two post-stitch variations specific to this pattern.
- bps = back post stitch
- ch = chain
- dc = double crochet
- sc = single crochet
- sl st = slip stitch
- sp = space
- st(s) = stitch(es)
- tr = treble crochet
- sc foundation st = single crochet foundation stitch (foundation single crochet)
- scbps = single crochet back post stitch
Special Stitches
- sc foundation st: *Ch 2, insert hook in 2nd ch from hook, yarn over, pull up a loop, yarn over, pull through 1 loop (creates ch), yarn over, pull through 2 loops (completes sc).* Repeat for required number of foundation sts.
- scbps: Insert hook from back to front to back around the post of the indicated stitch, yarn over, pull up a loop, yarn over, pull through 2 loops.
Pattern Notes
This pattern uses the single crochet back post stitch and the single crochet foundation stitch. Both are listed in the Special Stitches section above. Beginner-friendly options are provided within the instructions for those who'd rather skip the foundation chain method.
Ch 1 does not count as a stitch here or throughout. Throughout the pattern, the starting ch 1 is just a turning chain and should not be worked into on the following row or round.
The pattern is worked at a 6.00 mm hook. Because gauge isn't critical here, the main thing you're going for is a firm, dense fabric. If your basket feels floppy, go down a hook size. The finished basket measures approximately 12 cm x 12 cm (5" x 5"), though that can shift a little depending on how tightly you tend to work.
Let's Make the Small Basket Crochet Pattern
Here's how I work through each piece, from the basket base all the way up to the little flower that ties onto the handle.
Crocheting the Basket
The basket starts flat at the center and grows outward through a series of increase rounds before the sides are built up using a mesh stitch pattern. It's the main piece of the project, so take your time getting the base rounds even.
Round 1: 8 sc into a 4 ch loop, sl st to join, ch 1 (does not count as a st here or throughout). [8 sc]
Round 2: Starting in same st as previous sl st, 2 sc in each st around, sl st to join, ch 1. [16 sc]
Round 3: *1 sc, 2 sc in next st* repeat around, sl st to join, ch 1. [24 sc]
Round 4: *1 sc in next 2 sts, 2 sc in next st* repeat around, sl st to join, ch 1. [32 sc]
Round 5: *1 sc in next 3 sts, 2 sc in next st* repeat around, sl st to join, ch 1. [40 sc]
Round 6: *1 sc in next 4 sts, 2 sc in next st* repeat around, sl st to join, ch 1. [48 sc]
Round 7: *1 sc in next 5 sts, 2 sc in next st* repeat around, sl st to join, ch 1. [56 sc]
Round 8: Turn to crochet the opposite way and scbps around each previous sc around, sl st to join, ch 1. [56 sc] Working into the back post of each stitch is what creates the defined ridge that separates the base from the sides. If you're newer to post stitches, the beginner alternative below skips that technique entirely.
Round 8 (Beginners Alternative): Turn to crochet the opposite way and sc around, sl st to join, ch 1. [56 sc]
Round 9: *1 sc, skip 1 st, ch 1* repeat around, ending on ch 1, sl st to join. [56 sc] This is where the mesh pattern begins. The alternating skips and chain spaces set up the lattice structure you'll carry through the rest of the sides.
Round 10: Ch 2, skip previous sc, *1 sc in ch-1 sp, ch 1, skip previous sc, 1 sc in ch-1 sp* repeat around, ending on 1 sc in ch-1 sp, sl st to join, ch 1. [56 sc] You're working into the chain spaces from the previous round rather than into the stitches themselves, which keeps the mesh offset and interlocked.
Round 11: *1 sc in ch-1 sp, skip 1 st, ch 1* repeat around, ending on ch 1, sl st to join. [56 sc]
Rounds 12–16 (or more): Repeat Rounds 10 and 11. Continue alternating these two rounds until the basket reaches the height you want. The "or more" note in the pattern is intentional — work as many repeats as you need for your project.
Making the Handle
The handle spans across the top of the basket and is worked directly into the existing stitches, so there's no seaming involved. Two versions are given here: one using foundation single crochet and one using a starting chain for those who prefer the more familiar method.
Step 1: Starting in next st, crochet 22 sc foundation sts, sl st in opposite side of basket, sl st in next st to secure, fasten off and tie in all tails. Foundation single crochet creates the chain and stitch in one motion, so the handle has a bit more flexibility than a chain-based version.
Step 1 (Beginners Alternative): Ch 22, sl st in opposite side of basket, sl st in next st, turn, 1 sc in next 22 ch across, sl st in opposite side of basket, fasten off and tie in all tails.
Crocheting the Flower
This small flower is worked separately and then tied onto the handle as a decorative accent. It comes together quickly — just two rounds.
Round 1: 5 sc into a 4 ch loop, sl st to join. [5 sc]
Round 2: *[ch 2, 1 dc, 1 tr, 1 dc, ch 2, sl st in st below], sl st in next st* repeat around. [5 petals] Each bracket group forms one petal. The sl st between brackets anchors you into the next base stitch before you begin the next petal.
Fasten off and tie onto handle.
Frequently Asked Questions
What is the single crochet back post stitch and do I really need it for this basket?
The scbp (single crochet back post) is worked by inserting your hook around the post of the stitch from the back rather than through the top loops. In this pattern, it creates the ridge that transitions the basket from the flat base into the upright sides. There is a beginner alternative for Round 8 that uses a regular sc instead, so you can skip the back post stitch if you need to.
What is the sc foundation stitch and why does the pattern use it for the handle?
The sc foundation stitch builds your chain and single crochet in one pass, so you end up with a more flexible, even base than a standard chain. For the handle, that flexibility matters because it needs to hold its shape and sit comfortably. If you haven't tried it before, there's a beginner alternative in the pattern: chain 22, slip stitch across to the opposite side, then work your sc row back across the chain.
How tall can I make the basket sides?
The lace mesh section runs from Round 9 onward, and the pattern says to repeat Rounds 10 and 11 for Rounds 12 through 16 OR MORE. So you can keep going as long as you want. Just keep in mind that a taller basket will use more yarn, and the yardage isn't specified in the pattern, so I'd wind on a bit extra if you plan to go significantly taller.
How is the flower attached to the basket?
The flower is crocheted separately, then fastened off and tied directly onto the handle. It's a simple tie-on finish, so you can position it wherever it looks best before securing the tails.
The lace rounds are confusing me. Any tips for keeping track?
Rounds 9 through 11 set up the mesh pattern, and once you're into the repeat it does get easier. The key thing to watch is that ch 1 at the start: it does NOT count as a stitch throughout this pattern. If your stitch count is drifting, that's usually the culprit. I find it helps to place a stitch marker at the start of each round until the rhythm clicks.
Before You Go
I'd love to see what you make with this one, especially if you play around with the height of the sides or try a different color for the flower. Tag me on social media or drop a photo in the comments below. And if you're saving patterns for later, this one pins really well, so go ahead and add it to your crochet board so you can find it when you're ready to start.


Leave a Reply