
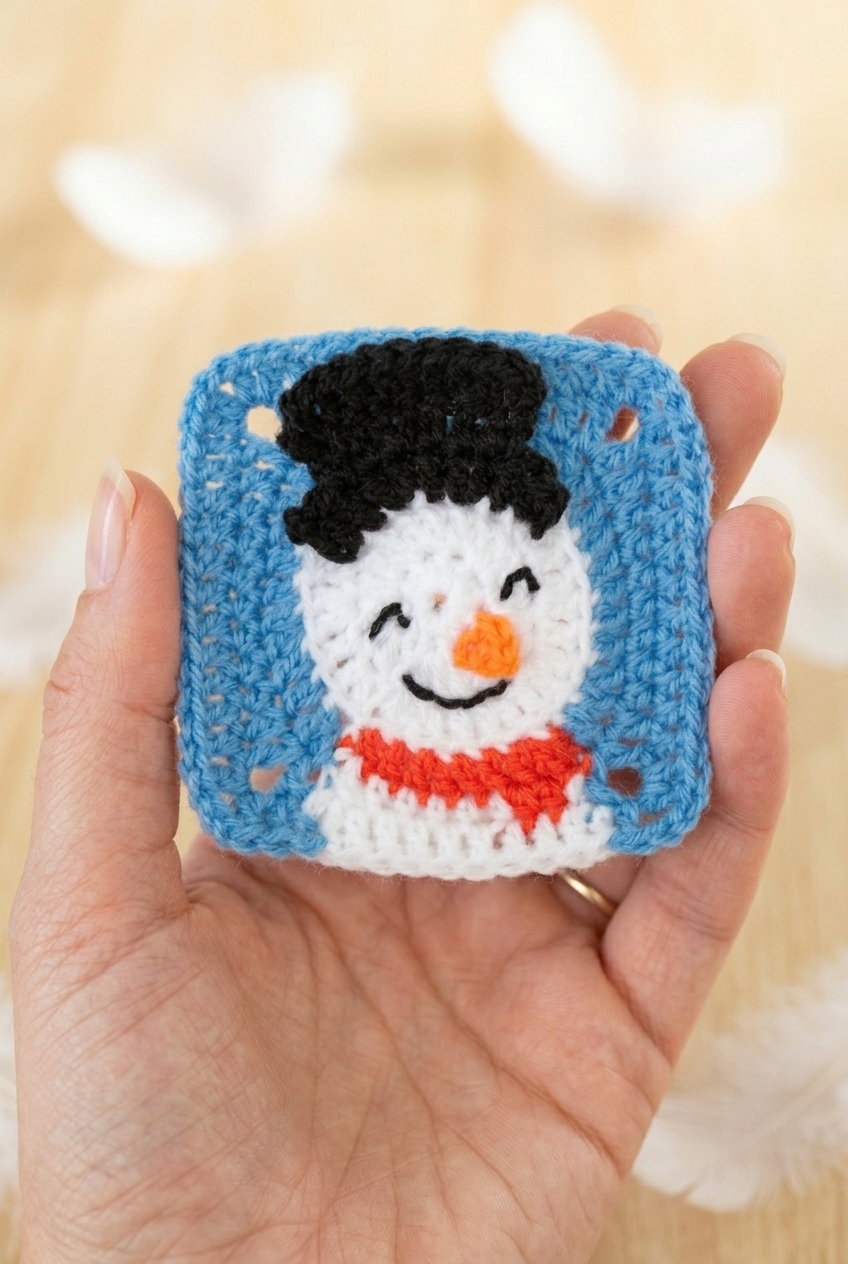
This Snowman Granny Square Crochet Pattern was a really fun one to add to the collection. It's a small, self-contained motif that works up pretty quickly and fits right alongside the other seasonal squares I've been designing. If you're into making coordinated holiday sets, this one slots in nicely.

Jump to:
About This Project
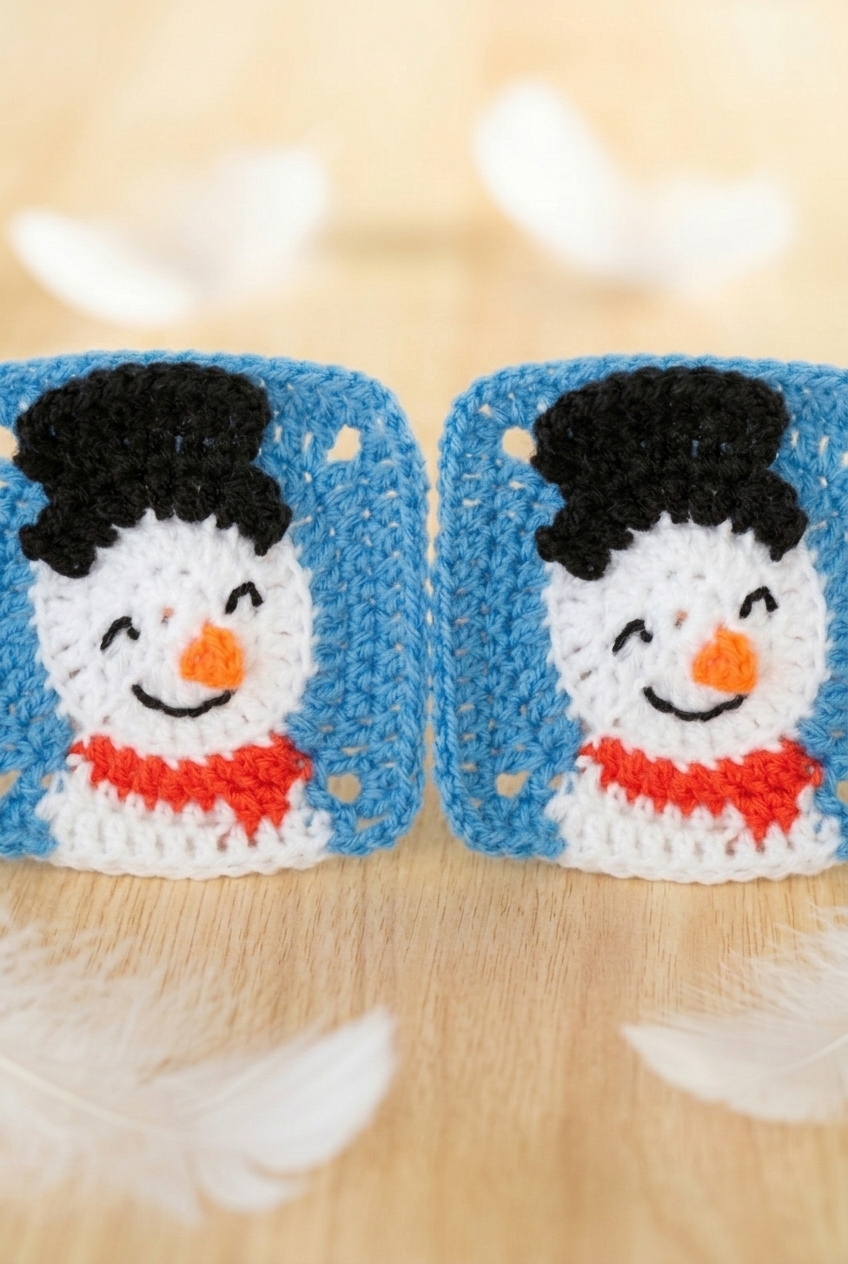
What I really like about this square is that it's doing a lot in a small space. The construction combines regular granny square building with some surface embroidery details, so you get a finished result that feels more illustrated than your average motif. I designed it to coordinate with the Snowflake, Santa, and Tree squares I've been working on, so if you're making a holiday blanket or a set of decorative pieces, they all play well together. It's the kind of project I'd make for someone who loves a cozy, handmade Christmas aesthetic.
Why You'll Want to Make This
It's a compact holiday motif that pairs perfectly with matching seasonal squares for a cohesive set.
- Skill level: Intermediate, so you'll want some granny square experience before diving in, but it's no trouble at all if you have that foundation.
- Set-building potential: Designed to coordinate with other holiday squares, which makes it a natural fit for a larger seasonal blanket or wall hanging project.
- Technique variety: Combines crochet construction with embroidery details, so you actually pick up two skills in one small project.
- Gifting friendly: Small, quick to finish, and seasonal enough to make a genuinely thoughtful handmade gift or ornament.
Your Supply List
Five colors sounds like a lot, but white does most of the heavy lifting here.
- DK Weight Yarn (Weight 3 Light), Five Colors: DK weight is the right call for a small square like this. It gives you enough stitch definition to see the colorwork clearly without the fabric going stiff or bulky. You'll want white as your main color, then small amounts of orange, black, and whichever optional colors you choose between red and blue. Since yardage isn't specified in the pattern, plan on roughly 10 to 20 meters of white and just a few meters each of orange, black, and any accent colors. Honestly, this is a good use for leftover DK scraps.
- 4.00 mm Crochet Hook: This size pairs well with DK weight yarn and keeps the fabric firm enough that the square holds its shape without being a struggle to work with.
- Also needed: yarn needle, scissors
Color Sequence & Yarn Changes
The color order matters here, so it's worth reading through the round-by-round breakdown before you start. White runs through most of the square, orange comes in just for the nose after Round 2, black handles the hat after Round 3 and gets used again for the face details at the end, and red or blue (or both, if you like variety) join in at Round 4 and carry through into Rounds 5 and 6. Cut and join as you go rather than carrying colors across. The amounts are small enough that weaving in ends won't take long.
Project Info
This is the snowman square, part of a coordinating holiday set with the Snowflake, Santa, and Tree designs.
| Skill Level | Intermediate |
| Pattern Gauge | Gauge is not critical for this project. Use the stated hook size and yarn weight, and work consistent stitches so the square matches other themed squares in the set. |
| Finished Size | Fits with Snowflake, Santa & Tree squares |
| Yarn Weight | 3 Light / DK |
| Fiber | Not specified — check the yarn label |
| Terminology | US |
Stitch Guide & Abbreviations
All standard stitches here, nothing unusual.
- beg = beginning
- ch = chain
- ch-sp = chain space
- dc = double crochet
- hdc = half double crochet
- rep = repeat
- sc = single crochet
- sk = skip
- sl st = slip stitch
- st(s) = stitch(es)
- tog = together
- TURN = turn work
- BLO = back loop only
- FLO = front loop only
- ea = each
Before You Begin
This pattern uses US terminology throughout. The ch 1 at the start of a row or round does not count as a stitch here or anywhere else in the pattern, so don't work into it at the end of the row. The main square colors are white, orange, and black. Red and blue are listed as optional, so grab those if you want to add a scarf or buttons in color rather than black. The square is designed to sit alongside the Snowflake, Santa, and Tree squares, so keeping your tension consistent across the set matters more than hitting a specific gauge number.
How to Make the Snowman Granny Square Crochet Pattern
Here's how I work through this snowman granny square, from the center out through the hat and nose details to the final colorwork rounds.
Granny Square Base
This is where the square starts. The first two rounds build the snowman's face center in white, and the BLO work in Round 2 is intentional — those skipped front loops are what you'll come back to for the nose.
Round 1: Using white, crochet 10 hdc into a ch-4 loop, sl st in 1st hdc to join. [10 hdc]
Round 2: Ch 1 (does not count as st here or throughout), 2 dc in 1st st, 2 dc in next 2 sts BLO, 2 dc in ea st to end, sl st in 1st dc to join. [20 dc] The stitches worked BLO here leave exposed front loops that you'll pick up for the nose right after this round — don't skip past them.
Nose (worked after Round 2)
Before moving on to Round 3, I work the nose by picking up those front loops left behind in Round 2. It's a small detail but it sits right in the center of the face, so I do it now while those loops are easy to find.
Step 1: Join orange in 1st FLO skipped from Round 2, ch 3, sl st in 2nd ch from hook, 1 sc in next ch, sl st in next skipped FLO, fasten off and tie in tails on back.
Fasten off and tie in tails on back.
Round 3
Round 3 begins shaping the square and introduces another BLO section — this time for the hat brim, which you'll work next. The round has three distinct repeat zones, so read through it once before you start.
Round 3: Ch 1, starting in 1st st crochet *1 dc in next st, 2 dc in next st* rep from * to * 3 more times, 1 dc in next st, then in BLO 2 dc in next BLO, 1 dc in next BLO rep from to twice more, 2 dc in next BLO, now crochet normally with *1 dc in next st, 2 dc in next st* rep from * to * until end, sl st in 1st dc to join. [30 dc] The BLO section in the middle of this round marks the hat placement — those front loops stay free for the hat step coming right up.
Hat (worked after Round 3)
Just like the nose, the hat is worked off the skipped front loops from Round 3 before continuing the main square. I join black into those FLOs and build the hat shape with a few short rows — there are turns involved, so keep your place carefully.
Step 1: Join black in 1st FLO skipped from Round 3, and starting in 1st st crochet *2 dc in next FLO, 1 dc in next FLO* rep from * to * twice more, 2 dc in next FLO, ch 1, TURN, sl st in 1st 3 sts, ch 1, 1 dc in same st as last sl st, 1 dc in next st, 2 dc in next st, 1 dc in next 2 sts, 2 dc in next st, sk last 3 sts, ch 1, TURN, 1 dc in 1st 3 sts, 2 dc in next st, 1 dc in next 3 sts, 2 dc in last st, fasten off and tie in all tails on back. The sl st at the start of the second row narrows the hat in at the sides — that's what gives it the tapered look.
Fasten off and tie in all tails on back.
Rounds 4–6
These final rounds complete the granny square with the colorwork border — red, blue, and white work together across Rounds 4 through 6 to frame the snowman. Round 4 is worked entirely in BLO. Color changes happen mid-round, so have all three colors ready before you start.
Round 4: Join red in ch 1, and in BLO for this whole round, and starting in 1st st, crochet *1 dc in next 2 BLO, 2 dc in next BLO* rep from * to * once more, 1 dc in next BLO joining blue at end of st, 1 dc in next BLO, 2 dc in next BLO, rep from * to * until end, sl st in 1st dc to join. The color joins mid-round here, so carry or drop your yarns as you prefer — just make sure the join is clean on the right side.
Round 5: Join white in ch 1, and starting in 1st st, crochet *1 dc in next st, 1 hdc in next 5 sts joining red at end of last st, 1 hdc in next 2 sts joining white at end of last st, 1 dc in next st joining blue at end of st, [1 dc, ch 3, 1 dc] in next ch-3 sp* rep from * to * until end, but don't change colors—instead just work 1 hdc in next 7 sts, sl st in 1st dc to join. The ch-3 spaces here form the corner loops that define the square's shape going into Round 6.
Round 6: Join white in ch 1, and starting in 1st st, crochet 1 dc in 1st 10 sts joining blue at end of last st, [1 dc, ch 3, 1 dc] in next ch-3 sp, *1 dc in next 11 sts, [1 dc, ch 3, 1 dc] in next ch-3 sp* rep from * to * until end, 1 dc in last st, sl st to join.
Fasten off and tie in all tails. Using black, sew on a face.
Blocking
Granny squares really do benefit from a light blocking, and this one is no different. Since the fiber isn't specified, check your yarn label before you do anything. If it's acrylic, wet blocking won't do much. What I'd do instead is pin the square to your blocking mat while it's dry, give it a steam from a few inches above with your iron, and let it cool completely before unpinning. If you're making a set with the Snowflake, Santa, and Tree squares, blocking them all at once to the same dimensions saves a lot of frustration when you go to join them.
Care Instructions
Since the fiber isn't specified on this pattern, your yarn label is the first place to look for washing guidance. For a decorative square like this, I'd keep things simple: hand wash cold if needed, press out the water gently without wringing, and lay it flat to dry so the shape holds. If you're joining multiple squares into a larger piece, that flat-dry step matters even more, since hanging it wet can stretch the joins out of shape.
Frequently Asked Questions
What are the optional colors for and do I have to use them?
Red and blue are optional accent colors used in Rounds 4, 5, and 6 for color changes and joins. You can work the whole square in white if you want a simpler look, or swap in any colors you like. The core construction doesn't change either way.
How is the snowman's nose made?
The nose is worked separately after Round 2 using orange yarn. You join into the first front loop skipped from Round 2, chain 3, slip stitch back along the chain, and fasten off. It's a small step but it gives the nose that little 3D carrot shape, which is worth the extra minute.
How is the hat worked?
The hat is crocheted directly onto the square after Round 3 using black yarn. You join into the front loops skipped from Round 3 and build the hat brim and body in short rows from there, turning as you go. Nothing is sewn on separately.
How does the face get added?
Once you've finished Round 6 and fastened off, you sew the face on using black yarn and a yarn needle. The pattern doesn't specify exact placement, so you have some room to position the eyes and mouth however looks right to you on your finished square.
What does BLO mean and why does this pattern use it so much?
BLO stands for back loop only. Working into only the back loop leaves the front loop free, and this pattern uses that technique deliberately so you can come back later and join into those skipped loops to build the nose and hat. It's what gives the square its layered, dimensional look.
Does this square match the other squares in the series?
Yes, it's designed to pair with the Snowflake, Santa, and Tree squares. If you're planning to join them into a larger project, blocking all four squares to the same finished size before joining will make everything line up much more cleanly.
Before You Go
I hope you had as much fun with this little guy as I did. The nose and hat details really do make the whole square, and once you get the hang of coming back to those skipped front loops, it starts to feel almost clever. If you're working through the full holiday set, I'd love to see how yours are coming together. Tag me on social or drop a photo in the comments below. And if you want to save this for later, pinning it to your Christmas crochet board is always a good call.


Leave a Reply