
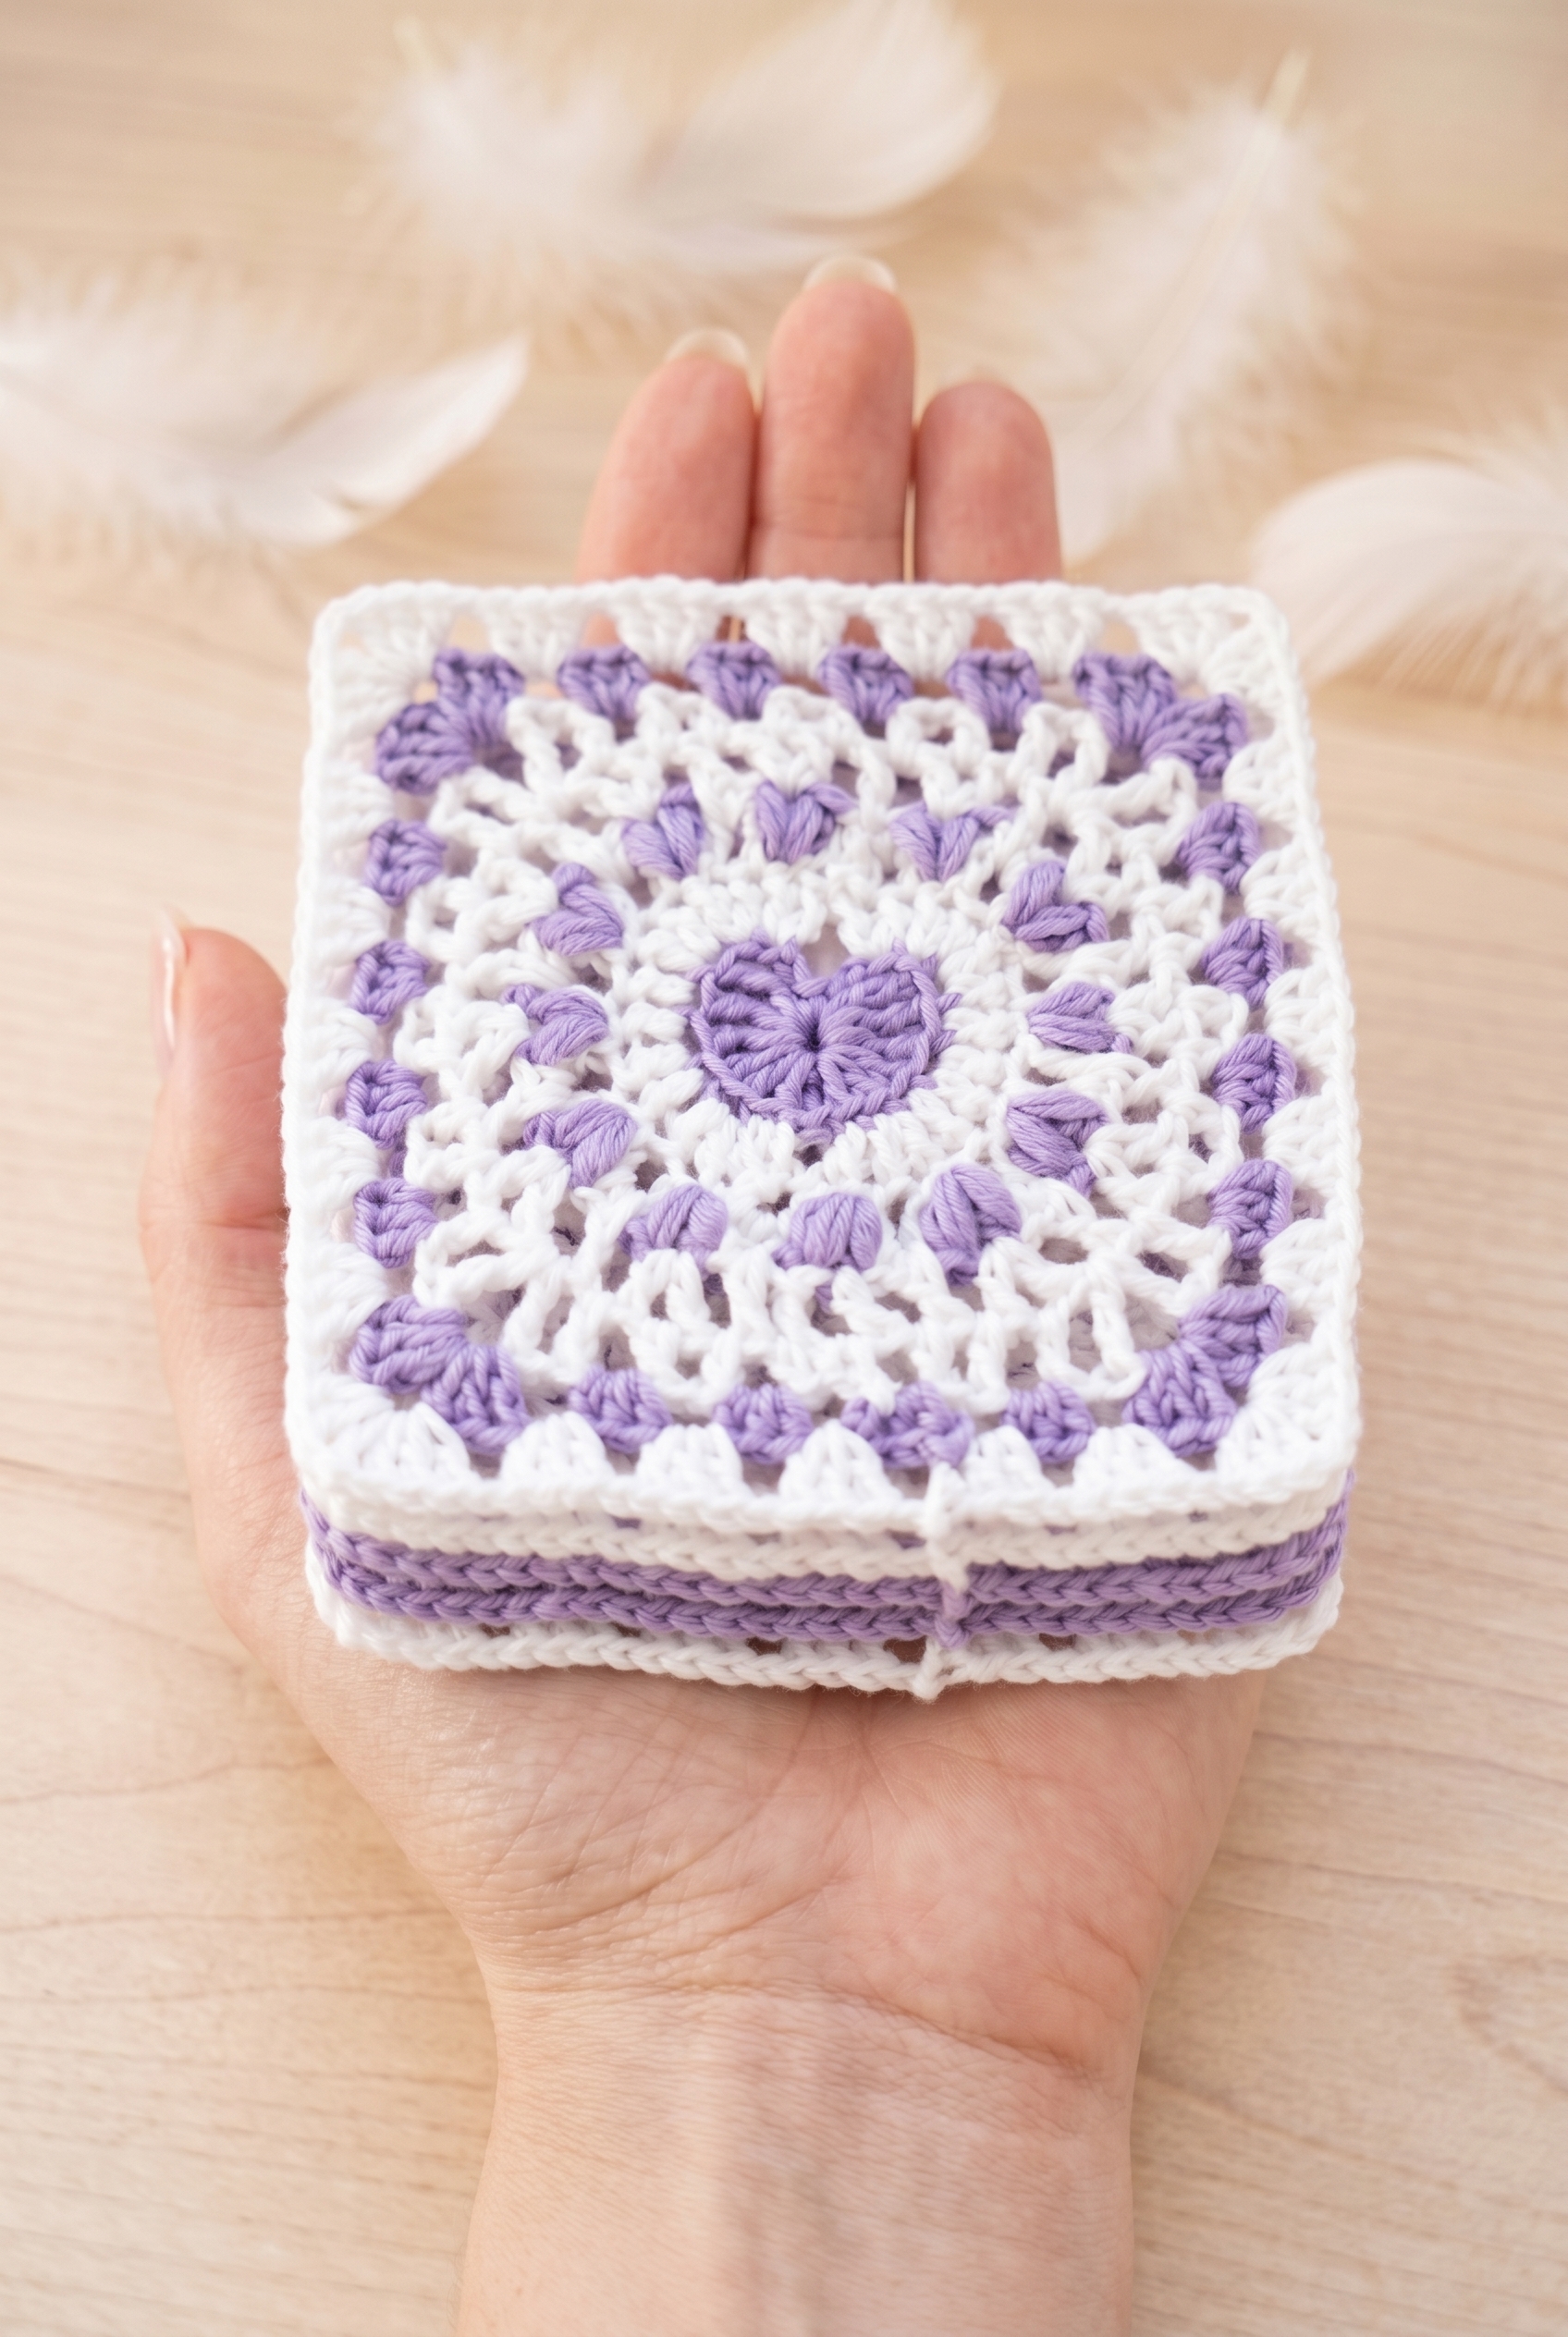
The Heart Granny Square Crochet Pattern is a small, satisfying motif that combines the classic granny square structure with a sweet heart detail at the center. It works up pretty quickly, and the result is one of those compact little squares you'll want to make in batches.

Jump to:
About the Design
What I really like about this one is how the heart sits right at the core of the square, so the whole motif is built around it. It's not just a heart appliqued on top of something. The construction actually works outward from that center detail, which makes the process feel intentional in a way I find satisfying. Each round has a clear purpose, and by the time you close out the final border, it all clicks together in a really tidy way.
I'd make this for anyone who appreciates something handmade but understated. It's the kind of motif that works as a standalone gift, joined into a larger project, or just made repeatedly while you're watching something on TV. (I may have made several of these in one sitting without fully meaning to.) Valentine's Day is an obvious moment for it, but a heart doesn't have to be seasonal. It's a good design any time you want something with a little warmth to it.
Why You'll Love This Pattern
A classic granny square format with a built-in heart makes this motif endlessly giftable and genuinely fun to repeat.
- Skill level fit: This is listed as intermediate, so you'll want some granny square experience before diving in, but it's not an intimidating project.
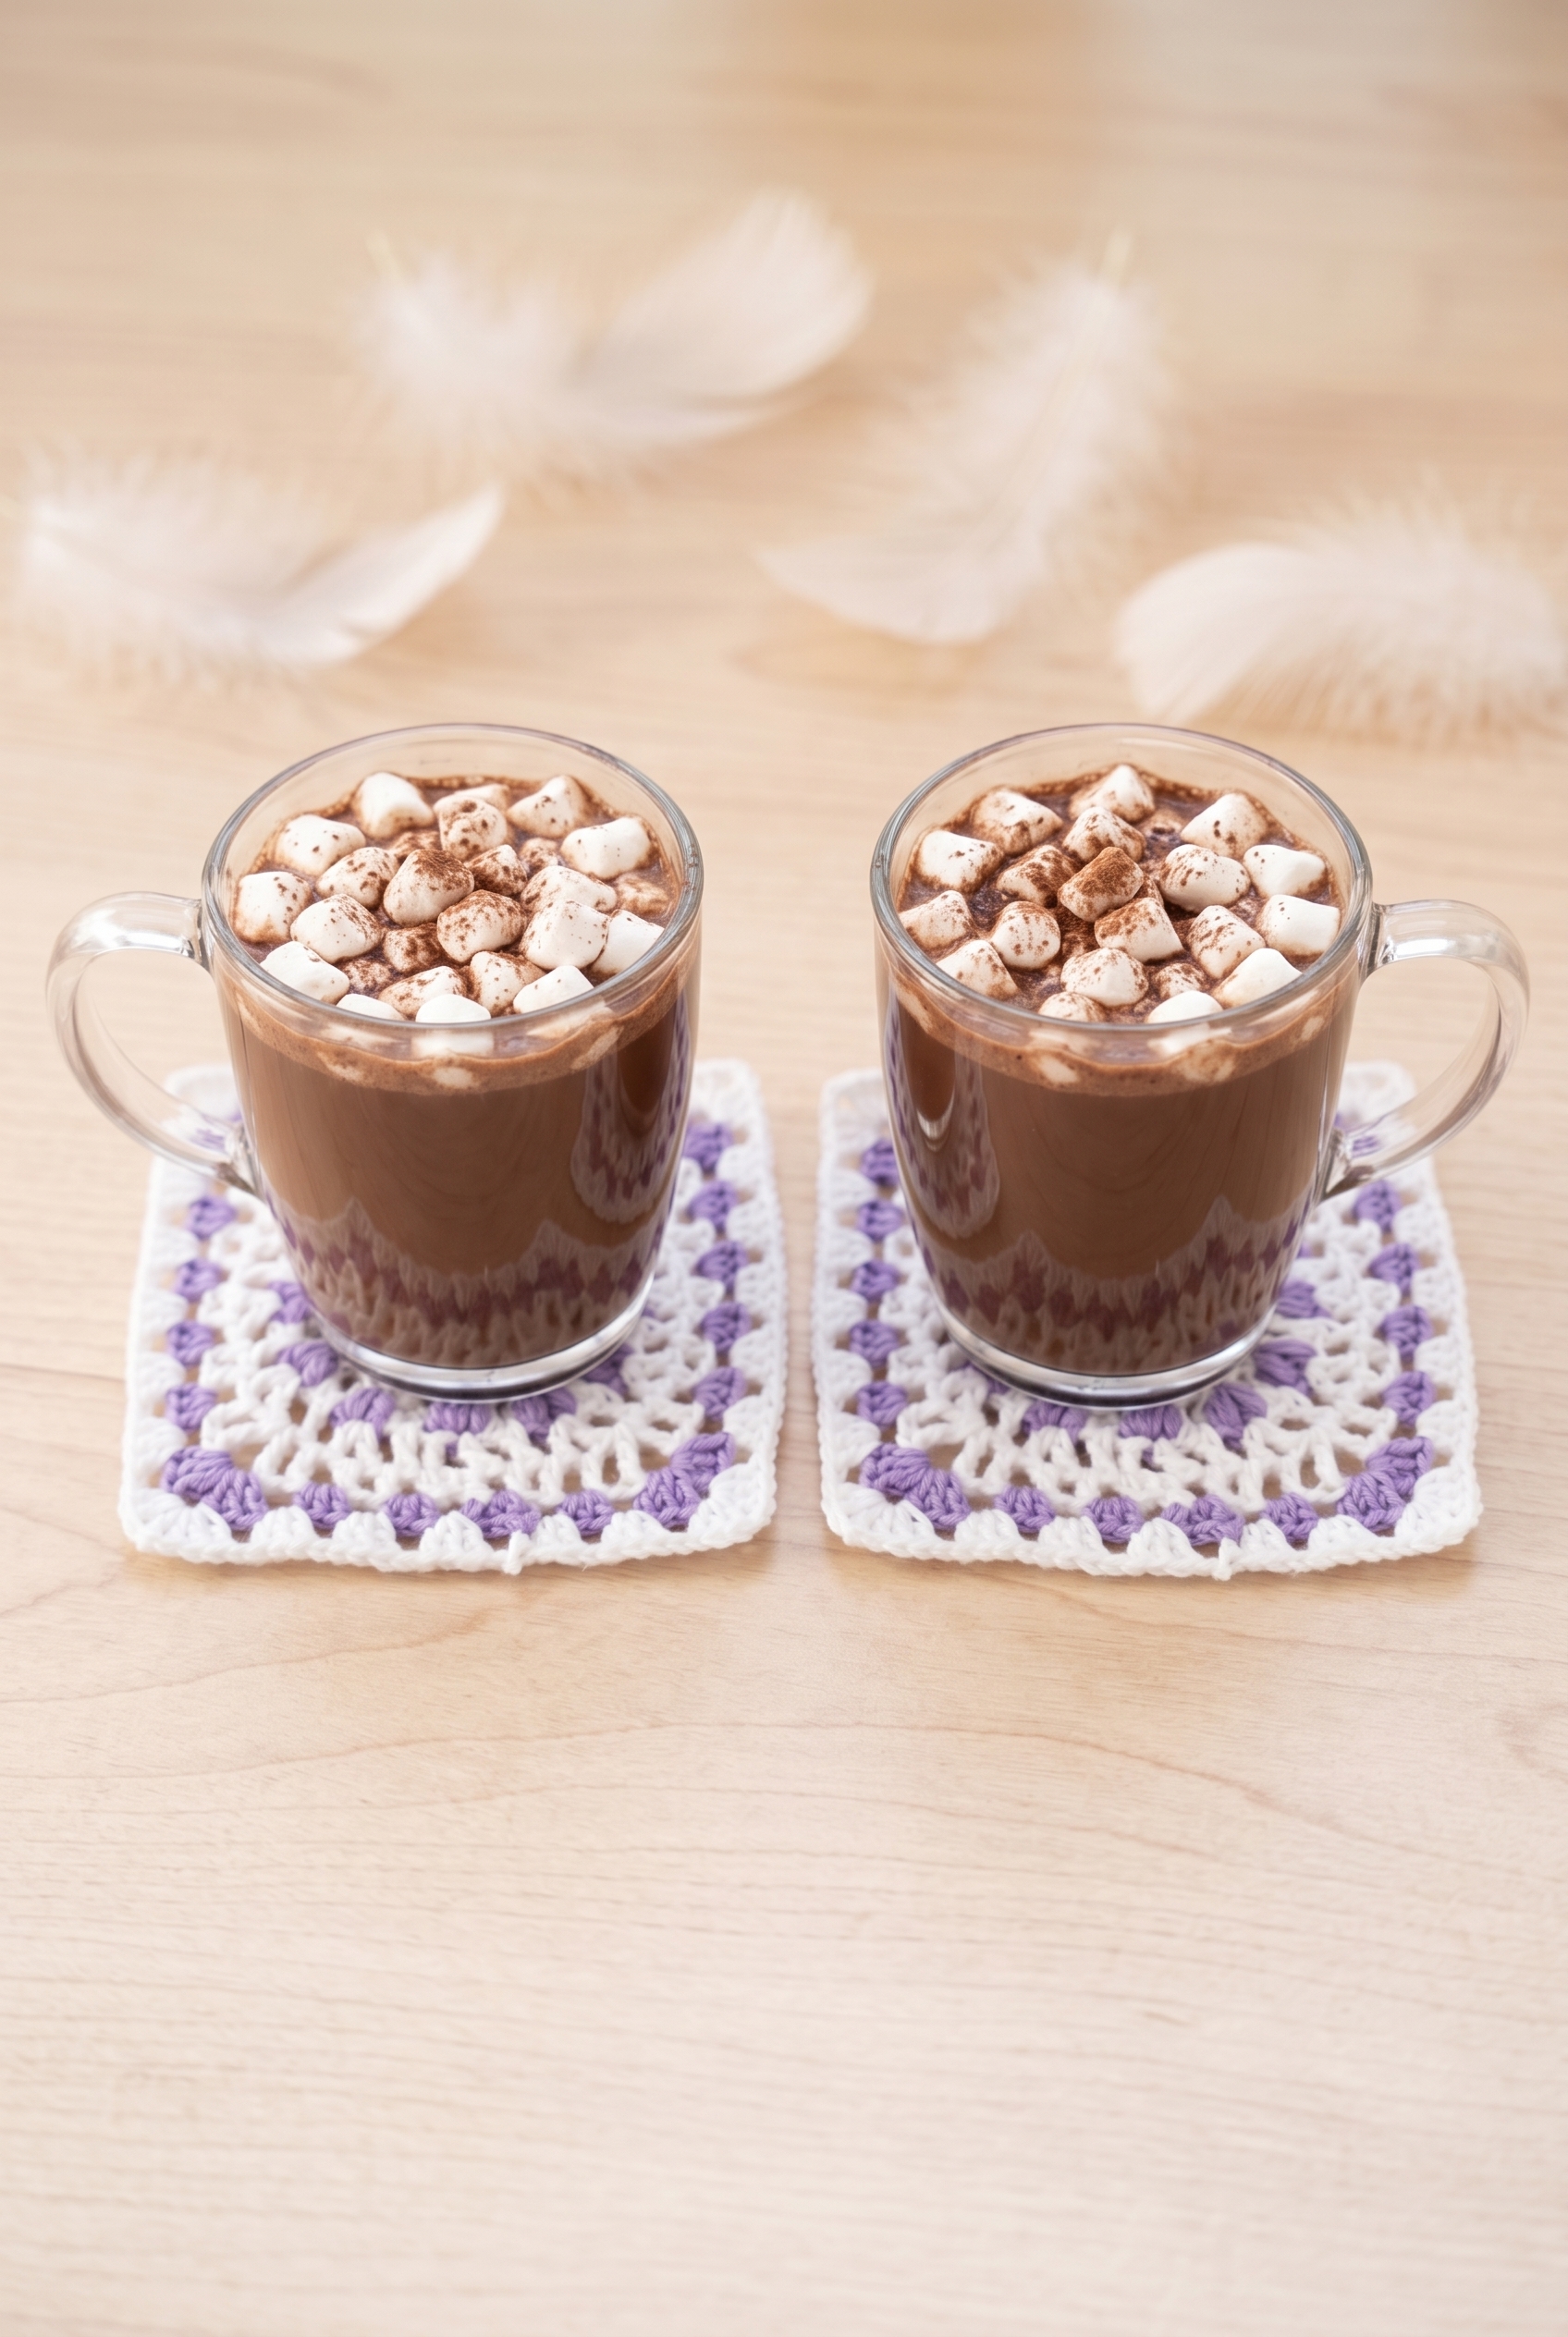
- Great for gifting: The heart detail makes this an easy go-to for birthdays, Valentine's Day, baby showers, or really any occasion where something handmade feels right.
- Motif versatility: Make one as a standalone piece or join multiples into a blanket, pillow cover, or tote bag. It scales up naturally.
- Quick to finish: Each square is small and compact, so you can complete one in a single sitting without a big time commitment.
- Technique value: Working a shaped motif into the center of a granny square is a useful skill, and this pattern gives you a clear, repeatable way to practice it.
Materials You'll Need
Two colors, one hook, and the notions list is basically just scissors and a needle.
- DK Weight Yarn in Purple and White: DK weight sits in a nice middle ground for color work like this. It's light enough to show stitch definition clearly, so your color changes actually look clean instead of muddy. Yardage isn't specified in the original pattern, but for a small project worked in two colors across eight rounds, you're probably looking at somewhere in the range of 30 to 60 yards total, split between the two colors, with purple likely using a bit more.
- 4.0 mm Crochet Hook: This size pairs well with DK weight and gives you a firm enough fabric that the stitches hold their shape without being stiff to work with.
- Also needed: yarn needle, scissors
Color Sequence & Yarn Changes
The color changes in this pattern are pretty active. Purple leads most of the work, with white joining at Round 1 and coming back in at Rounds 4 and 7, and Round 8 is worked entirely in white. Keeping both colors attached rather than cutting and rejoining each time will save you a lot of ends to weave in later, though it does mean carrying the unused color loosely up the inside of your work as you go.
Project Summary
A two-color granny square with a puff stitch center, worked in rounds with a back loop detail on round 2.
| Skill Level | Intermediate |
| Pattern Gauge | Gauge is not critical for this project. Use the stated hook size (or adjust as needed) to create an even fabric and a square size you like. |
| Finished Size | Approx. 5 in (12.5 cm) square (estimated, based on DK yarn and 4.0 mm hook for an 8-round granny square) |
| Yarn Weight | 3 Light / DK |
| Fiber | Not specified — check the yarn label |
| Terminology | US |
Customizing the Size
Because gauge isn't critical here, you can size this square up or down pretty easily. A heavier yarn and larger hook will give you a bigger square; go lighter and smaller for a mini version. If you're making multiples to join into a blanket or bag, just crochet a test square first and measure before committing to a full batch.
Stitches & Abbreviations
Mostly standard stuff, with one puff stitch variation covered below.
- BL = back loop
- ch = chain
- ch-sp = chain space
- dc = double crochet
- hdc = half double crochet
- rep = repeat
- sc = single crochet
- sk = skip
- sl st = slip stitch
- sp = space
- st(s) = stitch(es)
- tr = treble crochet
Special Stitches
- Puff st (Puff Stitch Variation): Yarn over, insert hook into indicated stitch, yarn over, pull up a loop; repeat from * twice more (7 loops on hook total); yarn over, pull through all 7 loops on hook.
The Critical Details
This pattern uses US terminology throughout. The square is worked in rounds. Round 2 is worked in back loops only, so don't skip that detail — it affects the texture and the way the subsequent rounds sit. The color scheme is purple and white; where you switch colors is specified in the instructions themselves.
The Heart Granny Square Crochet Pattern Steps
Work through each round in order and the square comes together one layer at a time.
Building the Heart Granny Square
This square is worked in rounds, building up from a small center loop into a full granny square with a heart motif at its core. The color changes between purple and white are woven throughout, so keep both yarns nearby from the start.
Round 1: In purple, ch 4, sl st in 1st ch to form a loop, ch 3, [3 dc, 3 tr, ch 4, sl st, ch 4, 3 tr, 3 dc] in loop, sl st in top of ch 3 joining white. This round forms the heart shape at the center. The ch 4 spaces on either side of the sl st create the dip at the top of the heart, and the trebles give the lobes their curve.
Round 2: (Work in BL only for this round) Ch 3, 1 dc in next st, 2 dc, 1 dc, 2 dc, 1 dc, 2 dc in next 3 sts, sk 4 chs, 2 dc in next 3 sts, 1 dc, 2 dc, 1 dc, 2 dc, 1 dc, sl st in top of ch 3 to join. Working in back loops only here keeps the front loops free and gives the heart edge a clean, raised definition. The sk 4 chs skips across the center dip of the heart.
Round 3: *Ch 5, sl st in next 2 sts* rep from * to * until end, sl st in 1st ch-5 sp to join. These ch-5 loops form the picot-style scallops that surround the heart. The ch-5 spaces from this round are referenced again in Round 5, so it's worth noting their positions as you go.
Round 4: *2 sc in ch-5 sp joining purple in end of last st, 2 puff sts in previous sl st between ch-5 sps joining white in end of last st* rep from * to * 5 more times, 1 sc in next ch-5 sp, 1 sc in next ch-5 sp joining purple in end of last st, 2 puff sts in previous sl st between ch-5 sps joining white in end of last st, rep from * to * until end, sl st in 1st sc to join. The color changes happen at the end of each stitch group, so complete the last pull-through of each sc or puff st in the incoming color. Keep your tension consistent on the puff sts so they sit evenly alongside the sc groups.
Round 5: Sl st in next 3 sts, ch 5, 1 dc in same st, *ch 1, 1 dc in previous ch-5 sp from Round 3, ch 1, [1 dc, ch 1, 1 dc] in between next 2 puff sts* rep from * to * 4 more times, ch 1, 1 dc in-between next 2 prev dcs, ch 1, [1 dc, ch 1, 1 dc] in prev puff st, rep from * to * until end, ending ch 1, 1 dc in previous ch-5 sp from Round 3, ch 1, sl st in 3rd ch of 5. This round reaches back into the ch-5 spaces from Round 3, so you'll be working into stitches a couple of rounds below. Take a moment to locate those spaces before you begin.
Round 6: Sl st into ch-sp under first 2 chs and starting in the same ch-sp crochet *1 hdc in next ch-sp, ch 1, 1 hdc in next ch-1 sp, ch 1, 1 dc in next ch-1 sp, ch 1, 1 dc in next ch-1 sp, ch 1, [1 tr, ch 2, 1 tr] in next ch-1 sp, ch 1, 1 dc in next ch-1 sp, ch 1, 1 dc in next ch-1 sp, ch 1, 1 hdc in next ch-1 sp, ch 1, 1 hdc in next ch-1 sp, ch 1* rep from * to * until end, sl st in 1st hdc joining purple. The [1 tr, ch 2, 1 tr] clusters are your corner markers. There should be one at each corner of the square as it starts to take shape.
Round 7: Ch 3, 2 hdc in next ch-1 sp, ch 1, sk next ch-1 sp, *3 hdc in next ch-1 sp, ch 1, sk next ch-1 sp, [3 dc, ch 2, 3 dc] in next ch-2 sp, ch 1, sk next ch-1 sp, 3 hdc in next ch-1 sp, ch 1, sk next ch-1 sp, 3 hdc in next ch-1 sp, ch 1, sk next ch-1 sp, 3 hdc in next ch-1 sp, ch 1, sk next ch-1 sp* rep from * to * until you run out of ch sps, ch 1 before sl st in top of ch 3 to join, sl st over to first ch-1 sp, join white in a ch 1. The [3 dc, ch 2, 3 dc] clusters land in the ch-2 corner spaces from Round 6, building out the classic granny square corners.
Round 8: Ch 3, 2 dc in same ch-1 sp, ch 1, *3 dc in next ch-1 sp, ch 1, [3 dc, ch 2, 3 dc] in next ch-2 sp, ch 1, 3 dc in next ch-1 sp, ch 1, 3 dc in next ch-1 sp, ch 1, 3 dc in next ch-1 sp, ch 1, 3 dc in next ch-1 sp, ch 1* rep from * to * until you run out of ch sps, ch 1 before sl st in top of ch 3 to join. This final round completes the granny square border in white, with the corner ch-2 spaces keeping the square flat and the dc clusters filling out each side.
Fasten off and weave in ends.
Blocking
Granny squares really do benefit from a good block, and this one is no exception. Because the fiber isn't specified, check your yarn label before you do anything. If it's acrylic, wet blocking won't do much. What WILL work is steam blocking: hold your iron a few inches above the square and let the steam do the work, then pin it to your mat and leave it until it cools completely. If it's a natural fiber like cotton or wool, you can soak it, squeeze out the excess water gently, and pin it square. The heart center is what you're really trying to set here. Getting that shape to sit flat and defined makes the whole square look intentional instead of lumpy.
Frequently Asked Questions
Why is Round 2 worked in back loops only?
That back-loop-only round is what creates the raised ridge that separates the heart center from the rest of the square. Working into only the back loops leaves the front loops exposed, and those loops form a visible line that outlines the heart shape. It's a small detail but it makes a real difference in how clean the finished square looks.
There are a lot of color changes in this pattern. Do I cut the yarn each time?
Not necessarily. Purple and white swap back and forth across several rounds, so carrying the unused color can save you a lot of weaving in later. That said, the gaps between some color changes are long enough that carrying gets bulky. I'd cut and rejoin for the bigger gaps and carry only when the color comes back within a round or two. Check each transition before you decide.
What are puff stitches and can I substitute something else?
Puff stitches are made by pulling up several loops in the same stitch and then closing them together, which creates a rounded, raised bump. In Round 4 they sit between the ch-5 arches and add texture to the transition between the heart and the outer square. You could substitute a bobble stitch, but the look will be slightly different. The puff gives a softer, rounder result than a bobble.
Can I join multiple squares to make a blanket?
Yes, and this square is a solid 5 inches so the math works out cleanly for larger projects. You can join them with a slip stitch seam, a flat mattress stitch, or even a join-as-you-go method on the final round. If you go the blanket route, I'd plan your color layout before you start so the hearts all face the same direction.
Round 5 references 'the previous ch-5 sp from Round 3.' What does that mean?
Round 3 creates ch-5 arches all the way around, and Round 4 works on top of those arches without fully closing them off. So in Round 5, when the instructions say to work into the previous ch-5 sp from Round 3, you're reaching back down into those original arches, not working into Round 4. It's easier to see than to describe. Just look for the open loops from Round 3 sitting below your current round.
Final Thoughts
This square has more going on than it looks at first glance, and I mean that in the best way. The color changes, the back-loop ridge, the puff stitches layered over those ch-5 arches: it all comes together into something that feels genuinely satisfying to finish. If you make one, I'd love to see it. Tag me on Instagram or drop a photo in the comments below. And if you're already thinking about making a whole blanket's worth of these, save this post to Pinterest so you can find it again when you're ready to cast on round two hundred.


Leave a Reply