I made this Crown Crochet Pattern for a toddler in my life and honestly it was such a fun little project to work through. It's a hat, but it's got that royal crown silhouette that makes it feel like so much more than just something to keep little ears warm. If you've been looking for a kids' hat that's a step up from the usual beanies and has a bit of character to it, this is a really good one to try.

Jump to:
About This Project
What I like about this design is that it actually commits to the crown concept instead of just hinting at it. The construction is interesting because you're building a structured hat that has to hold its shape at the top, and working out those peaks takes a little thought. It's the kind of project where you feel like you actually made something when you're done. I'd reach for this one any time I need a gift for a small kid, especially for a birthday or a dress-up occasion. It's practical enough to wear but special enough to feel like a real present.
Why This Pattern Stands Out
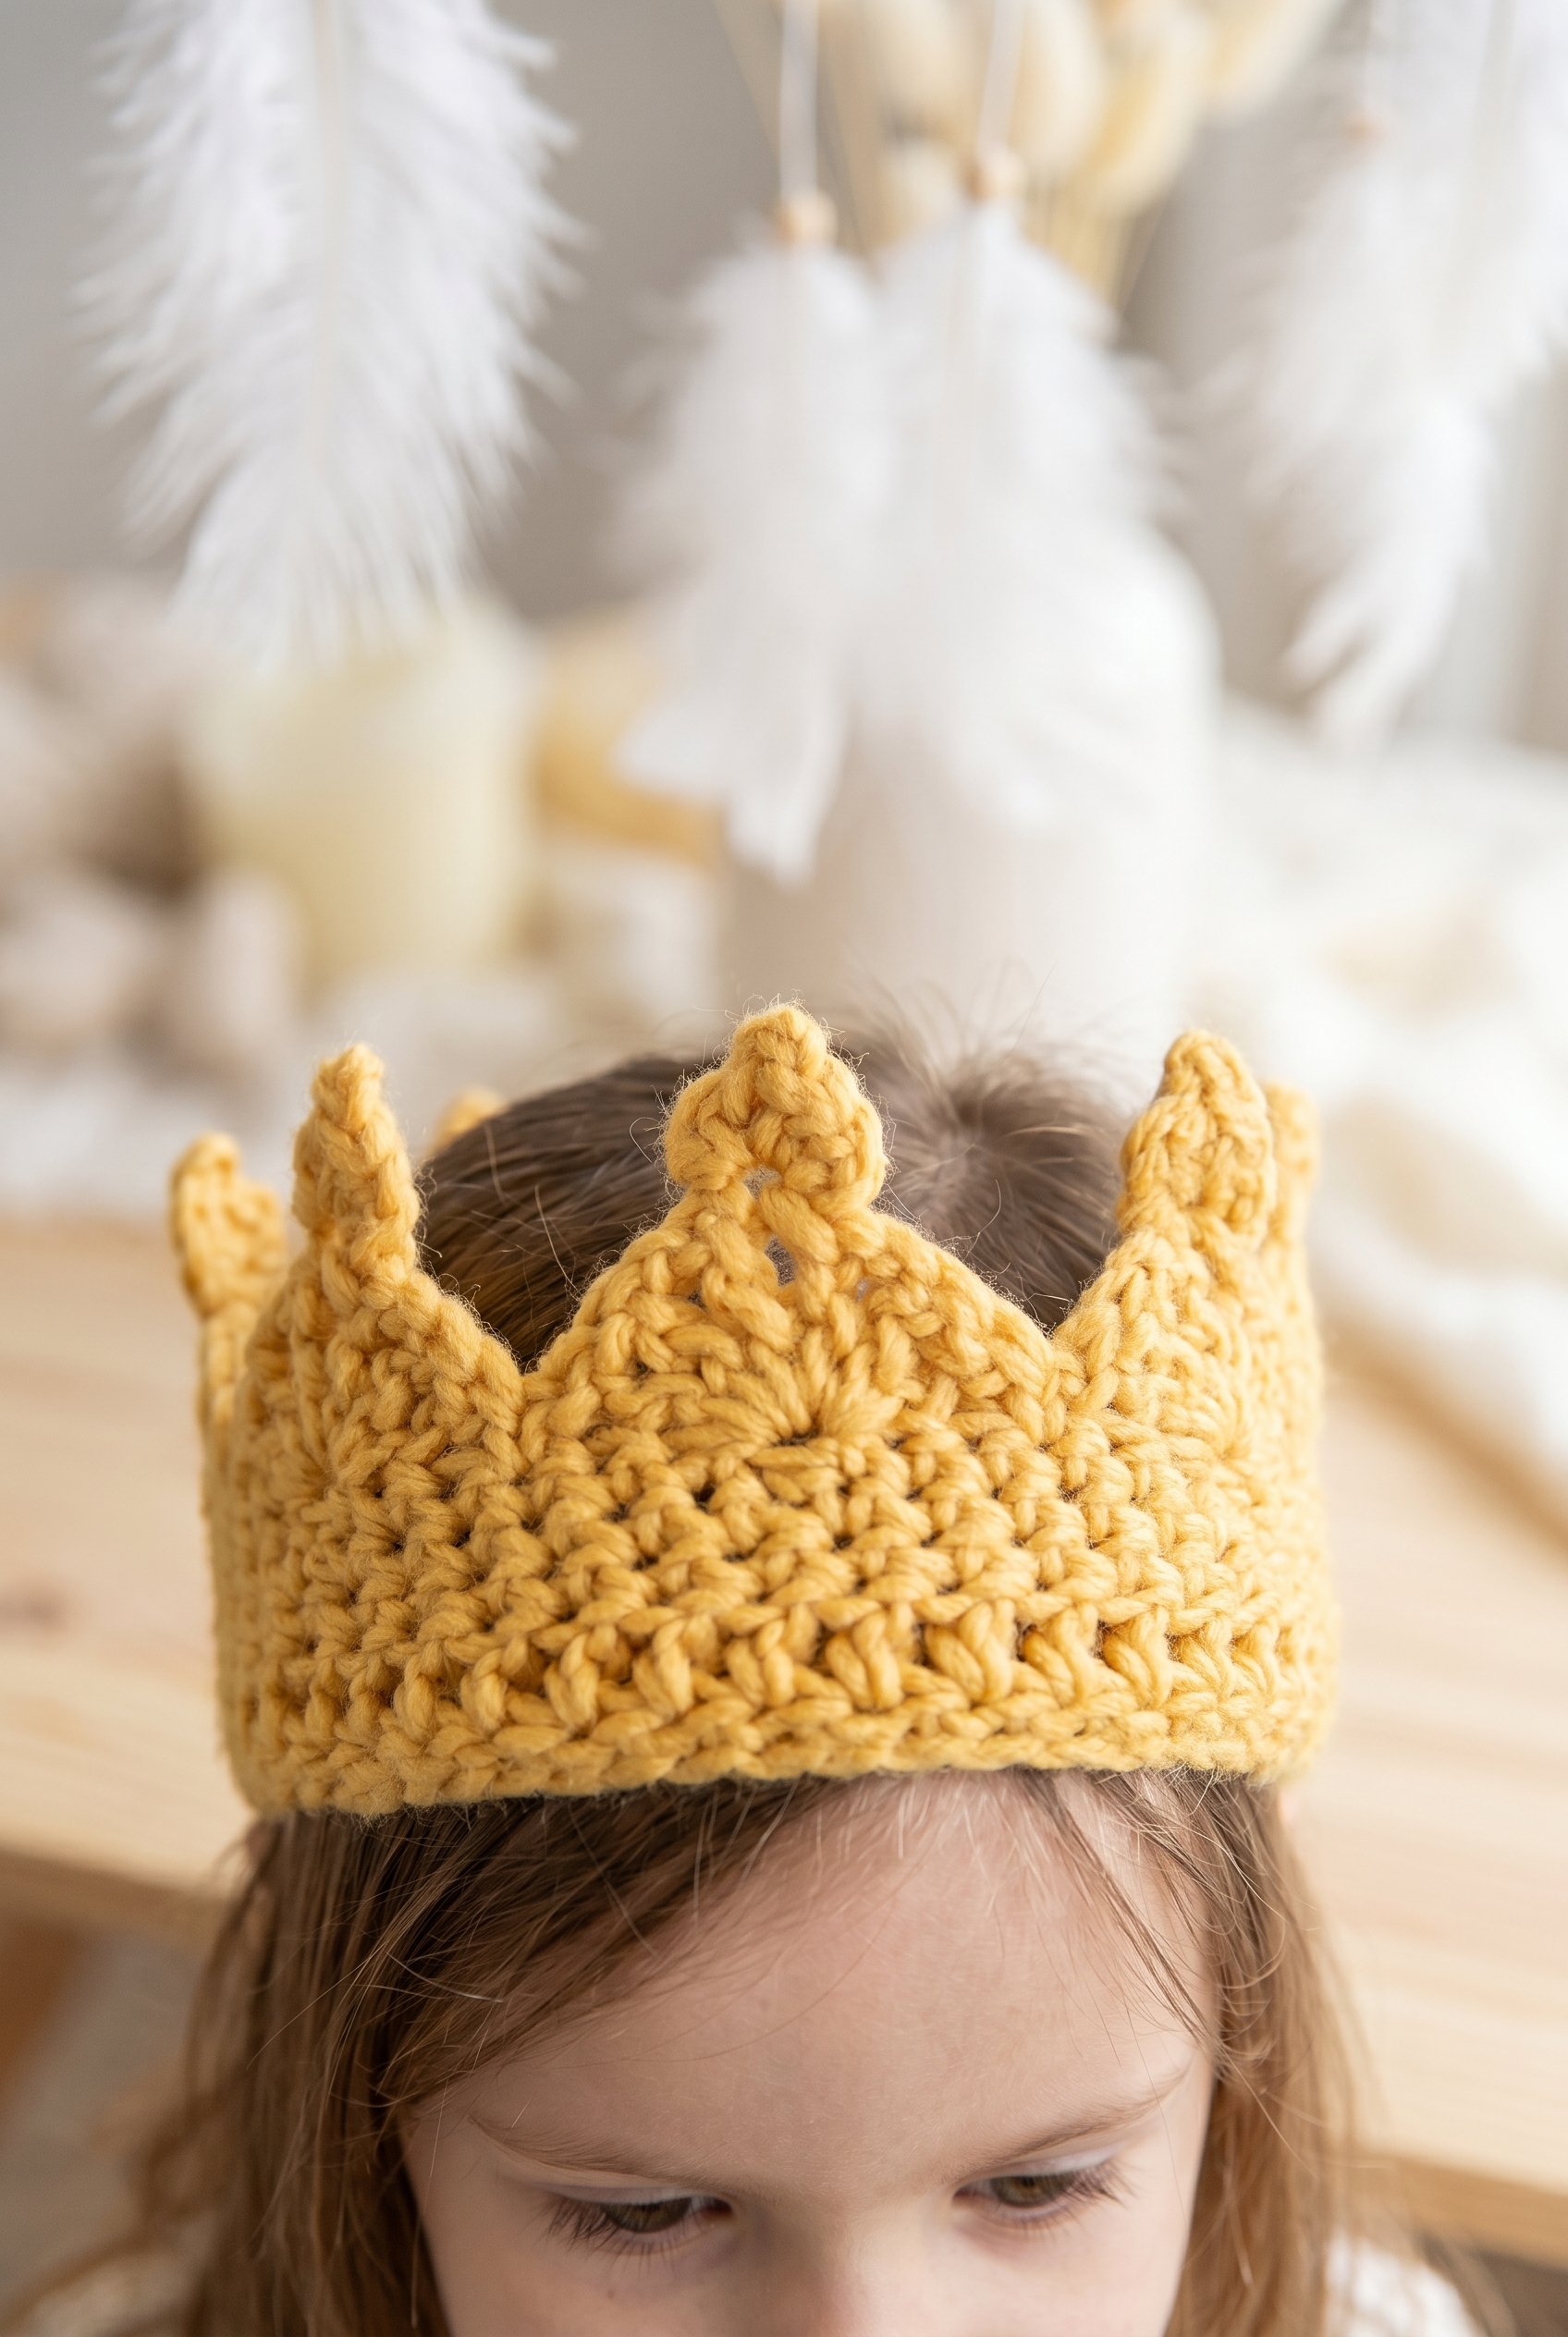
A crocheted crown hat that actually looks like a crown, sized for real kids.
- Skill Level: This is listed as intermediate, so you'll want some basic hat construction experience before diving in.
- Two Sizes Included: The pattern covers toddlers through early school age, so you can make it work for a range of little ones.
- Great for Gifting: A crown hat is a natural fit for birthdays, costume boxes, or any kid who likes to be in charge.
- Technique Value: Working the pointed peaks is a good skill-builder if you haven't done shaped crown edges before.
- Quick Turnaround: It's a small project, so you're not committing weeks of work to finish it.
What You'll Need
One color, one hook, and a small amount of yarn — the supply list really does not get much shorter than this.
- Super Bulky 100% Wool (Yellow): Wool at this weight has enough body to hold the crown's structure without needing any stiffening. It also has a natural elasticity that helps keep your stitch tension even, which matters when you're working the beginning edge with extra chain stitches for stretch. You'll need 50 g of yellow, so a single ball is plenty.
- 7 mm / K or L Crochet Hook: This size pairs well with super bulky wool and gives you a fabric that's firm enough to keep its shape but not so tight that the hook drags. The pattern gauge is 10 stitches over 10 cm, so if your tension runs loose or tight, adjust accordingly.
- Also needed: scissors, tapestry needle
Yarn Substitutes
Pure wool is worth using here because of how it behaves structurally, but if wool is off the table for you, there are workable options at the same weight.
- Super Bulky Wool-Acrylic Blend: A blend in the same weight class will give you similar stitch definition and a bit more stretch. Look for something with at least 50% wool content if you want the structure to hold up the same way.
- Super Bulky Acrylic: A fully synthetic option works if that's what you have. The crown may be slightly softer and less structured, but for a small decorative piece it's no trouble at all. Stick to the same weight and swatch to confirm your gauge.
Key Information
A super bulky wool crown hat for kids, with little picot jewels worked right into the top.
| Skill Level | Intermediate |
| Pattern Gauge | 10 sts in width = 10 cm / 4". |
| Finished Size | Size: 2-4 years (5-7 years) |
| Yarn Weight | 6 Super Bulky |
| Fiber | 100% Wool |
| Terminology | US |
Customizing the Size
The pattern is written for two sizes: 2-4 years and 5-7 years, with the larger size shown in parentheses throughout. If you want to adjust further, keep in mind that the beginning chain is intentionally worked longer than the first round of double crochets to keep that cast-on edge stretchy. Adding or removing stitches from the foundation chain is where you'd start, but make sure your gauge swatch is solid first since super bulky yarn at this stitch count doesn't leave much room for drift.
Stitches & Abbreviations
Standard stuff here, nothing you haven't seen before.
- ch = chain
- sc = single crochet
- hdc = half double crochet
- dc = double crochet
- tr = treble crochet
- sl st = slip stitch
- st(s) = stitch(es)
Special Stitches
- Picot 1: Ch 3, sl st in 3rd ch from hook.
- Picot 2: In 3rd ch from hook work: 1 hdc, ch 2, sl st in 2nd ch from hook, 1 hdc, ch 2, sl st.
Pattern Notes
Work this hat with Snow yarn and a 7 mm (K or L) hook, or whatever size gets you to gauge. The crown features small jewel details at the top worked using the two picot stitches defined above. One thing worth knowing before you start: the foundation chain is worked longer than the number of stitches you'll actually use in round one. That's intentional. It keeps the brim edge from pulling tight, so don't adjust it down thinking it's a mistake.
Crown Crochet Pattern Instructions
Work through each round carefully and you'll have a beautiful crocheted crown with delicate jewel details at the top.
Crown with Small Jewels at the Top
This is the entire crown, worked in rounds from the base up to the decorative jewel edging at the top. Work with Snow yarn and a 7 mm (K or L) hook throughout. The stitch count range accounts for different head sizes, so pick your starting chain based on the size you're making and stay consistent with that number all the way through.
Round 1: Ch 56-64 (divisible by 8), sl st in 1st ch to join. [56-64 ch]
Round 2: Read crochet tip! Ch 1, *sc in each of next 3 ch, skip next ch* repeat around, sl st in 1st sc to join. [42-48 sc]
Read crochet tip!
Round 3: Ch 3, dc in first sc on round below, dc in every sc around, sl st in 1st dc to join. [42-48 dc] The ch 3 counts as your first dc here. When you work "dc in first sc on round below," you're placing that dc into the same stitch as the ch 3, so you'll have two dc in that spot before continuing evenly around.
Round 4: Ch 1, sc in every st around, sl st in 1st sc to join. [42-48 sc]
Round 5: Ch 1, *sc in each of next 3 sts, Picot 1, sc in each of next 3 sts* repeat around, sl st in 1st sc to join. [42-48 sc] The Picot 1 sits between two groups of 3 sc within each repeat. Make sure you know how your pattern defines Picot 1 before starting this round.
Round 6: Ch 1, sc in every st around, sl st in 1st sc to join. [42-48 sc]
Round 7: Ch 1, sc in first sc, *skip next 2 sts, in next st work: 2 tr, ch 1, 1 tr, ch 3, Picot 2, 1 tr, ch 1, 2 tr, skip next 2 sts, sc in next st* repeat around, sl st in 1st sc to join. This is the jewel edging. Each repeat builds one pointed jewel shape, and the Picot 2 sits at the very tip. Take your time placing all the elements into that single center stitch — it's a lot going into one spot, but that's what creates the crown point.
Fasten off.
Blocking
Because this hat is 100% wool, wet blocking is worth doing if the crown points come out a little uneven or the picot jewels at the top need to open up properly. I soak mine in cool water for about 10 minutes, press out the excess water in a towel, and then shape it over a bowl or balloon that matches the head size. The wool responds really well to this. The picot details especially benefit from a little gentle coaxing while damp. Let it dry completely before wearing, which usually takes overnight.
Care Instructions
Hand wash this hat in cool water with a wool-safe detergent. Hot water will felt 100% wool fast, so don't risk it. Press the water out gently, never wring it, and reshape the crown points while it's still damp before laying it flat to dry. Store it flat or loosely folded rather than hanging, since hanging a damp or even dry wool hat can stretch the brim out over time.
Baby & Child Safety Notes
This crown hat is sized for 2 to 7 year olds, so it's worth checking the seams and fastened ends before putting it on a child. The picot details and treble crochet points at the top are worked in yarn only, no added embellishments, so there's nothing to pull off or swallow. That said, check periodically that the yarn ends are still secure, especially after washing. If a tail works loose, weave it back in right away.

Frequently Asked Questions
Why does the pattern tell me to chain more stitches than I'll actually use in Round 2?
That's the elasticity tip built into the pattern. You start with 56 or 64 chains, then on Round 2 you skip every fourth chain, which brings the count down to 42 or 48 single crochets. The extra chains give the cast-on edge stretch so the hat can actually go on a child's head. If you skip this step and work into every chain, the brim will be too tight.
What is Picot 2 in Round 7, and is it different from the Picot 1 in Round 5?
Yes, they're two different picots. Picot 1 in Round 5 is a smaller decorative picot worked between single crochets along the body of the hat. Picot 2 in Round 7 is worked inside the large treble crochet fan that forms each crown point, so it sits right at the tip of the point. Check the abbreviations section of the pattern for the exact chain count for each one, since they're defined there.
How many crown points does the finished hat have?
It depends on the size you're making. The stitch count after Round 2 is 42 or 48 single crochets. Round 7 repeats a 7-stitch fan sequence around the full round, so you get 6 points for the smaller size and 6 points for the larger as well, since both counts divide evenly by 7. Each point is made from that large treble crochet shell with Picot 2 at the tip.
How much yarn do I actually need for this hat?
50 grams of super bulky wool covers both sizes. The pattern lists 50 g for each size bracket, so one skein is enough either way. Super bulky works up fast and the hat is only 7 rounds, so yardage isn't something I'd stress about here.
Round 7 looks complicated. Is there a way to check my work as I go?
Count your fans. After each repeat in Round 7, you should have one completed fan and one single crochet. If you end the round with the same number of fans as you started with points in your stitch count divided by 7, you're good. Stitch markers between each repeat help a lot here. Place one after each sc before the fan, and you can catch a mistake before it compounds.
Happy Crocheting
I'd love to see how your crown hat turns out, especially that last round with all the points fanned out. If you make one, tag me on Instagram or drop a photo in the comments below. And if you're saving patterns for later, this one pins well on Pinterest since the finished hat photographs beautifully against almost any background. Let me know if you run into anything with Round 7, because I know it looks like a lot on paper the first time you read it through.


Leave a Reply