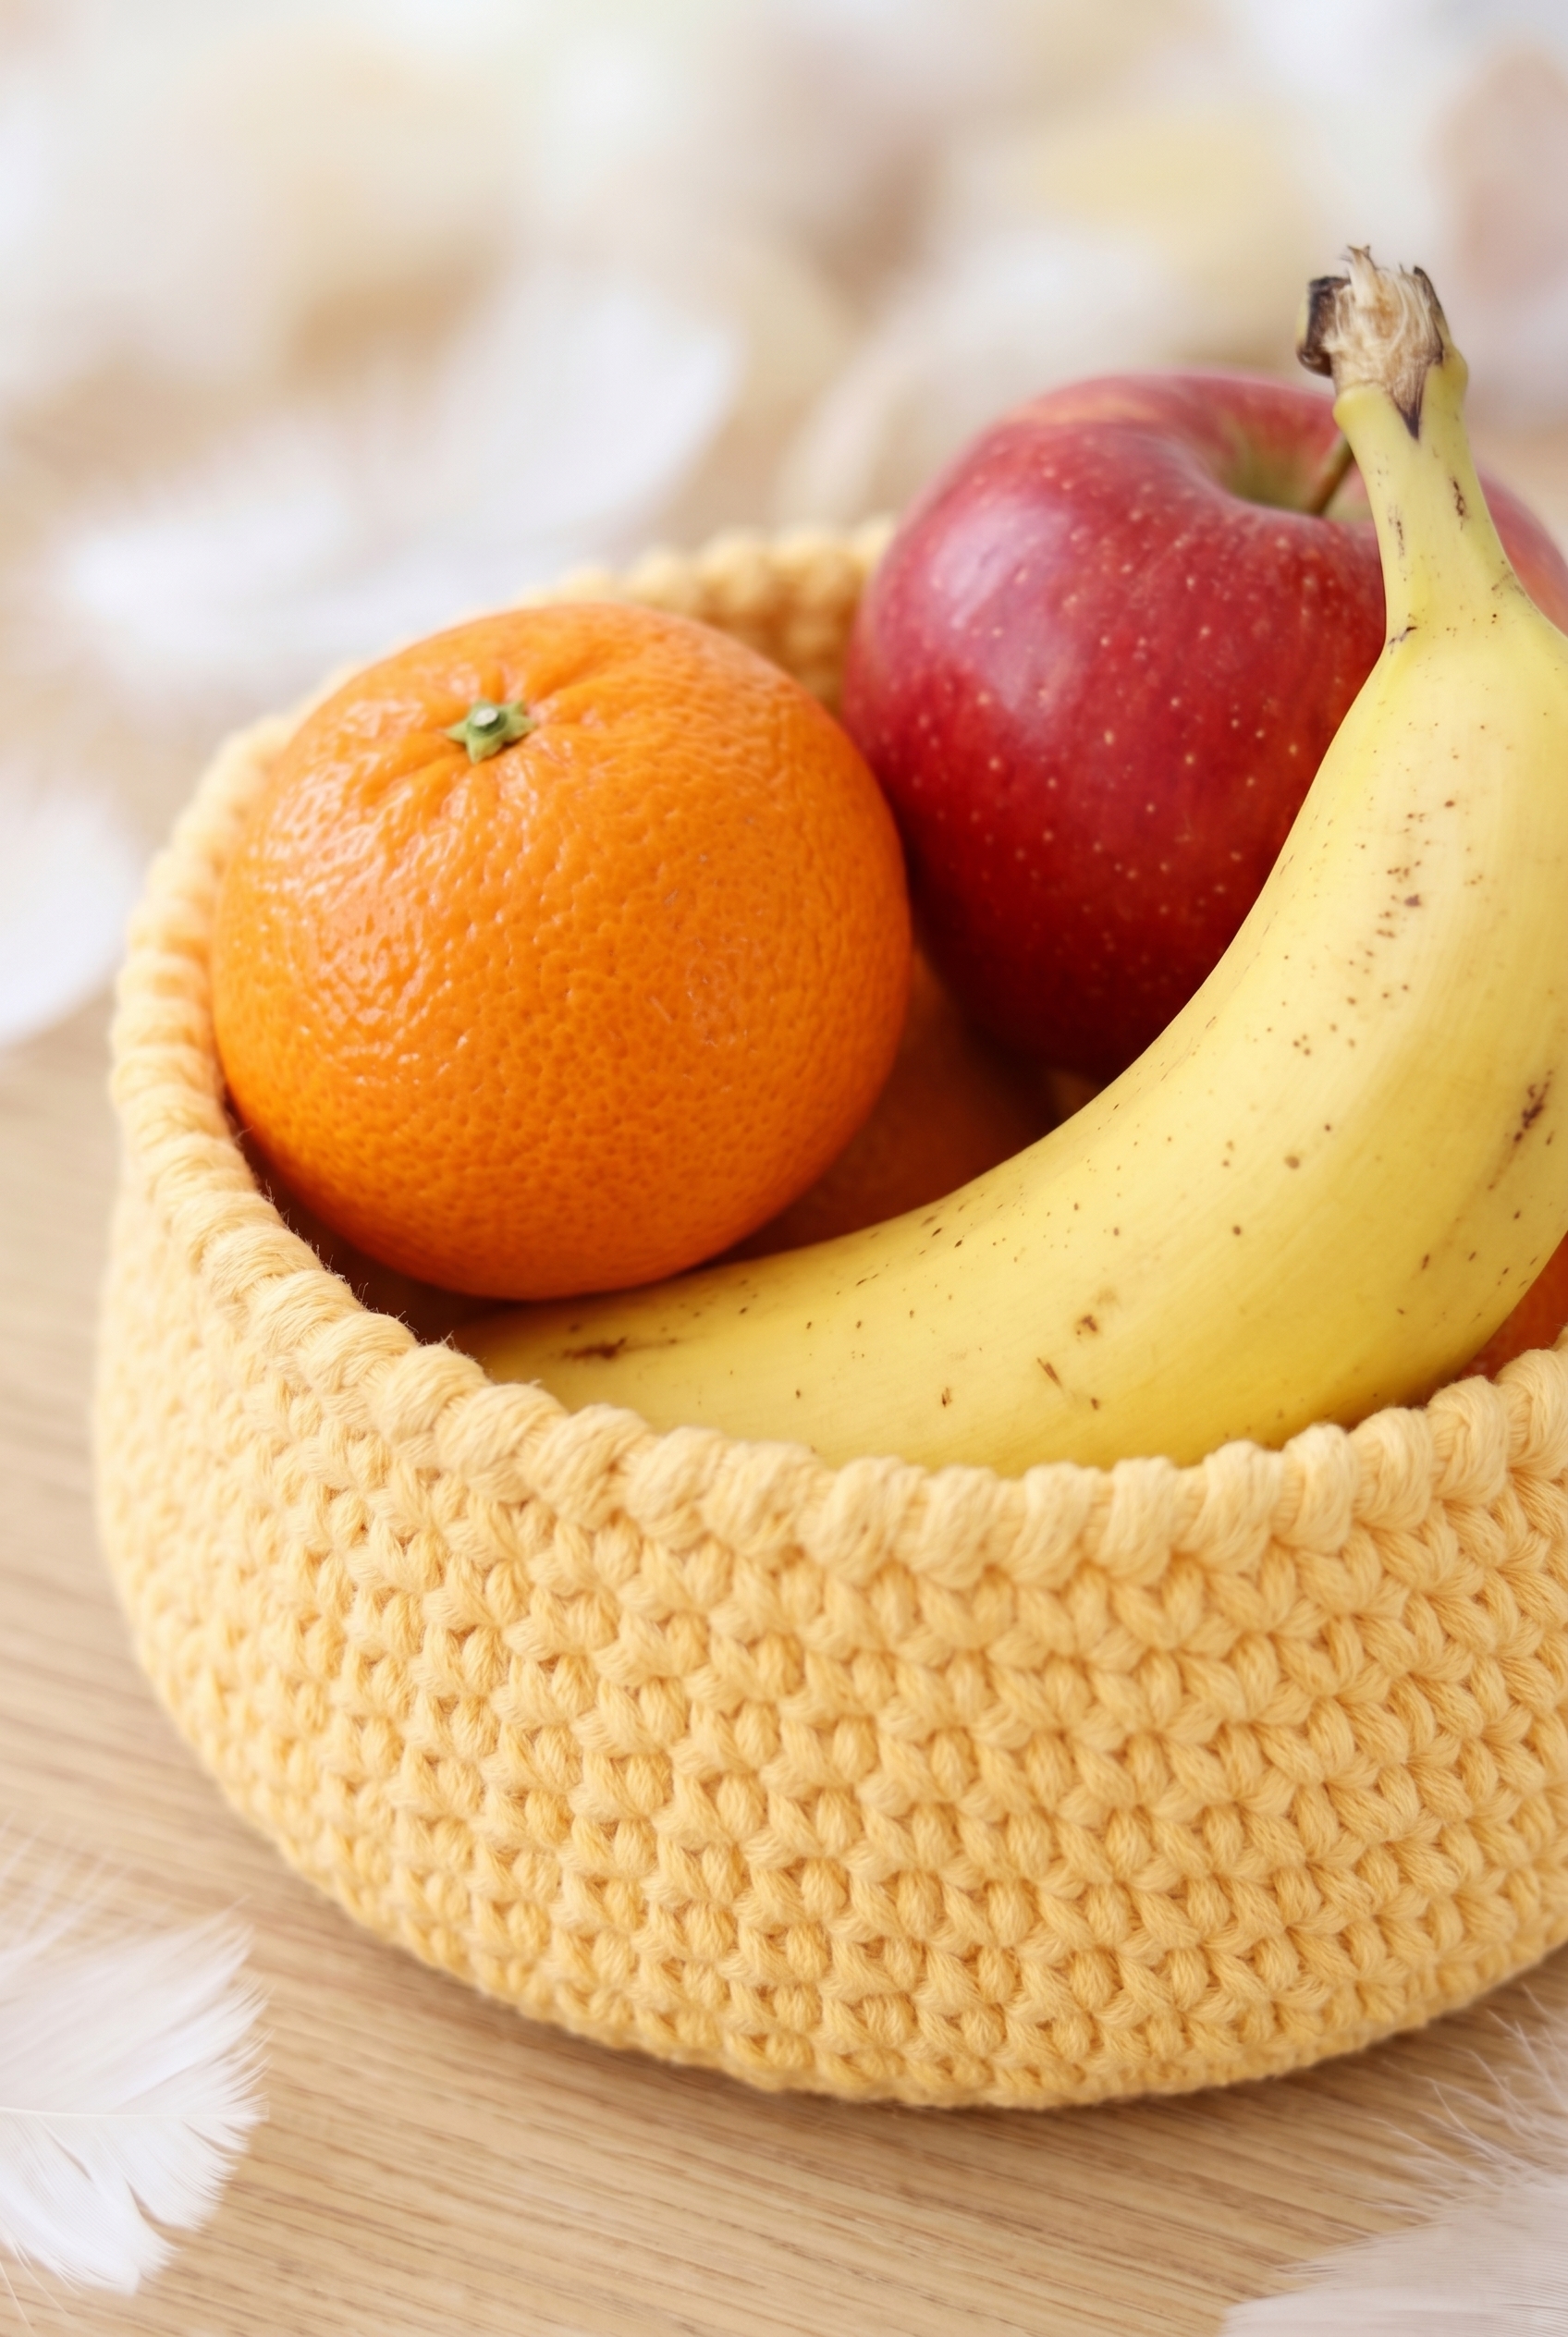
This little Basket Crochet Pattern came out of that. It's a compact, sturdy basket that actually holds its shape once it's done, and I find myself reaching for this kind of project when I want something useful that doesn't take forever to finish. If you've got a spot on a shelf or a countertop that needs a little something, this is a really satisfying make.

Jump to:
About the Design
What I like about this one is how straightforward the construction is. You build up from the base in rounds, and the sides just naturally come together as you work. There's a raised rim at the top that I'm really pleased with. It gives the whole thing a finished, intentional look without any extra steps that feel fussy or complicated.
I'd make this for anyone who needs a little storage solution that also looks put-together. It works just as well as a catch-all on a desk as it does holding small items in a bathroom or bedroom. And honestly, it makes a solid gift because it's the kind of thing people don't usually buy for themselves but always end up using constantly.
Why This Pattern Stands Out
A quick, practical basket that actually holds its shape and looks polished when done.
- Beginner-friendly build: The construction is straightforward rounds with no complicated shaping to keep track of.
- Fast to finish: This is a small project, so you can realistically complete it in one or two sittings.
- Great for gifting: Useful, good-looking, and easy to make in multiples if you want a set.
- Technique value: Working the raised rim is a nice skill to pick up, and it carries over into other projects.
What You'll Need
One color, one hook, and a single ball of cotton — the supply list for this basket is about as short as it gets.
- Worsted Weight Cotton Yarn (dandelion, 150 g): Cotton is the right call here. It holds its shape well without blocking, which matters for a basket that needs to actually stand up and keep its structure. A 100% cotton worsted gives you that slight stiffness and clean stitch definition, and because the whole thing is worked holding two strands together, you'll be pulling from the same ball doubled up the entire time. One 150 g ball in dandelion covers the bottom, sides, and edge with no trouble at all.
- 6 mm (US J/10) Crochet Hook: A 6 mm is a size up from what you'd normally use with worsted cotton, and that's intentional. Working with two strands together means the hook needs the extra room, and it also keeps the fabric from getting too stiff to work with comfortably.
- Slip stitch marker (optional): The rounds in this pattern are joined, so you're not tracking a moving round start the way you would in continuous spirals. That said, a marker clipped to the chain-1 at the beginning of each round can help you keep your place, especially if you're working in shorter sessions.
- Also needed: scissors, tapestry needle

Project Info
A small cotton basket worked in the round with a reverse single crochet edge — sturdy enough to actually hold things.
| Skill Level | Easy |
| Pattern Gauge | Gauge is not critical for this project. Use a hook size that creates a tight, firm fabric so the basket holds its shape. |
| Finished Size | Diameter = 18 cm (7"). Height = 8 cm (3 ⅛"). |
| Yarn Weight | 4 Medium / Worsted |
| Fiber | 100% Cotton |
| Terminology | US |
Abbreviations & Stitches Used
Short list — you probably know all of these already.
- ch = chain
- sc = single crochet
- sl st = slip stitch
- st(s) = stitch(es)
Special Stitches
- Lobster st (reverse sc): Work sc from left to right instead of right to left.
Before You Begin
The basket is worked in joined rounds, starting from the center of the bottom and building upward. Throughout the entire pattern, you'll hold 2 strands of yarn together. That's what gives it the structure to actually stand up on its own, so don't skip that part.
At the start of each round, the first sc is replaced by ch 1. The round then closes with a sl st into that ch-1. It's a small thing but it keeps the joins tidy, so it's worth getting into the habit from round one.
Gauge isn't something you need to measure and match here. What matters is that your fabric feels firm. If it's floppy, go down a hook size.
Let's Make the Basket Crochet Pattern
Here's how I work through the basket from the flat base all the way up to the finished edge.
Building the Bottom
The bottom is worked in rounds from a small starting ring, expanding outward with regular increases until it reaches the full diameter of the basket base.
Round 1: Ch 4, join with sl st in first ch to form a ring. Work 6 sc around the ring. [6 sc]
Round 2: 2 sc in each sc around. [12 sc]
Round 3: *1 sc in first sc, 2 sc in next sc* repeat around. [18 sc]
Round 4: *1 sc in each of next 2 sc, 2 sc in next sc* repeat around. [24 sc]
Round 5: Continue working sc in the round, increasing 6 sc on each round; i.e. on each round work 1 more sc between each increase. When the bottom measures approx. 18 cm (7") in diameter, work the sides as described below (do not cut strands). The increase pattern keeps adding one plain sc before each increase point — so round 5 would be *3 sc, 2 sc in next*, round 6 would be *4 sc, 2 sc in next*, and so on until you hit that 18 cm measurement.
Do not cut strands.
Working the Sides
Once the base is the right size, I stop increasing and just keep going straight up — same yarn, same hook, no break in the work.
Round 1: Continue working sc in the round without increasing until the height of the basket is approx. 8 cm (3 ⅛"). The transition from base to sides is seamless since you didn't cut the yarn. The fabric will naturally begin to turn upward as you stop increasing.
Edge in Lobster Stitch
The final round finishes the top of the basket with a lobster stitch edge — that's reverse single crochet, worked in the opposite direction to how you've been going, which gives a neat twisted cord effect along the rim.
Round 1: Work an edge around the top of the basket in lobster st (reverse sc). Cut and fasten off. To work reverse sc, don't turn your work — insert the hook into the stitch to the right (if you're right-handed) instead of the left, and complete the sc as normal. It feels awkward at first but settles into a rhythm quickly.
Cut and fasten off.
Care Instructions
Since this basket is worked in 100% cotton, it handles washing well. I'd machine wash it on a gentle cycle in cold water, then reshape it while it's still damp and leave it to air dry. Cotton can go a little limp when wet, so taking a minute to push the sides back into shape before it dries makes a real difference. Once it's dry, it holds its form well on a shelf or countertop.
Frequently Asked Questions
Two strands held together for the whole basket, start to finish. That includes the bottom, the sides, and the lobster stitch edge. Working double-stranded is what gives it that sturdy, structured feel, so don't drop to a single strand partway through or the basket will lose its shape.
You're watching the diameter, not the round count. Keep increasing until the bottom measures about 18 cm (7") across, then stop increasing and just work straight rounds up for the sides. I check with a tape measure laid flat across the center. The exact round you hit that measurement can vary a little depending on your tension.
Lobster stitch is just reverse single crochet, worked backward (right to left if you're right-handed). It creates a neat, rope-like edge around the top of the basket. It feels a bit awkward the first few stitches, but you get the rhythm quickly. It's worth doing because it really finishes the top edge cleanly.
It's listed as optional, and I'd say use one. Working in joined rounds with a ch-1 at the start instead of a standing stitch can get confusing fast, especially once you're deep into the sides and all the rounds look the same. A marker at the start of each round saves a lot of counting back.
For a wider basket, just keep increasing past the 18 cm mark before moving to the sides. For a taller basket, work more straight rounds before you start the lobster stitch edge. Keep in mind that a larger basket will use more than the 150 g called for, so grab an extra ball if you're scaling up significantly.
Before You Go
I'd love to see how yours turns out, especially if you go with a different color. Drop a photo in the comments or tag me on Instagram so I can have a look. If you're saving this for later, pinning it to your crochet projects board is a great way to find it again when you're ready to cast on.


Leave a Reply